Golf enthusiasts know just how important it is to protect their equipment. One of the most effective ways to do this is by having custom golf club covers. Not only do they keep your clubs safe from scratches and damage, but they also add a touch of personality to your gear. In this comprehensive guide, we’ll walk you through the process of making your own golf club covers. Let’s dive in!
Why Make Your Own Golf Club Covers?
Before we get started, let’s talk about why you should consider crafting your own golf club covers:
- Cost-Effective: Purchasing high-quality golf club covers can be expensive. By making your own, you save money.
- Custom Design: Create covers that reflect your personal style. You can choose colors and patterns you love.
- Quality Control: When you make them yourself, you can choose the materials and ensure they are durable.
Making your own golf club covers is a rewarding project that can enhance your golfing experience.
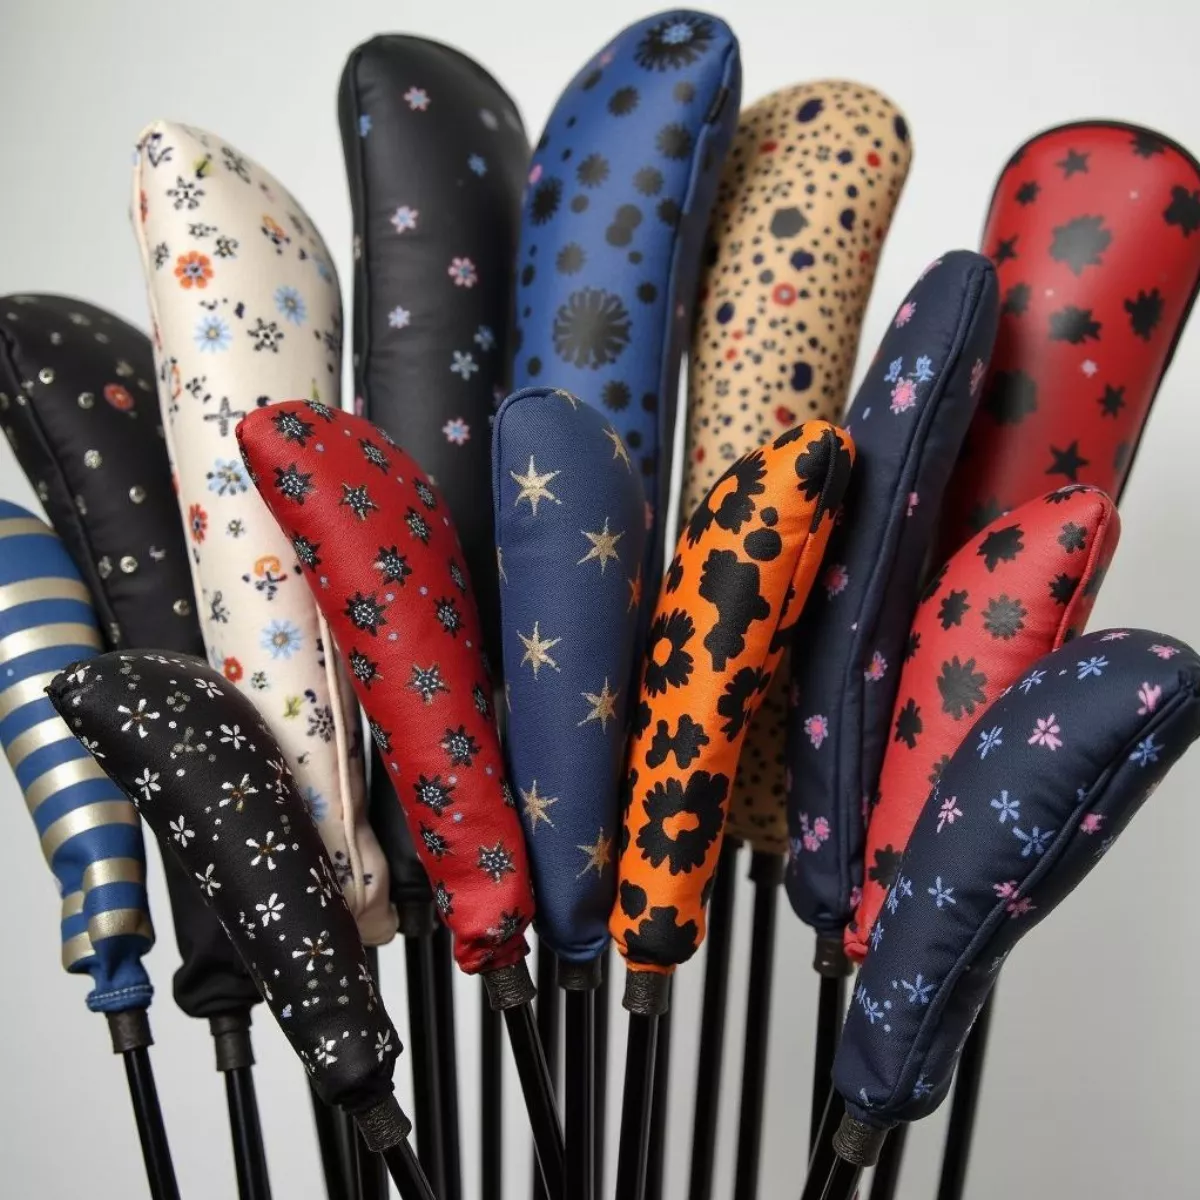
 Variety of golf club covers
Materials You Will Need
Crafting golf club covers is pretty straightforward, and you probably have some of the necessary materials lying around the house. Here’s a list of what you’ll need:
| Materials | Description |
|---|---|
| Fabric | Choose a durable fabric like fleece, neoprene, or leather. |
| Sewing Machine | For a quicker and more efficient sewing process. |
| Thread | Use strong thread that complements your fabric. |
| Scissors | For cutting your fabric. |
| Measuring Tape | To measure the size of your clubs. |
| Pins | To hold your fabric in place while sewing. |
| Iron | For smoothing out any wrinkles in your fabric. |
Optional Extras:
- Embroidery Kit: If you want to personalize your covers.
- Decorative Buttons or Stickers: For added flair.
- Velcro Strips: For secure closures.
Step-by-Step Instructions
Now that you have your materials, let’s jump into making those golf club covers!
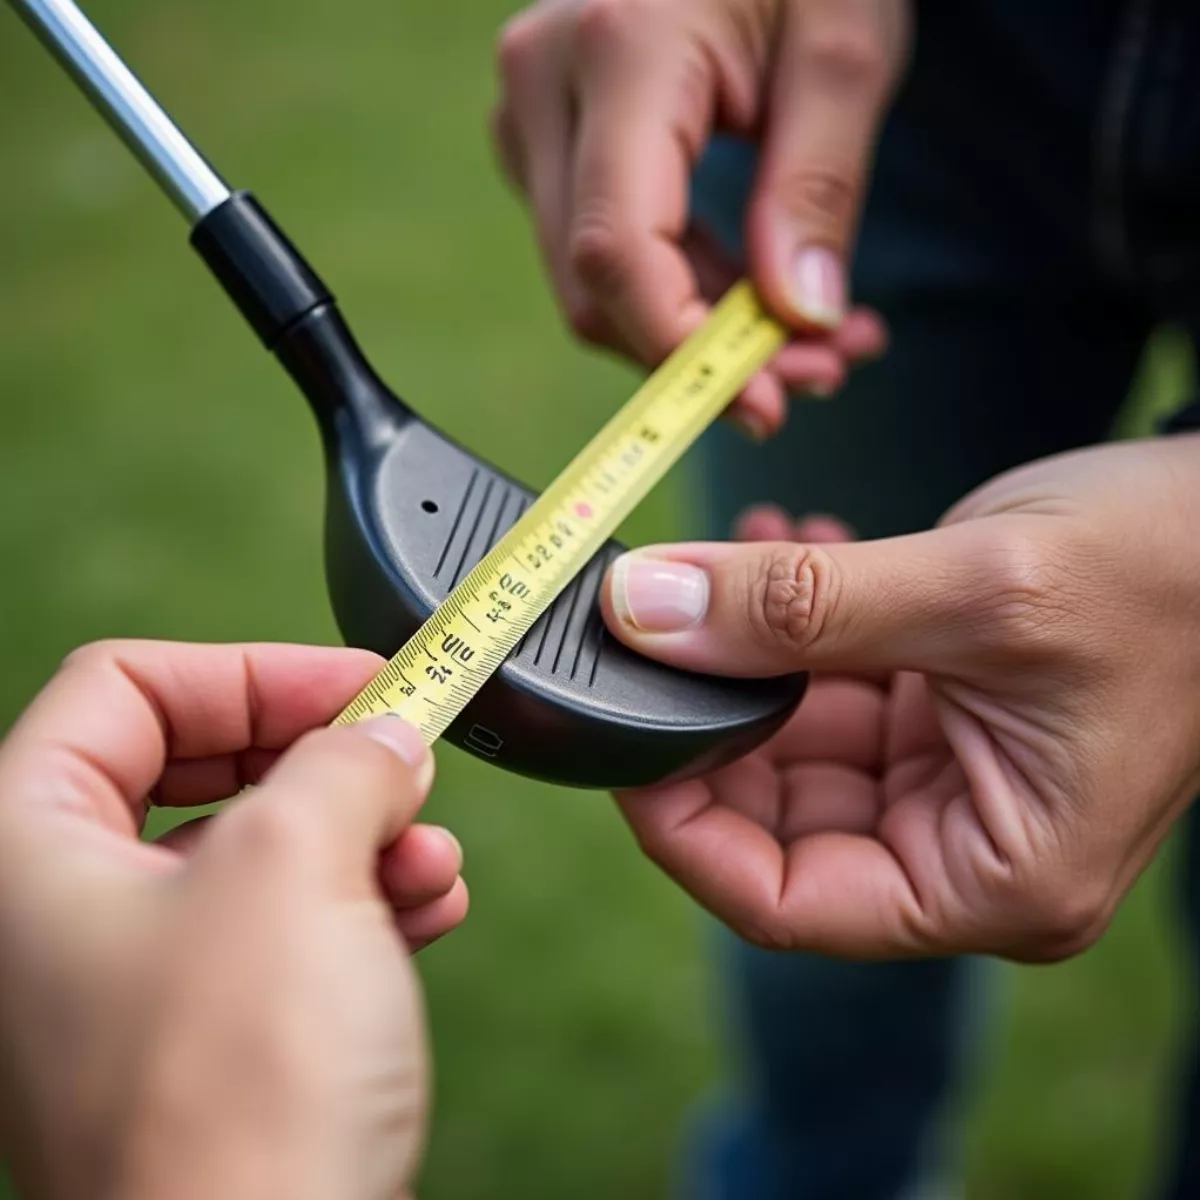
Step 1: Measure Your Clubs
- Gather your clubs – Begin with the club you want to cover.
- Measure the length – Use your measuring tape to find out how long the cover needs to be. Remember to add a few extra inches for a snug fit.
- Measure the diameter – Measure the width at the top of the club head. This will help you determine how wide the fabric should be.
 Measuring a golf club for a cover
Step 2: Cut the Fabric
- Cut out two pieces of fabric according to your measurements. The pieces should be the same size, which will create the front and back of the cover.
Step 3: Sew the Fabric
- Pin the fabric – Place the fabric pieces together with the right sides facing each other. Pin them in place.
- Sew the edges – Using your sewing machine, sew along the edges, leaving the bottom open. Make sure to backstitch at the beginning and end.
- Turn the fabric inside out – Carefully pull the fabric through the opening to reveal the right side.
Step 4: Add a Closure
Here you have two options:
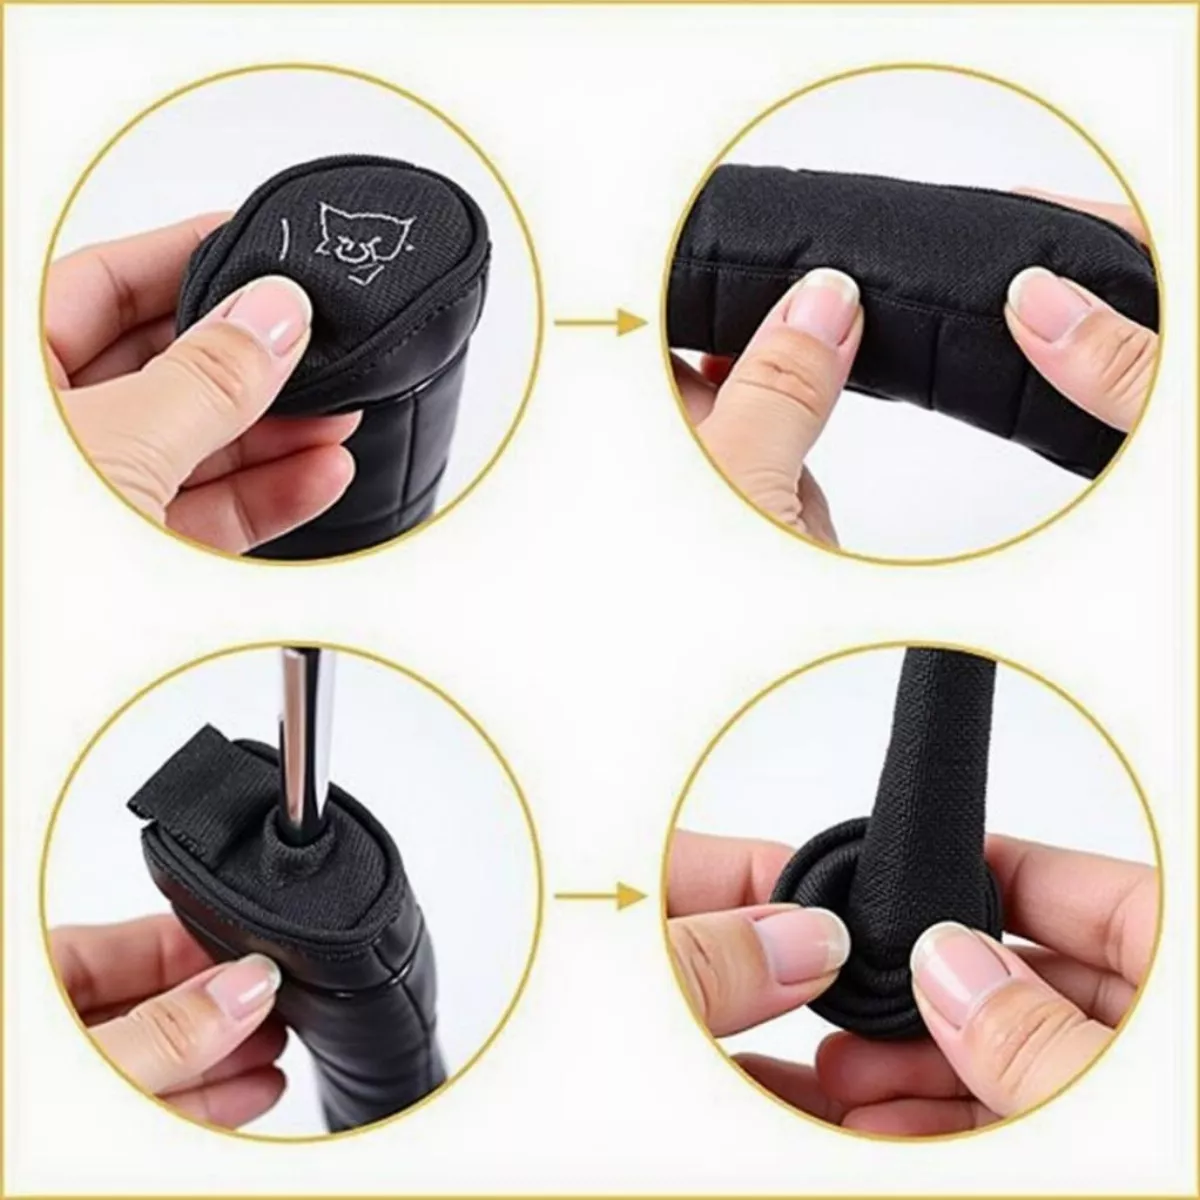
- Velcro: Sew one strip inside the top of the cover and the other on the flap. This is functional and easy.
- Elastic Band: If you’d prefer a stretchy fit, sew an elastic band to the top edge.
 Sewing a closure on a golf club cover
Step 5: Personalize
- Embroidery: If you’re feeling crafty, add your initials, a favorite logo, or any design you fancy.
- Decorative Touches: Attach buttons, patches, or stickers to showcase your style.
Step 6: Final Touches
- Iron your covers to make them look crisp and clean.
- Ensure everything is securely sewn and all edges are neat.
Tips for Crafting Golf Club Covers
- Choose Durable Fabrics: Fabrics like neoprene or heavy fleece provide excellent protection.
- Experiment with Colors and Patterns: Have fun! Choose vibrant colors or patterns that match your personal style or golf gear.
- Practice Makes Perfect: Start with one cover and refine your technique before making a set.
Key Takeaways
- Save money and customize your golf club covers by making them at home.
- Use durable fabrics and easy sewing techniques for longevity.
- Personalization through embroidery or decorative elements adds character.
- Follow a systematic approach to measure, cut, sew, and finish your covers.
Frequently Asked Questions
1. Can I use any type of fabric for my golf club covers?
Yes, but it’s best to choose a durable fabric like fleece or neoprene to ensure your covers protect your clubs effectively.
2. How do I clean my homemade covers?
Most fabric covers can be hand-washed or machine-washed on a gentle cycle. Always check the fabric care instructions.
3. What should I do if I don’t have a sewing machine?
You can sew the covers by hand using a needle and strong thread. It will take more time, but it’s entirely doable.
4. Can I make covers for putters and drivers?
Absolutely! Just take accurate measurements of each club and adjust the size of the covers accordingly.
5. How long does it usually take to make club covers?
Making a set of covers can take anywhere from 1 to 3 hours depending on your skill level and the complexity of your design.
 Finished golf club covers on golf clubs
6. Can I use old clothes to make golf covers?
Yes! Upcycling old clothing is a fantastic way to create unique covers while being environmentally friendly.
7. How do I ensure a snug fit for my covers?
Ensure your measurements are accurate and adjust the size if necessary. You can add elastic for extra stretch.
8. Are there patterns available online?
Yes! Many websites offer downloadable sewing patterns specifically designed for golf club covers.
9. Can I make covers for non-standard clubs, like hybrids?
Certainly! Just measure the length and width of the hybrid club head accurately, and adjust your fabric accordingly.
10. Is there an alternative to sewing?
If you don’t want to sew, consider using fabric glue to attach the edges, but ensure that the bond is strong enough for durability.
By following these simple steps, you can create your own golf club covers that not only protect your clubs but also make a stylish statement on the greens. Happy crafting!