If you’ve found yourself stranded on the golf course, the likely culprit might be a faulty golf cart solenoid. Understanding how to test a golf cart solenoid can save you time, money, and frustration. This guide will take you through the steps needed to diagnose solenoid issues effectively.
What is a Golf Cart Solenoid?
Before we dive into testing, let’s simplify what a solenoid does. In simple terms, a solenoid is an electromagnetic switch that controls the flow of electricity to the motor in your golf cart. When you press the accelerator, the solenoid engages and allows power to flow from the battery to the motor, making your cart move.
Common Symptoms of a Failing Solenoid
Recognizing the symptoms of a failing solenoid can help you address issues before they escalate. Here are some of the signs to watch for:
- No clicking sound: When you press the gas pedal and don’t hear a clicking noise, it’s often a sign.
- Intermittent motor operation: The motor works sometimes but fails at others.
- Cart won’t move: Your cart is completely unresponsive.
- Excessive heat: A hot solenoid can indicate electrical issues.
- Burnt smell: A burnt fragrance can point to a failing solenoid or wire.
 Golf Cart Solenoid Symptoms
Preparing to Test Your Solenoid
To conduct a proper solenoid test, you’ll want to gather some essential tools:
- Multimeter
- Screwdriver set
- Wrenches
- Safety gloves and goggles (always a good idea!)
Safety First
Always disconnect the battery before performing any tests to avoid shock or short circuits.
Step-by-Step Guide to Test a Golf Cart Solenoid
Here’s how to test your golf cart solenoid in five simple steps:
Step 1: Inspect the Solenoid
- Locate the solenoid: It’s often found near the battery pack.
- Check for visible damage: Look for burnt spots, corrosion, or loose connections.
Step 2: Prepare Your Multimeter
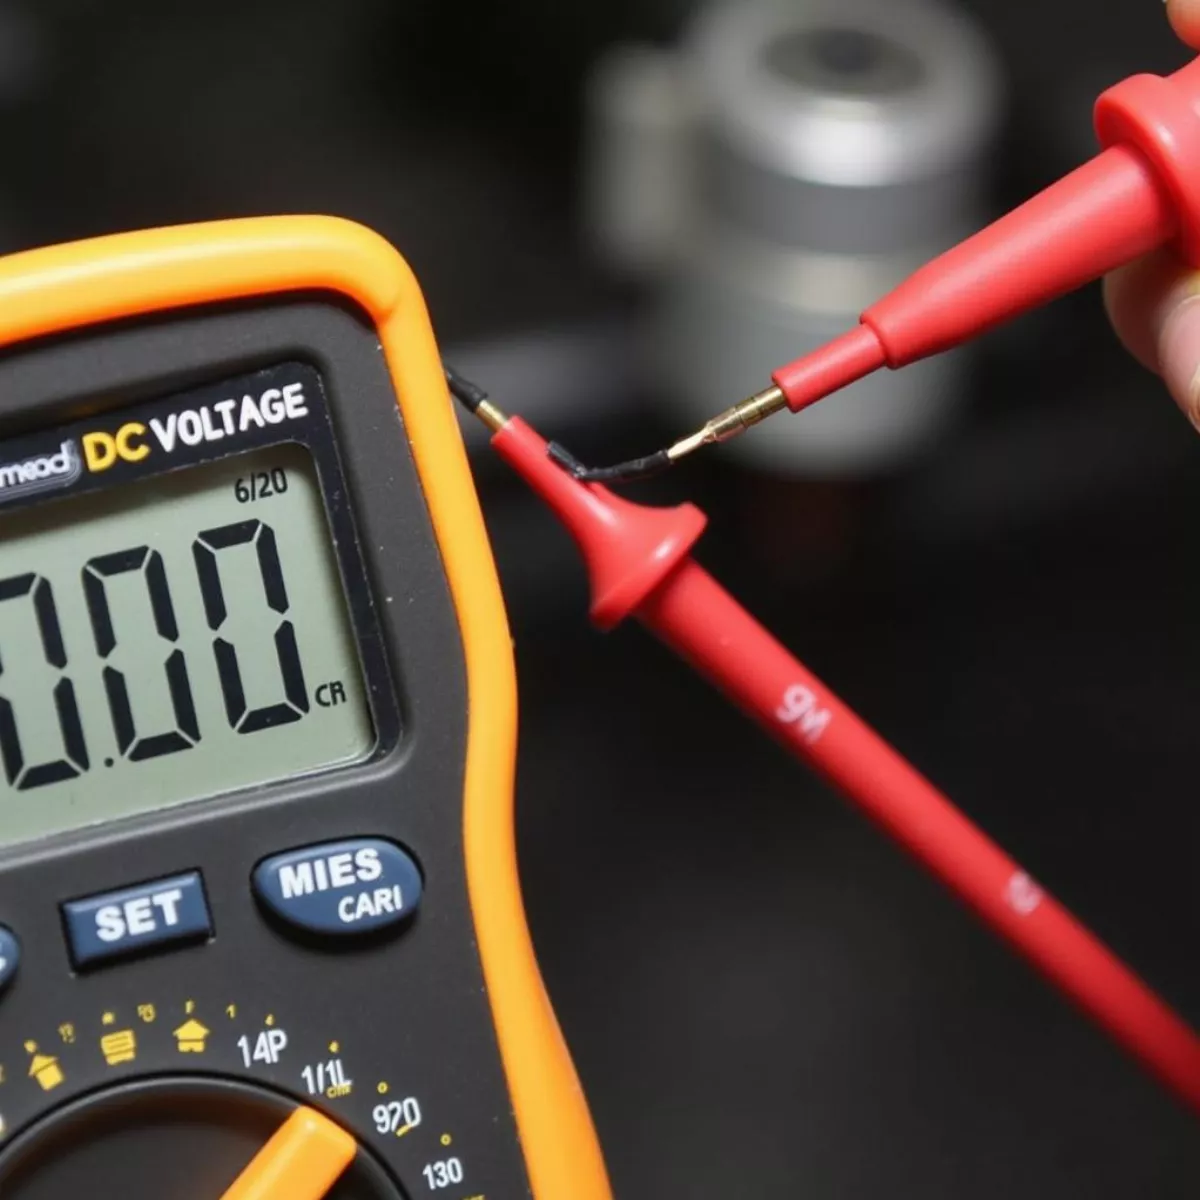
- Set your multimeter to the “DC Voltage” setting.
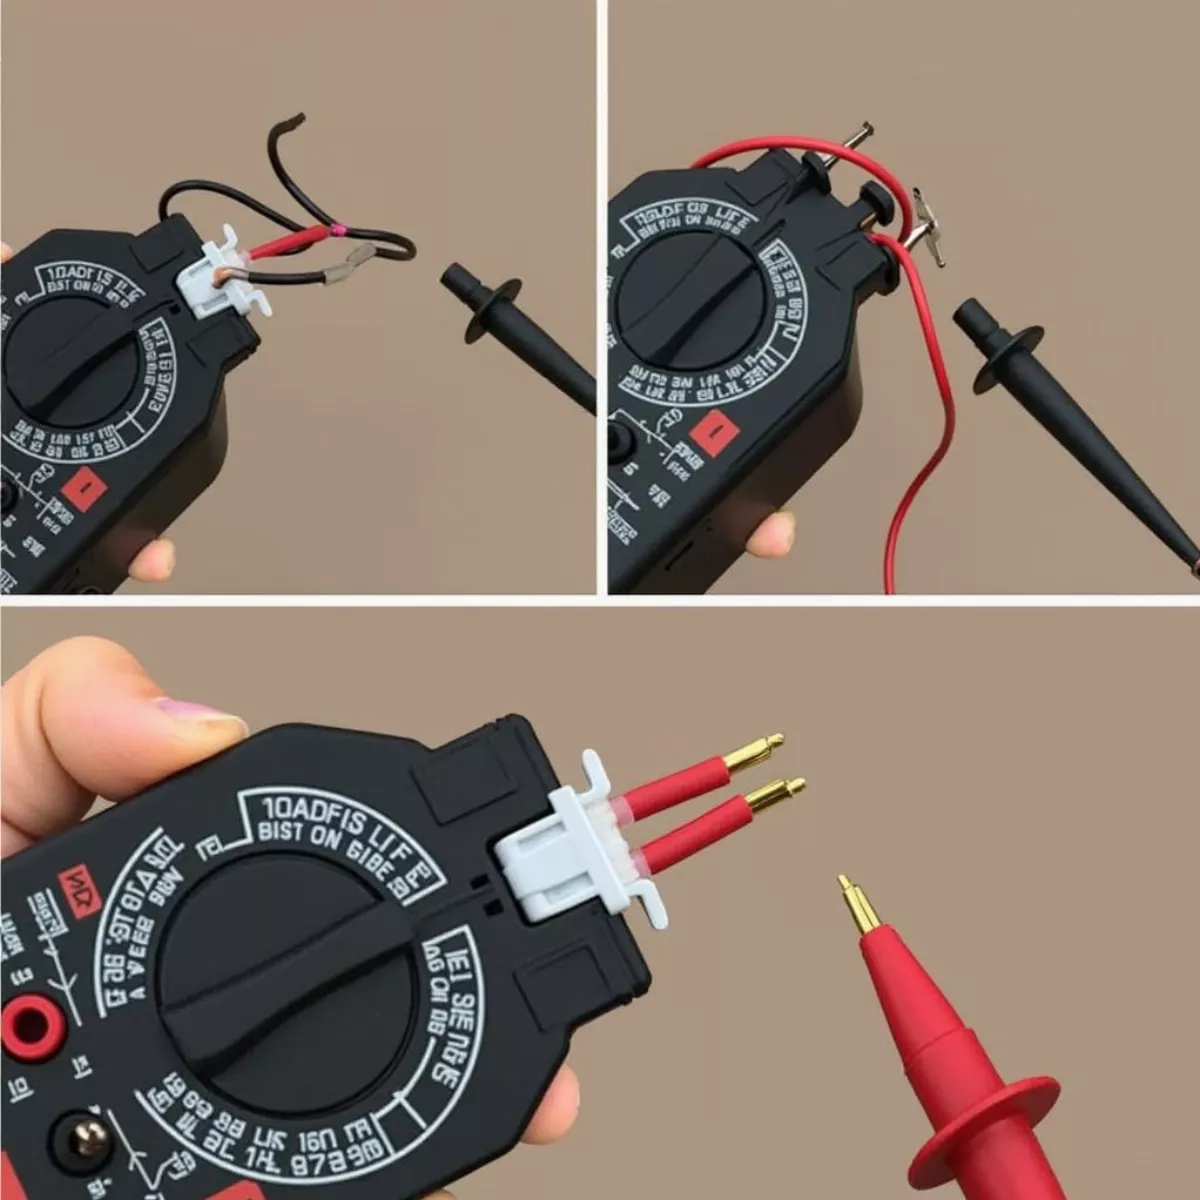
- Ensure all leads are connected correctly.
 Preparing Multimeter for Solenoid Test
Step 3: Test the Input Voltage
- Connect the negative lead of your multimeter to the ground terminal of the golf cart.
- Touch the positive lead to the input terminal of the solenoid.
- Now, press the accelerator. You should see a voltage reading between 36 to 48 volts, depending on your battery setup.
What If There’s No Voltage?
- If you see zero volts, your issue lies before the solenoid—check your batteries and wiring.
Step 4: Test the Output Voltage
- With the negative lead still attached to ground, move the positive lead to the output terminal of the solenoid.
- Press the accelerator again.
You should observe a similar voltage reading as the input. If the reading is low or zero:
- The solenoid may be defective and requires replacement.
Step 5: Check for Continuity
- Turn off the multimeter and switch it to the continuity mode.
- Disconnect the solenoid from the battery.
- Place one end of the multimeter on one terminal and the other end on the second terminal.
 Testing Solenoid Continuity
A good solenoid will show continuity (a beep or low resistance).
If there’s no continuity, it’s time for a replacement.
Maintenance Tips for Your Solenoid
Keeping your solenoid in good condition is essential for a smoothly functioning golf cart. Here are some maintenance tips:
- Regularly clean connections: Remove corrosion with a wire brush.
- Check for tight connections: Loose connections can create resistance.
- Inspect wiring: Look for frayed or damaged wires.
- Keep batteries charged: A well-maintained battery helps the solenoid function better.
Key Takeaways
- The golf cart solenoid functions as an electromagnetic switch, essential for power flow to the motor.
- Symptoms of a failing solenoid include no clicking sound, intermittent operation, and excess heat.
- Testing the solenoid involves inspecting for damage, using a multimeter to check input and output voltage, and verifying continuity.
- Regular maintenance such as cleaning connections and checking wiring can prolong the life of your solenoid.
FAQ Section
Here are some frequently asked questions regarding the golf cart solenoid:
-
How do I know if my solenoid is bad?
- If you’re not getting any power to the motor, or you hear a clicking sound but the cart won’t move, your solenoid may be faulty.
-
Can I replace the solenoid myself?
- Yes! With basic tools and some know-how, you can replace a solenoid efficiently.
-
How much does a new solenoid cost?
- Solenoid prices can vary from $20 to $100, depending on the brand and model of your golf cart.
-
What can cause a solenoid to fail?
- Common reasons include excessive heat, corrosion, or electrical shorts.
-
Is there a way to temporarily bypass the solenoid?
- You can usually use a jumper wire to connect the battery directly to the motor, but this is a temporary fix and not recommended for long-term use.
-
What are the signs that my golf cart is getting low on battery?
- Slow movement, dim lights, and a clicking solenoid can indicate low battery power.
-
Can a faulty solenoid damage the cart’s motor?
- Yes, continuous operation with a malfunctioning solenoid can lead to motor damage over time.
-
How long do solenoids typically last?
- With good maintenance, solenoids can last many years; however, exposure to moisture and dirt can shorten their lifespan.
-
What type of multimeter should I use?
- A digital multimeter with a DC voltage setting is ideal for testing golf cart systems.
-
Are there any specific solenoid brands you recommend?
- Look for trusted brands like Club Car, EZ-Go, or Yamaha for reliable solenoids.
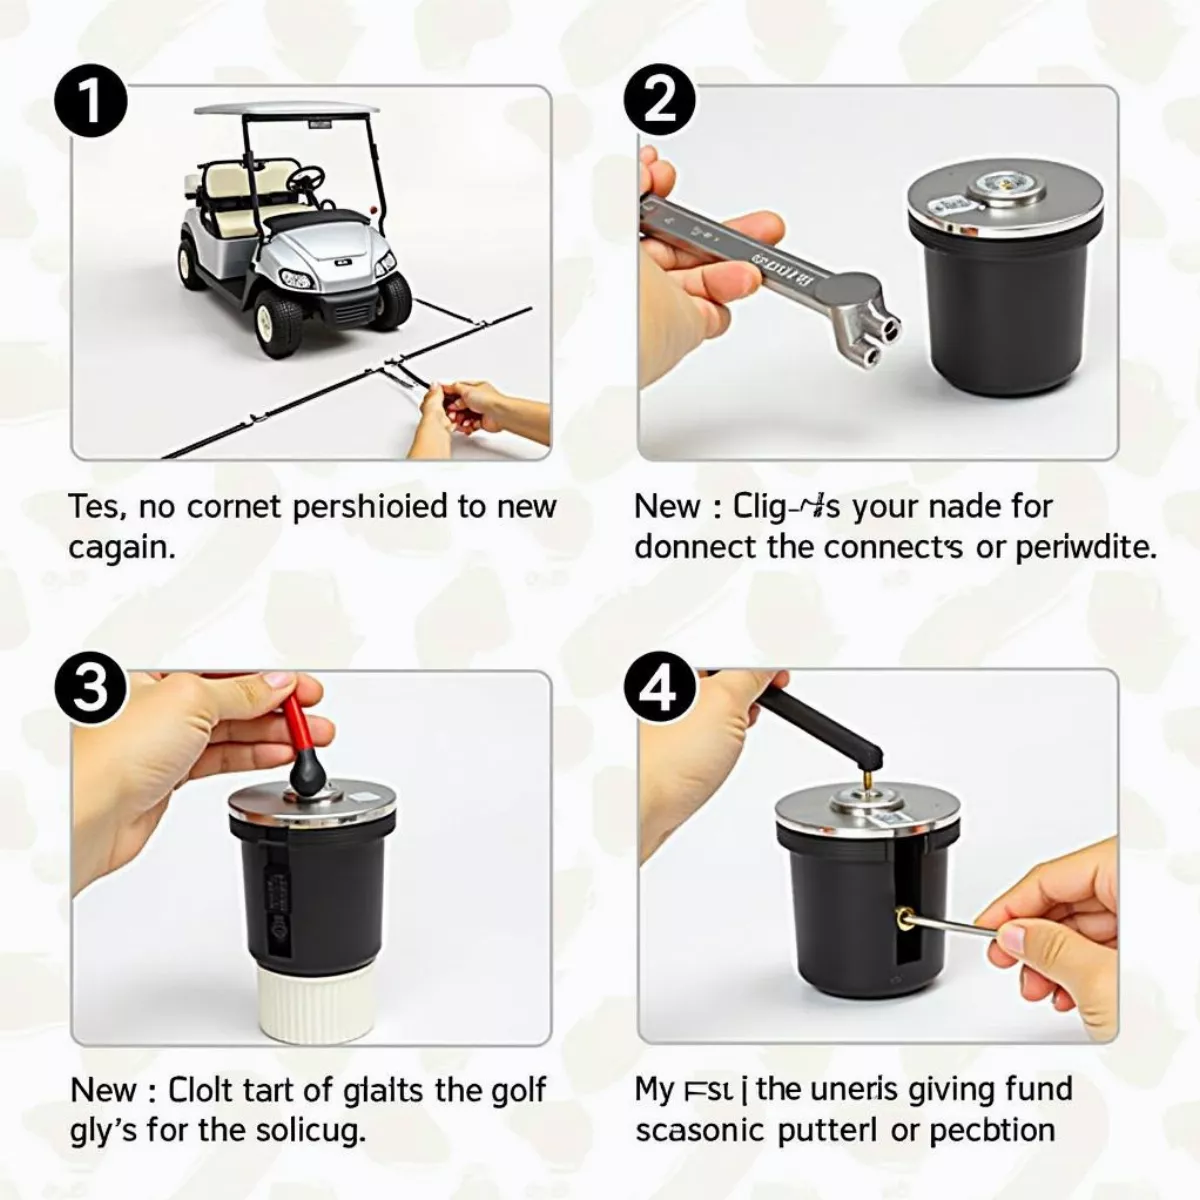
 Replacing Golf Cart Solenoid
By knowing how to test your golf cart solenoid and understanding its importance, you’ll be better prepared to keep your cart running smoothly. Enjoy your time on the course, and don’t let a faulty solenoid stand in your way!

