Category Archives: FAQs

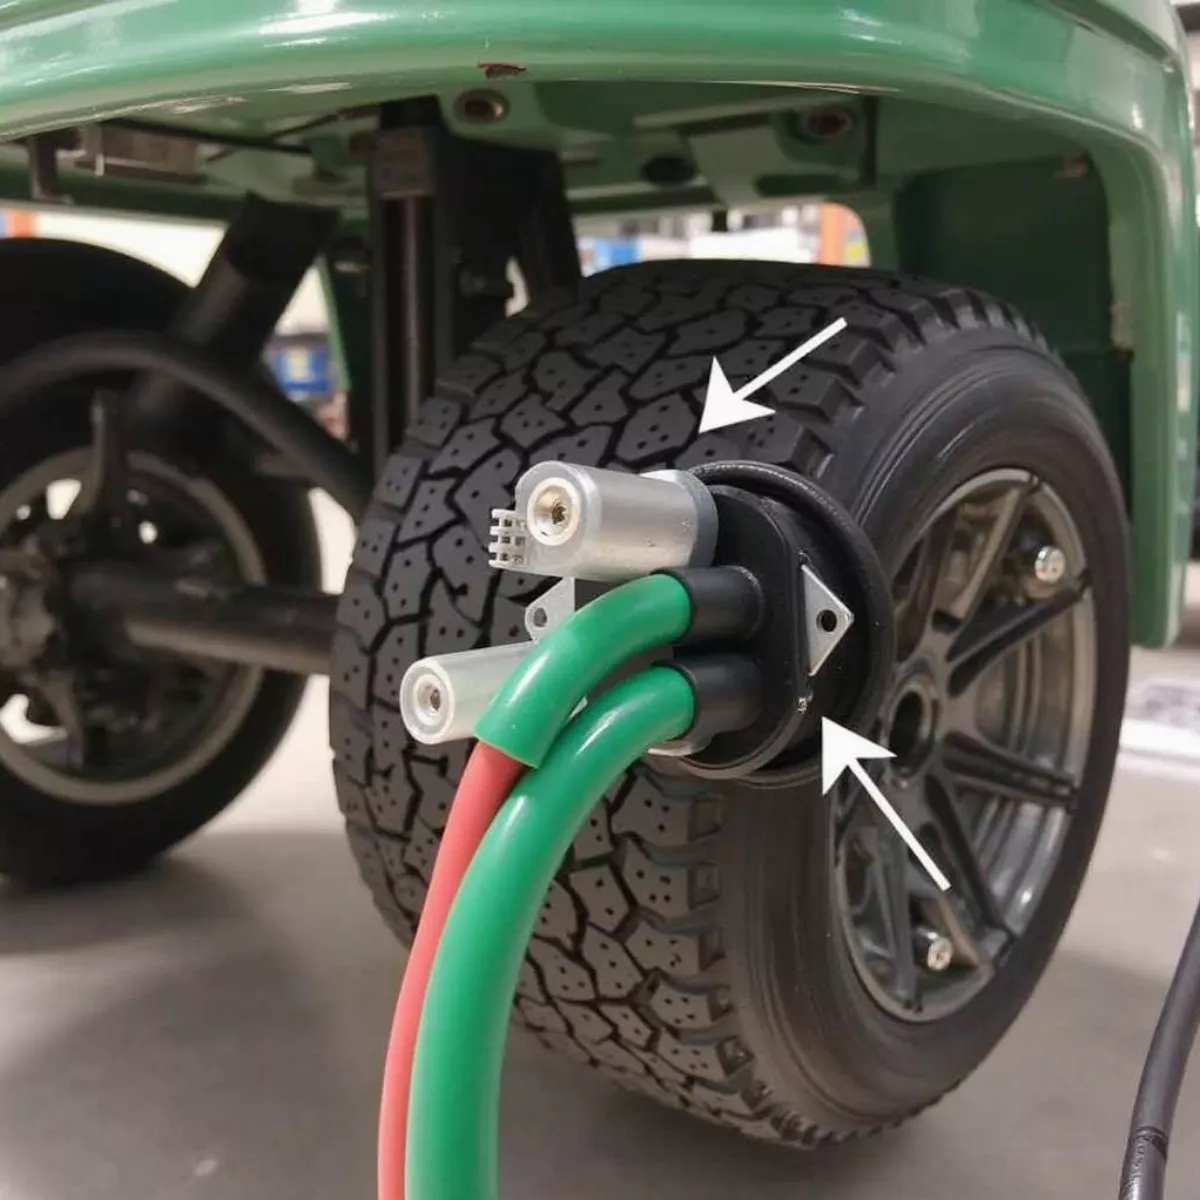
Golf Cart Solenoid Symptoms

how to test golf cart solenoid

If you’ve found yourself stranded on the golf course, the likely culprit might be a faulty golf cart solenoid. Understanding how to test a golf cart solenoid can save you time, money, and frustration. This guide will take you through the steps needed to diagnose solenoid issues effectively.

What is a Golf Cart Solenoid?

Before we dive into testing, let’s simplify what a solenoid does. In simple terms, a solenoid is an electromagnetic switch that controls the flow of electricity to the motor in your golf cart. When you press the accelerator, the solenoid engages and allows power to flow from the battery to the motor, making your cart move.

Common Symptoms of a Failing Solenoid

Recognizing the symptoms of a failing solenoid can help you address issues before they escalate. Here are some of the signs to watch for:

  • No clicking sound: When you press the gas pedal and don’t hear a clicking noise, it’s often a sign.
  • Intermittent motor operation: The motor works sometimes but fails at others.
  • Cart won’t move: Your cart is completely unresponsive.
  • Excessive heat: A hot solenoid can indicate electrical issues.
  • Burnt smell: A burnt fragrance can point to a failing solenoid or wire.

Golf Cart Solenoid SymptomsGolf Cart Solenoid Symptoms

Preparing to Test Your Solenoid

To conduct a proper solenoid test, you’ll want to gather some essential tools:

  • Multimeter
  • Screwdriver set
  • Wrenches
  • Safety gloves and goggles (always a good idea!)

Safety First

Always disconnect the battery before performing any tests to avoid shock or short circuits.

Step-by-Step Guide to Test a Golf Cart Solenoid

Here’s how to test your golf cart solenoid in five simple steps:

Step 1: Inspect the Solenoid

  1. Locate the solenoid: It’s often found near the battery pack.
  2. Check for visible damage: Look for burnt spots, corrosion, or loose connections.

Step 2: Prepare Your Multimeter

  1. Set your multimeter to the “DC Voltage” setting.
  2. Ensure all leads are connected correctly.
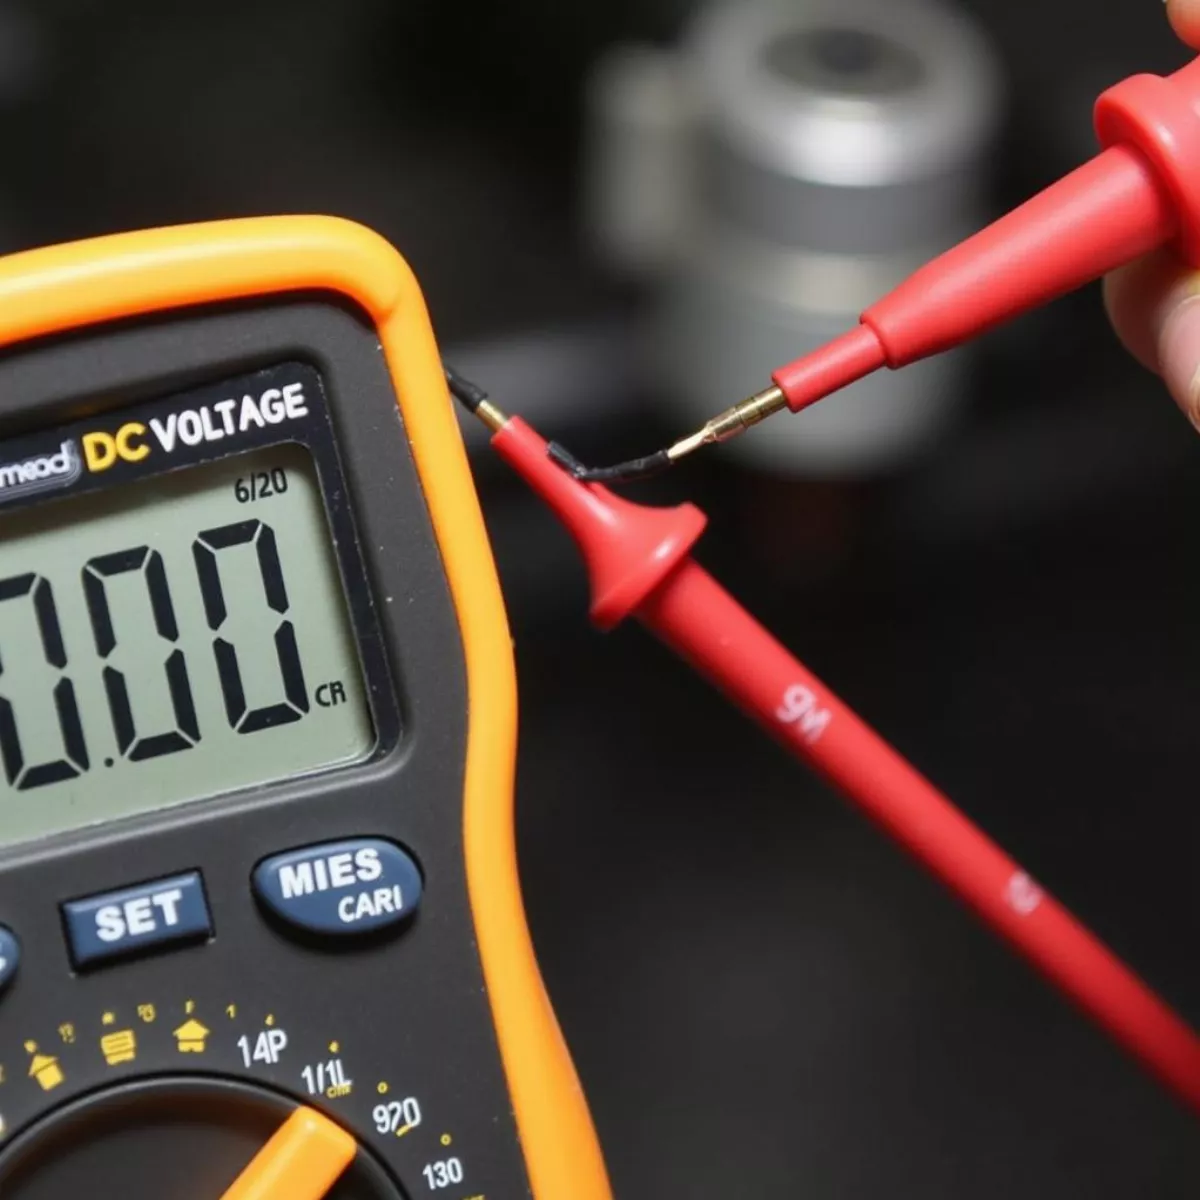
Preparing Multimeter for Solenoid TestPreparing Multimeter for Solenoid Test

Step 3: Test the Input Voltage

  1. Connect the negative lead of your multimeter to the ground terminal of the golf cart.
  2. Touch the positive lead to the input terminal of the solenoid.
  3. Now, press the accelerator. You should see a voltage reading between 36 to 48 volts, depending on your battery setup.

What If There’s No Voltage?

  • If you see zero volts, your issue lies before the solenoid—check your batteries and wiring.

Step 4: Test the Output Voltage

  1. With the negative lead still attached to ground, move the positive lead to the output terminal of the solenoid.
  2. Press the accelerator again.

You should observe a similar voltage reading as the input. If the reading is low or zero:

  • The solenoid may be defective and requires replacement.

Step 5: Check for Continuity

  1. Turn off the multimeter and switch it to the continuity mode.
  2. Disconnect the solenoid from the battery.
  3. Place one end of the multimeter on one terminal and the other end on the second terminal.
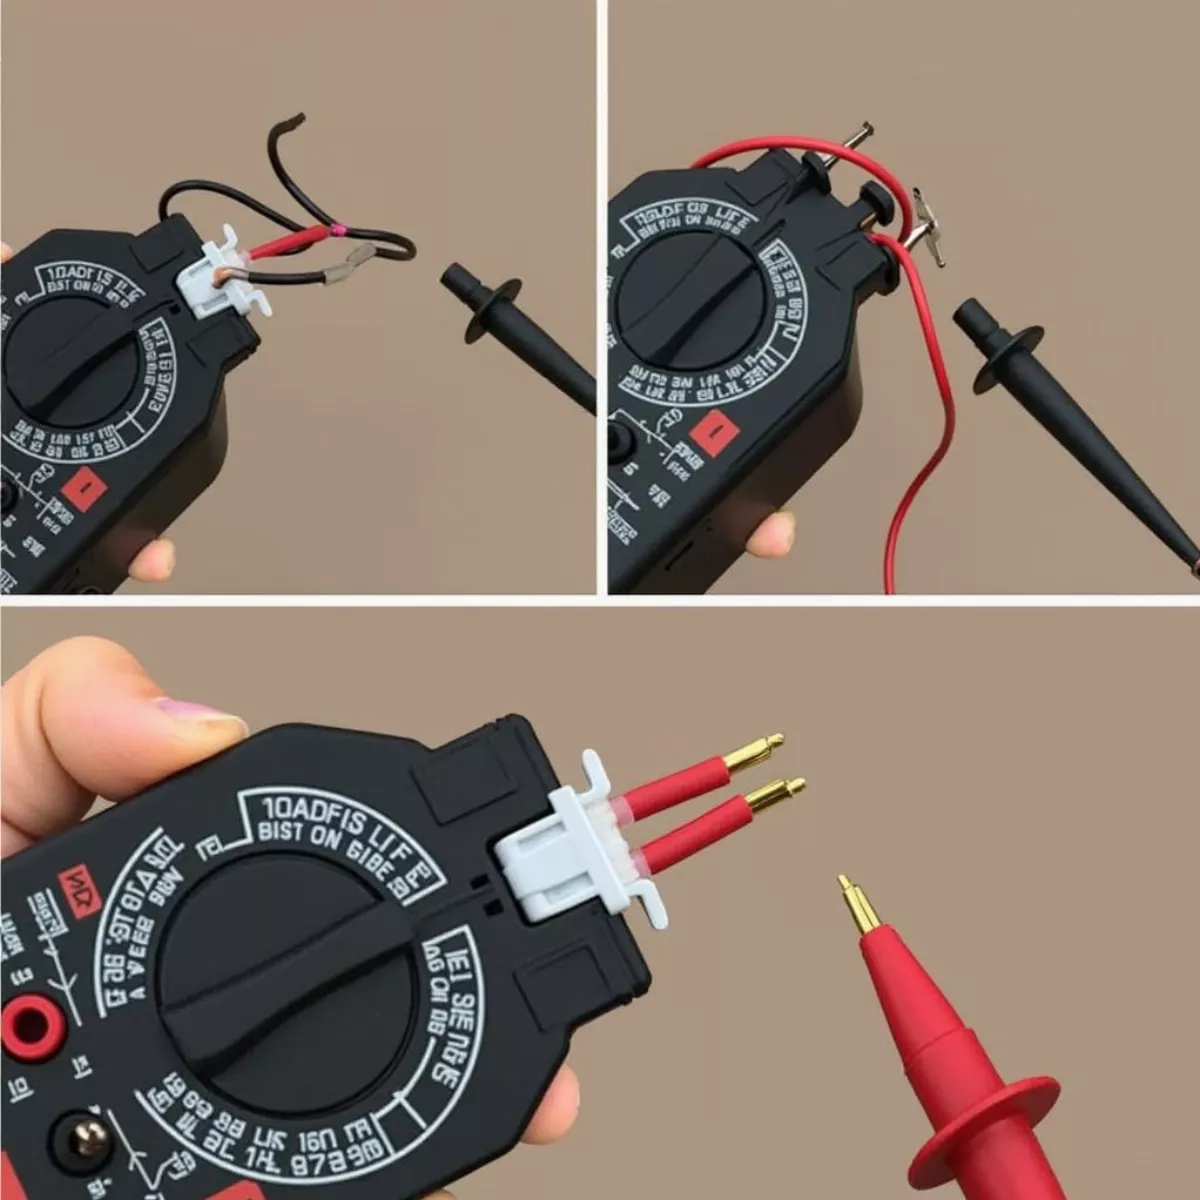
Testing Solenoid ContinuityTesting Solenoid Continuity

A good solenoid will show continuity (a beep or low resistance).

If there’s no continuity, it’s time for a replacement.

Maintenance Tips for Your Solenoid

Keeping your solenoid in good condition is essential for a smoothly functioning golf cart. Here are some maintenance tips:

  • Regularly clean connections: Remove corrosion with a wire brush.
  • Check for tight connections: Loose connections can create resistance.
  • Inspect wiring: Look for frayed or damaged wires.
  • Keep batteries charged: A well-maintained battery helps the solenoid function better.

Key Takeaways

  • The golf cart solenoid functions as an electromagnetic switch, essential for power flow to the motor.
  • Symptoms of a failing solenoid include no clicking sound, intermittent operation, and excess heat.
  • Testing the solenoid involves inspecting for damage, using a multimeter to check input and output voltage, and verifying continuity.
  • Regular maintenance such as cleaning connections and checking wiring can prolong the life of your solenoid.

FAQ Section

Here are some frequently asked questions regarding the golf cart solenoid:

  1. How do I know if my solenoid is bad?

    • If you’re not getting any power to the motor, or you hear a clicking sound but the cart won’t move, your solenoid may be faulty.
  2. Can I replace the solenoid myself?

    • Yes! With basic tools and some know-how, you can replace a solenoid efficiently.
  3. How much does a new solenoid cost?

    • Solenoid prices can vary from $20 to $100, depending on the brand and model of your golf cart.
  4. What can cause a solenoid to fail?

    • Common reasons include excessive heat, corrosion, or electrical shorts.
  5. Is there a way to temporarily bypass the solenoid?

    • You can usually use a jumper wire to connect the battery directly to the motor, but this is a temporary fix and not recommended for long-term use.
  6. What are the signs that my golf cart is getting low on battery?

    • Slow movement, dim lights, and a clicking solenoid can indicate low battery power.
  7. Can a faulty solenoid damage the cart’s motor?

    • Yes, continuous operation with a malfunctioning solenoid can lead to motor damage over time.
  8. How long do solenoids typically last?

    • With good maintenance, solenoids can last many years; however, exposure to moisture and dirt can shorten their lifespan.
  9. What type of multimeter should I use?

    • A digital multimeter with a DC voltage setting is ideal for testing golf cart systems.
  10. Are there any specific solenoid brands you recommend?

    • Look for trusted brands like Club Car, EZ-Go, or Yamaha for reliable solenoids.
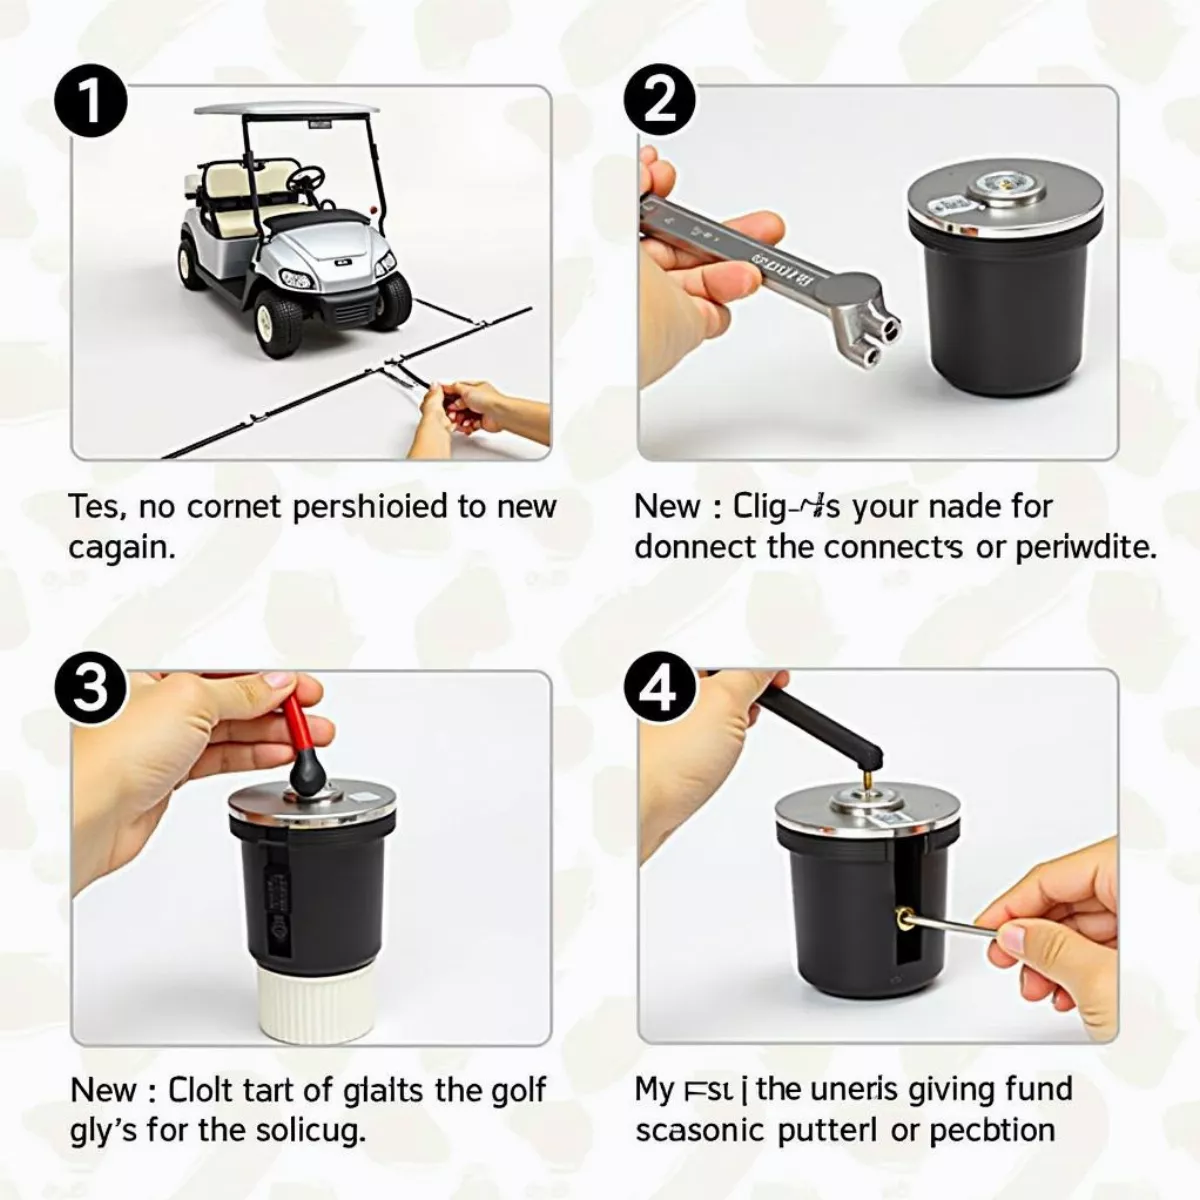
Replacing Golf Cart SolenoidReplacing Golf Cart Solenoid

By knowing how to test your golf cart solenoid and understanding its importance, you’ll be better prepared to keep your cart running smoothly. Enjoy your time on the course, and don’t let a faulty solenoid stand in your way!
Golf Cart Battery Charger Components

how to test battery charger for golf cart

If you’re an avid golfer, you likely enjoy scooting around the course in your trusty golf cart. Keeping that cart in top shape means making sure its battery charger is fully operational. But how do you know if your battery charger is working effectively? In this article, we will walk you through multiple methods to test a battery charger for your golf cart, helping you keep your cart and game on point!

Why Test Your Battery Charger?

Before diving into the how-to, let’s briefly discuss why it’s essential to test your battery charger.

  1. Safety: A malfunctioning charger can be a fire hazard.
  2. Cost Efficiency: Replacing a battery charger can be expensive. Testing can help you determine if repairs, rather than replacements, are necessary.
  3. Performance: A proper charger will ensure that your golf cart runs smoothly and efficiently.

Understanding the Components of Golf Cart Battery Chargers

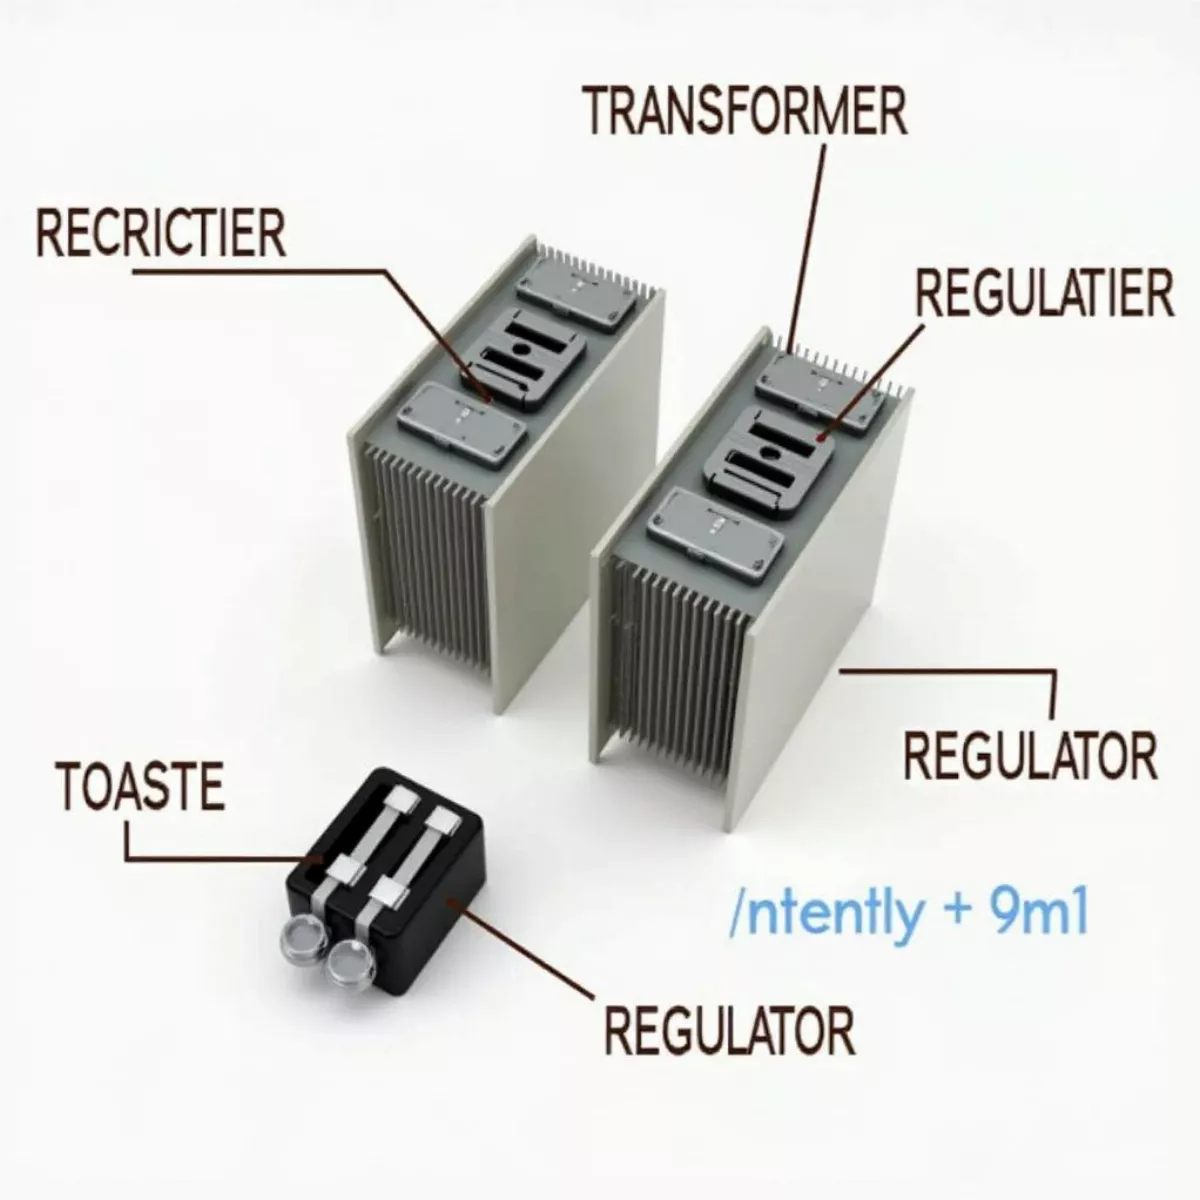
Before we start testing, it’s crucial to understand the components of a golf cart battery charger. The main parts include:

  • Transformer: Reduces the voltage from your electrical outlet.
  • Rectifier: Converts AC to DC power.
  • Regulator: Maintains the output voltage.

By knowing these components, you’ll better understand what to look for when testing your charger.

Golf Cart Battery Charger ComponentsGolf Cart Battery Charger Components

Tools Needed for the Test

To successfully test your battery charger, you’ll need some basic tools:

  • Multimeter: For measuring voltage and checking for continuity.
  • Screwdriver: To access the charger if needed.
  • Safety Gloves: Always prioritize safety when working with electrical devices.

Step-by-Step Guide to Testing Your Battery Charger

Step 1: Inspect the Charger

Before using your multimeter, visually inspect the charger for obvious signs of damage. Look out for:

  • Burn marks
  • Frayed wires
  • Loose connections

If you notice any of these signs, it might be best to replace the charger.

Step 2: Check the Input Voltage

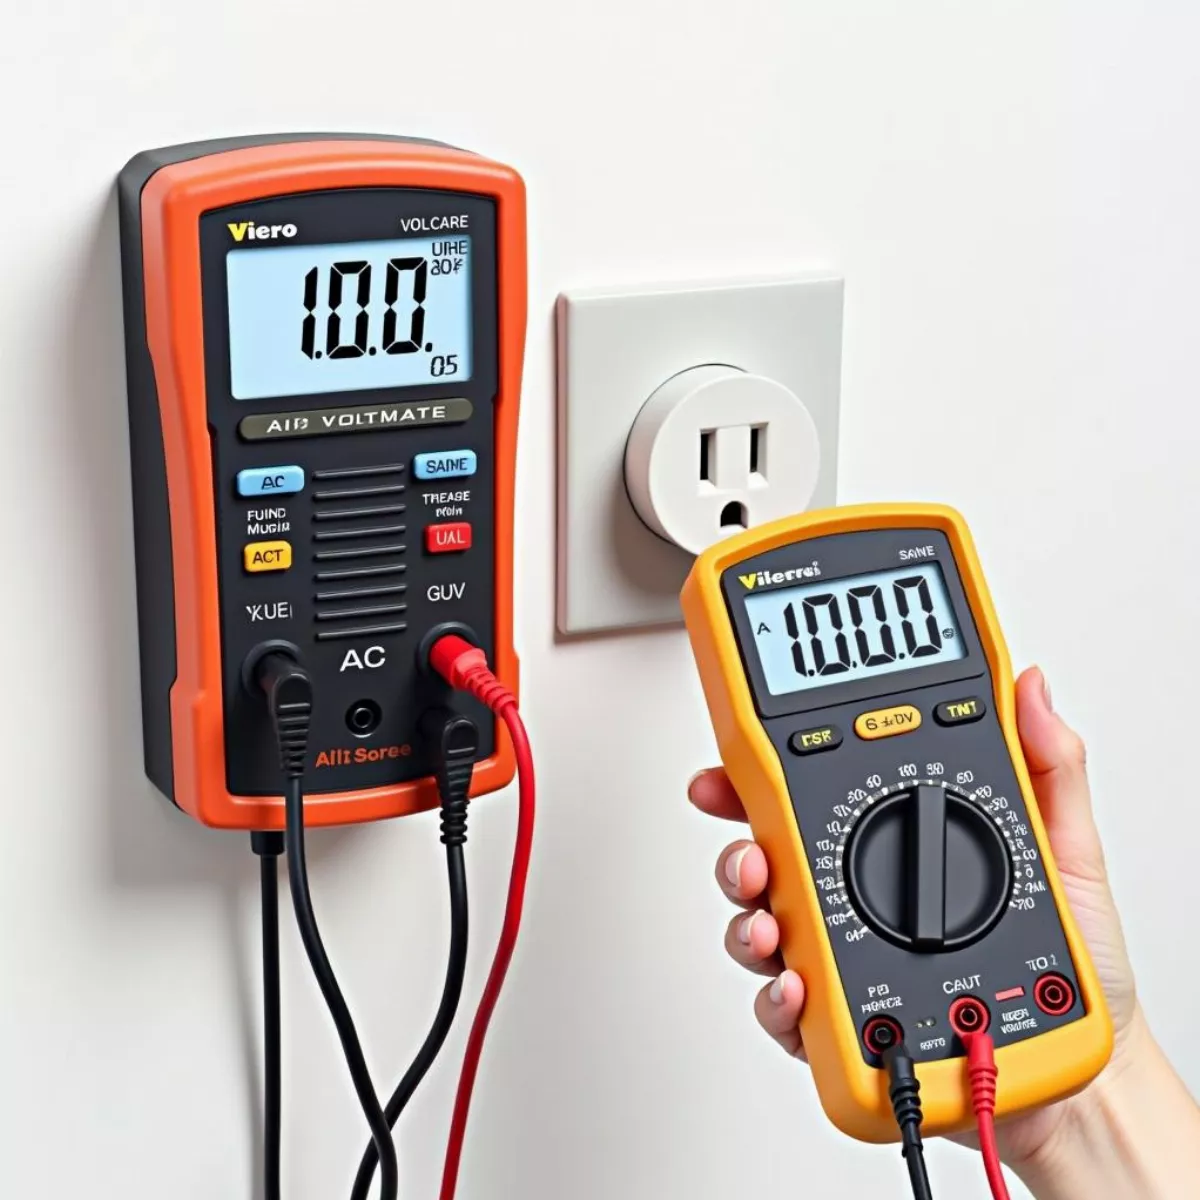
  1. Unplug the charger from the golf cart and plug it into a wall outlet.
  2. Set your multimeter to measure AC voltage.
  3. Test the outlet first to ensure it’s providing the correct voltage (usually between 110-120 volts).
  4. Next, measure the voltage at the charger’s input terminals.

Expected Reading: Your multimeter should give you a reading similar to what you found at the wall outlet. If not, the charger might be faulty.

Testing Golf Cart Charger Input VoltageTesting Golf Cart Charger Input Voltage
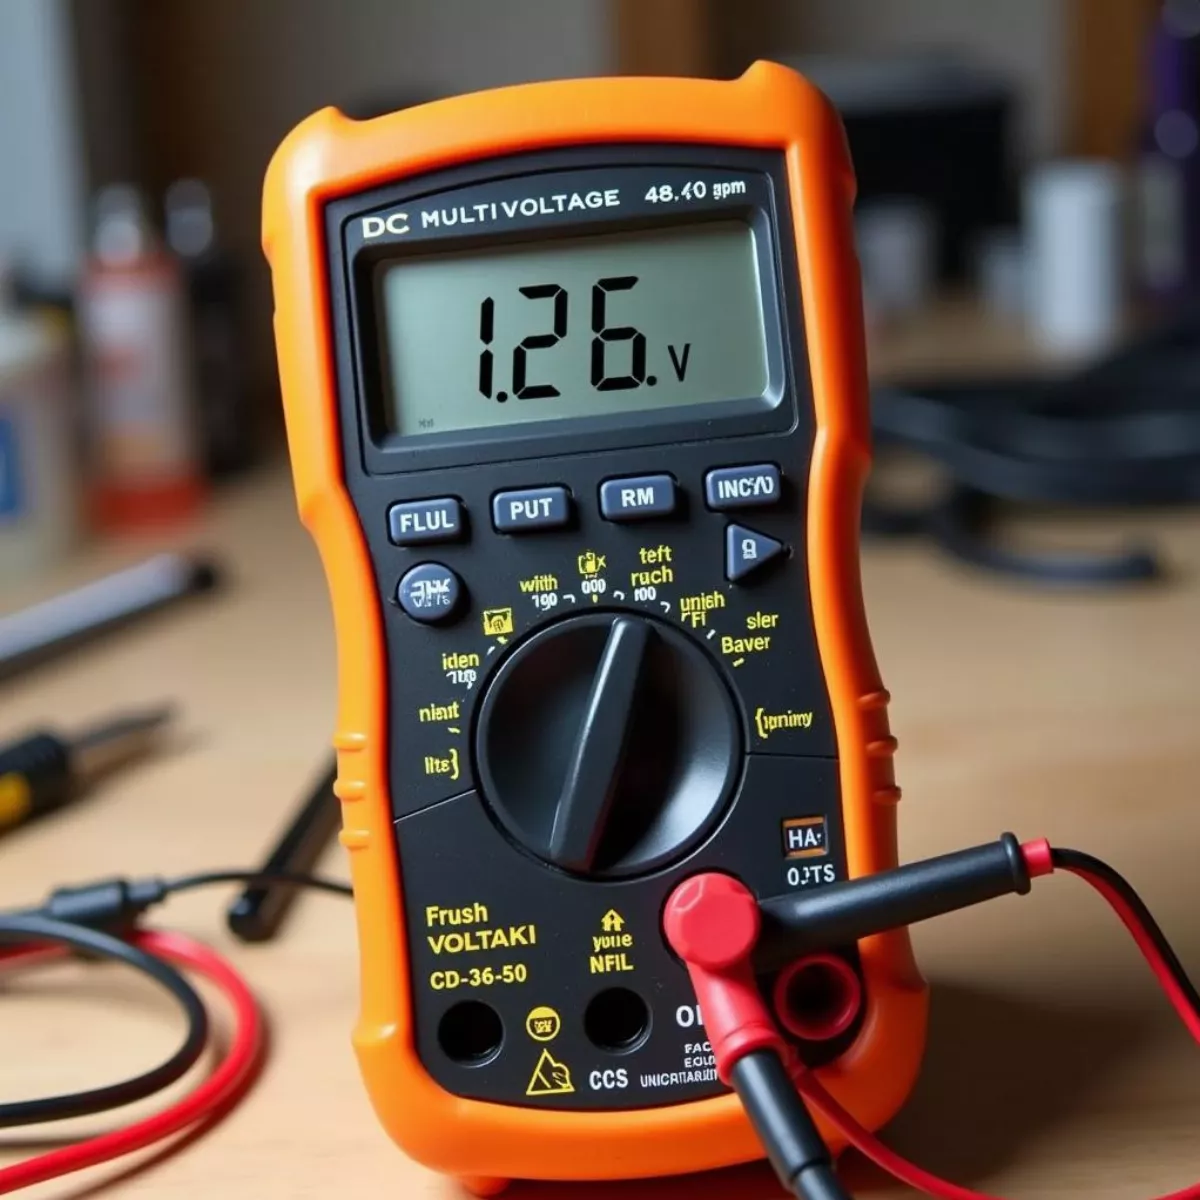
Step 3: Test the Output Voltage

  1. With the charger plugged into the wall but not connected to the golf cart, set your multimeter to measure DC voltage.
  2. Place the multimeter probes on the charger’s output terminals (be careful not to touch them with your hands).

Expected Reading: Most golf cart chargers should output between 36V to 48V, depending on the type of battery.

  • If the voltage is significantly lower than expected, the charger may not be working effectively.

Step 4: Measure Current Flow

To confirm your charger’s functionality, you can also check the current flow:

  1. Turn off the charger.
  2. Connect your multimeter in series with the output wires.
  3. Turn on the charger again.

Expected Reading: The multimeter should indicate a current flow consistent with your charger’s specifications. If not, the charger may require repairs.

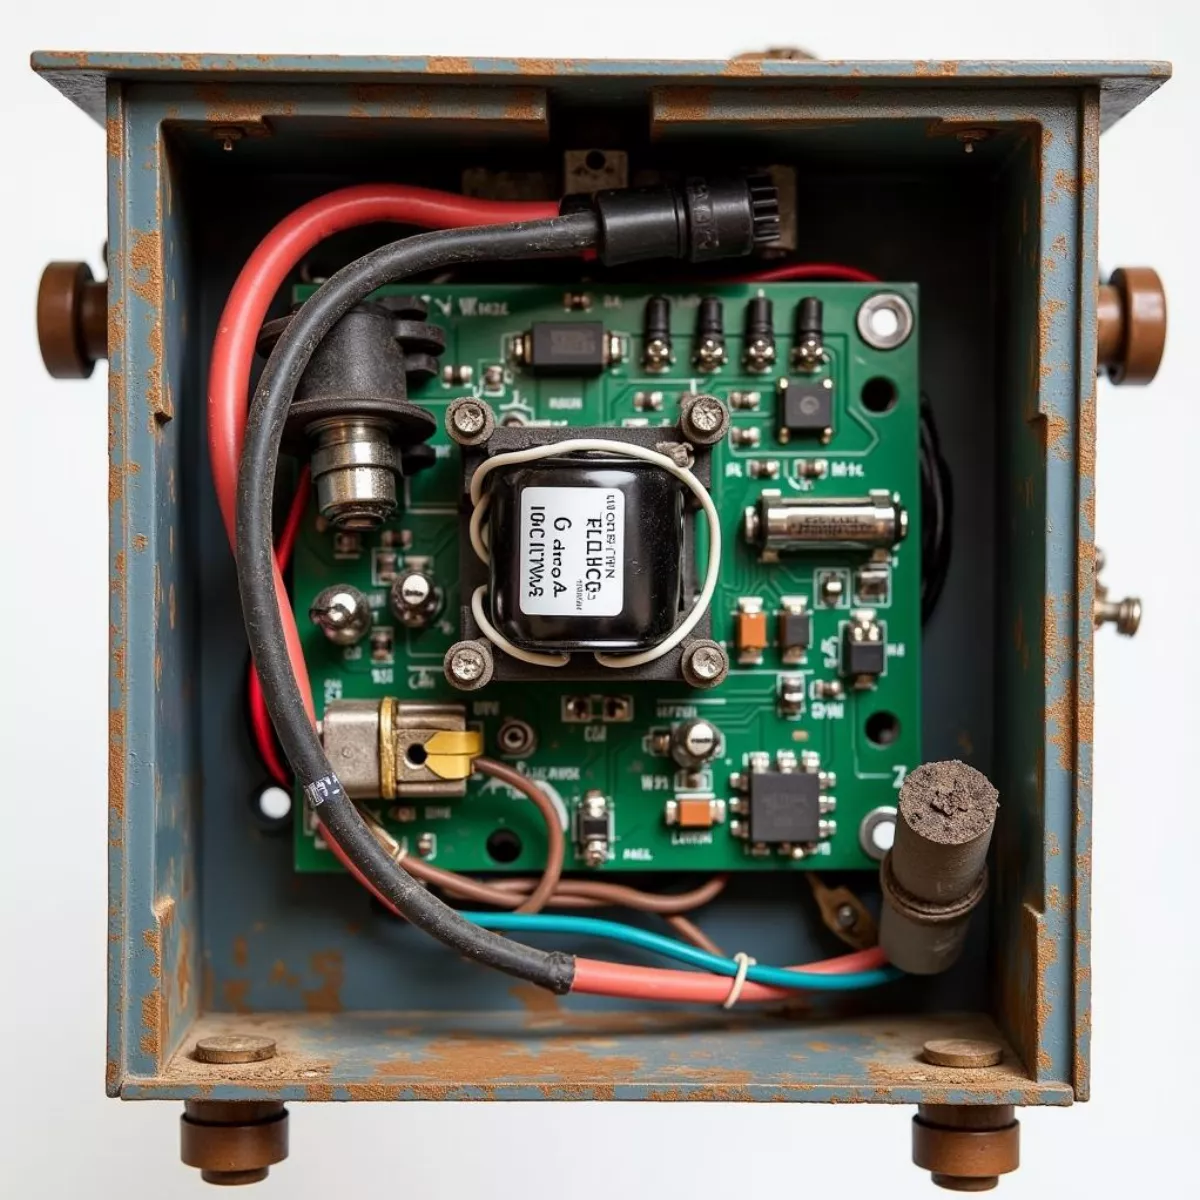
Step 5: Inspect Internal Components

If you’re comfortable doing so, open up the charger to examine internal components. Here’s what to look for:

  • Burnt Components: Look for any burnt traces on the circuit board or burnt smell.
  • Loose Connections: Ensure all components are securely attached.

If you’re not comfortable with high-voltage electronics, it’s advisable to consult a professional.

Inspecting Golf Cart Charger Internal ComponentsInspecting Golf Cart Charger Internal Components
Step 6: Check for Fault Codes

Some modern chargers display error codes. Browsing through the user manual can help you understand these codes.

Tip: Resetting the charger may help. Simply unplug it for a few minutes and then plug it back in.

Preventive Measures to Extend Charger Lifespan

Treat your charger well, and it will return the favor! Here are some preventive measures:

  • Regular Inspections: Check for wear and tear monthly.
  • Use Appropriate Settings: Never use a charger not suited for your battery type.
  • Store Properly: Keep the charger in a dry area away from extreme temperatures.

“An ounce of prevention is worth a pound of cure.” – Benjamin Franklin

Key Takeaways

  • Perform regular inspections to catch issues early.
  • Use a multimeter to check both input and output voltage.
  • Look for internal damage if the charger doesn’t perform as expected.
  • Consider consulting a professional for repairs if you are not comfortable doing the tests.

Frequently Asked Questions (FAQs)

  1. How often should I test my golf cart battery charger?

    • It’s advisable to test your charger at least once a season or if you notice charging issues.
  2. What should I do if my charger is not giving the correct voltage?

    • Check for visible signs of damage first. If no damage is apparent, consider resetting it or consult a professional.
  3. Can I use a multimeter without any electrical knowledge?

    • While it’s possible to use a multimeter, having basic electrical knowledge helps ensure accurate readings and safety.
  4. What are common signs that a charger is failing?

    • Signs include unusual noises, inconsistent voltage, or failure to charge the batteries.
  5. Is it safe to open the battery charger?

    • If you’re not trained in electrical work, it’s safer to leave internal inspections to professionals.
  6. What is the typical lifespan of a golf cart charger?

    • A well-maintained charger typically lasts 5-10 years.
  7. Can I charge my golf cart’s battery with a car charger?

    • No, car chargers are not designed for golf cart batteries and can cause damage.
  8. Should I unplug the charger after fully charging?

    • Yes, it’s best to unplug to avoid potential overcharging and heat buildup.
  9. Can I use a different charger for my golf cart?

    • Always use a charger designed specifically for your battery type to avoid issues.
  10. How can I find a replacement charger for my golf cart?

    • Check with local golf cart dealers or online retailers that specialize in golf cart accessories.

With this guide, you should feel equipped to test your battery charger for your golf cart. Regular maintenance not only saves you money but ensures that your golf cart is ready for your next round of golf! Happy golfing!

Multimeter with Probes

how to test a golf cart charger using a multimeter

Golf carts offer a convenient and eco-friendly way to travel around the golf course, neighborhoods, or even large commercial properties. A golf cart charger plays a crucial role in maintaining your cart’s battery health, ensuring you can enjoy uninterrupted rides. But what happens when your golf cart isn’t charging effectively? It’s time to get your multimeter and conduct some tests. In this guide, we’ll delve into how to test a golf cart charger using a multimeter effectively.

Why You Need to Test Your Golf Cart Charger

Over time, a golf cart charger may encounter issues due to wear and tear, lack of use, or electrical problems. Testing your charger can help you avoid costly battery replacements or downtime. Here are a few common reasons to test your charger:

  • Battery Health: Identify if the batteries are holding a charge.
  • Charger Functionality: Ensure the charger is delivering the proper voltage needed.
  • Preventative Maintenance: Catch minor issues before they become severe problems.

What You Will Need

Before you start, gather the following tools:

  • Multimeter
  • Basic Tools (for accessing battery terminals)
  • Safety Gloves
  • Safety Glasses
  • Owner’s Manual for your golf cart (optional for reference)

Understanding Your Multimeter

A multimeter is an invaluable tool for diagnosing electrical problems and measuring voltage, current, and resistance. Here’s a quick overview of the functions you’ll use while testing:

  • Voltmeter: Measures voltage potential between two points.
  • Amperemeter: Measures current flow (though not commonly needed for chargers).
  • Ohmmeter: Measures resistance in a circuit.

Multimeter with ProbesMultimeter with Probes

Step-by-Step Guide to Testing Your Golf Cart Charger

Let’s break down the process in a simple, manageable way.

Step 1: Safety First

Before you begin testing the charger, keep these safety precautions in mind:

  • Always wear safety gloves and glasses.
  • Make sure the charger is unplugged from the wall outlet.
  • Handle the batteries with care to avoid shocks.

Step 2: Locate the Charger and Batteries

Identify the charger and batteries in your golf cart. Most electric golf carts have their batteries accessible under a seat or a cover.

Step 3: Settings on Your Multimeter

  1. Turn the multimeter dial to the DC Voltage setting (usually indicated by a “V” with a straight line).
  2. Set it to a range that can read between 0-20 volts.

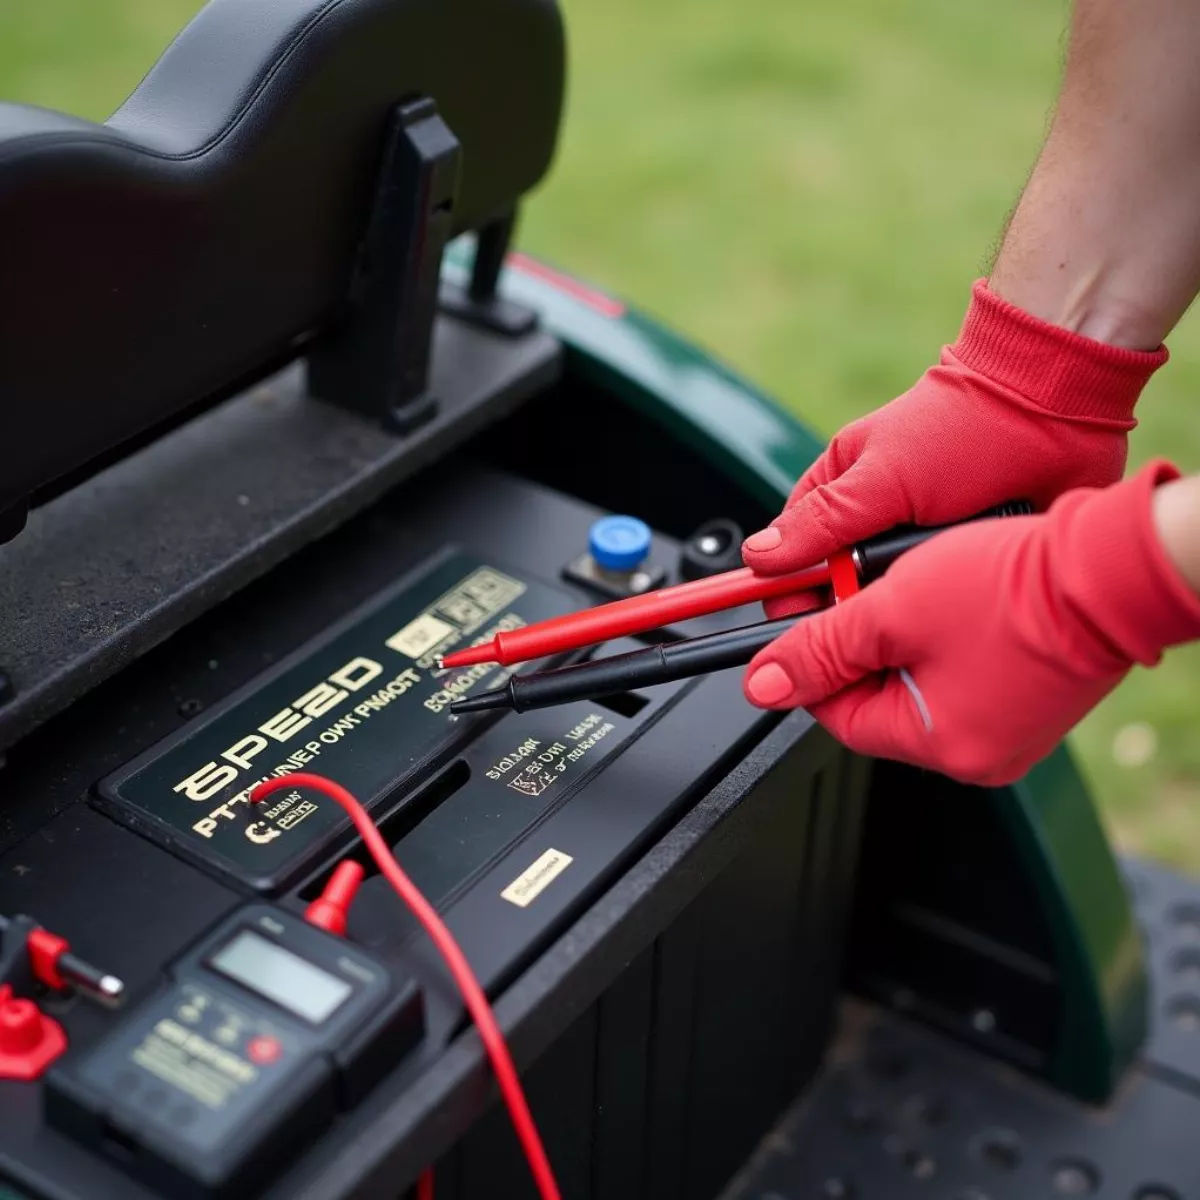
Step 4: Testing Battery Voltage

Now that you have the multimeter set, follow these steps to check the voltage:

  1. Connect the leads:
    • Place the red lead on the positive terminal of the battery.
    • Place the black lead on the negative terminal.
  2. Read the Voltage:
    • Take a note of the voltage reading.
    • It should typically be around 12.6 volts for a fully charged lead-acid battery. If you’re working with lithium batteries, refer to your specific manufacturer’s recommendations.

Connecting Multimeter to Golf Cart BatteryConnecting Multimeter to Golf Cart Battery
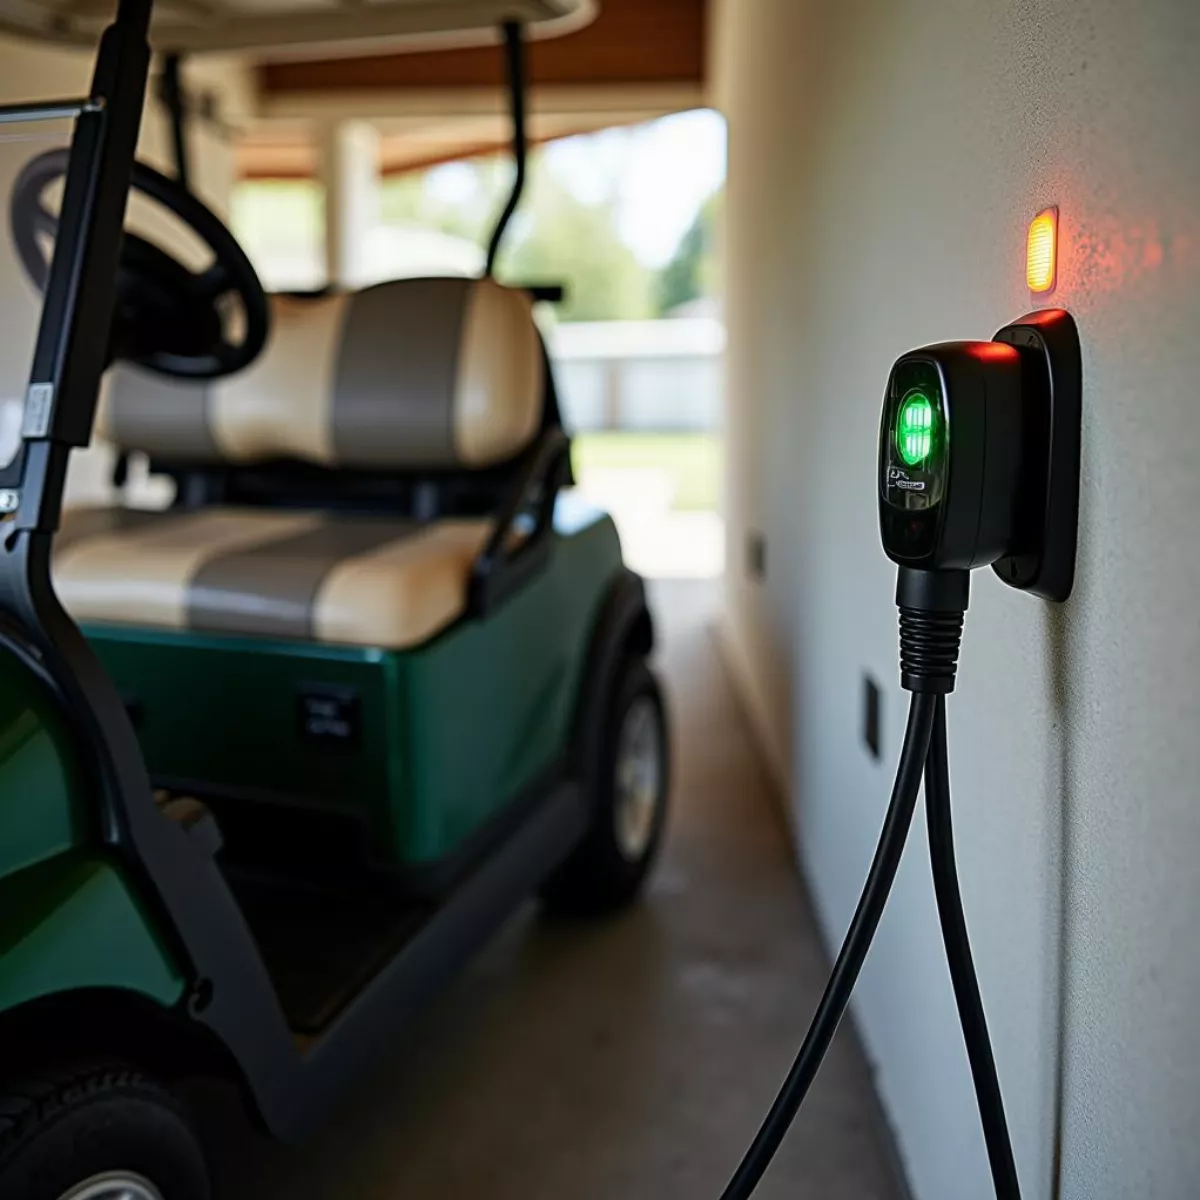
Step 5: Testing the Charger Output

Next, check the charger’s output:

  1. Reconnect your charger: Plug the charger back in.
  2. Wait for a few moments and check the voltage at the charger output terminals if accessible.
  3. Again connect the multimeter:
    • Red lead to the positive terminal of the charger.
    • Black lead to the negative terminal.
  4. You should expect a reading around 15-20 volts if the charger is functioning properly.

Step 6: Analyzing the Readings

  • If the battery voltage is low (<12 volts), your batteries could be discharged or failing.
  • If the charger output is low (<15 volts) or zero when plugged in, it may indicate a problem within the charger.

Step 7: Repeat as Necessary

If issues persist, it might be worth repeating the test on each individual battery (if using a multi-battery setup) and consulting an expert if the readings don’t seem right.

Key Takeaways

  • Always prioritize safety when working with electricity and batteries.
  • Use your multimeter to first check the battery voltage and then the charger output.
  • Look for readings that match or slightly exceed standard values to confirm functionality.
  • Document your readings for future reference.

Golf Cart on ChargerGolf Cart on Charger

Frequently Asked Questions (FAQ)

  1. What is a multimeter?
    • A multimeter is a tool used to measure voltage, current, and resistance. It’s essential for diagnosing electrical issues in various devices, including golf cart chargers.
  2. What should the voltage be when testing a golf cart battery?
    • The standard voltage for a fully charged lead-acid golf cart battery should be about 12.6 volts.
  3. What if my golf cart charger shows zero output?
    • A zero reading could indicate a faulty charger. Double-check the connections and consult a professional if the issue persists.
  4. Can I use a multimeter to check other electrical components?
    • Yes! A multimeter is versatile and can test batteries, circuits, and more.
  5. How often should I test my golf cart charger?
    • It’s a good idea to check your charger and battery condition at least once a month for optimal performance.
  6. Is it safe to test a charger while it’s plugged in?
    • Yes, as long as you’re careful and follow safety precautions. However, avoid touching the terminals directly with your body.
  7. What tools are essential for maintaining a golf cart?
    • A good multimeter, basic hand tools, and occasionally a comprehensive maintenance manual specific to your golf cart model.
  8. What causes a golf cart battery to not charge?
    • Several issues can cause this, including a faulty charger, poor battery connections, or degraded battery condition.

By following this guide, you should feel confident about testing your golf cart charger with a multimeter. Not only will you keep your golf cart in optimal shape, but you will also extend the life of your batteries and charger. Happy golfing!

Golf Cart Engine Compartment

how to take the governor off a golf cart a step by step guide

Golf carts are a convenient way to navigate around golf courses, neighborhoods, and resorts, but sometimes they just don’t provide the speed you need. If you’ve ever felt like your golf cart could perform a little better, you might be considering removing the governor. This article serves as a friendly and informative guide to help you safely and effectively adjust your golf cart’s speed limit.

Understanding the Governor

Before we dive into the steps for taking off the governor, it’s important to understand what it is and why it exists. The governor is a device installed in your golf cart that limits the maximum speed. It ensures safety, especially for inexperienced drivers, and helps reduce wear and tear on the vehicle.

Why Remove the Governor?

There are several reasons you may want to consider removing the governor:

  • Increased Speed: If you want your golf cart to reach higher speeds for recreational use.
  • Enhanced Performance: It can result in better performance, especially if you have made other enhancements to your cart.
  • Off-road Conditions: Certain terrains may require a faster vehicle response.

Important Safety Note

Before you decide to remove the governor from your golf cart, please keep in mind your own safety and the safety of others. Increased speed can lead to accidents if not handled properly. Ensure you’re familiar with the workings of your cart and adhere to local laws regarding golf cart usage.

Step-by-Step Guide to Removing the Governor

Tools You Will Need:

  • Screwdrivers (Phillips and flathead)
  • Wrench set
  • Socket set
  • Safety goggles
  • A helper (optional but recommended)

Step 1: Preparation

  1. Safety First: Wearing safety goggles is a must to protect your eyes. It’s also a good idea to work with a helper if possible.
  2. Choose a Flat Workspace: Place your golf cart on level ground for stability.

Step 2: Locate the Governor

  1. Accessing the Engine: Lift the seat or rear cover of the golf cart to expose the engine compartment. This usually involves unscrewing a few screws.
  2. Identify the Governor: Look for a small device typically connected to the throttle. It may have a spring and a linkage attached to it.

Golf Cart Engine CompartmentGolf Cart Engine Compartment

Step 3: Disconnect Power

  1. Turn Off the Cart: Ensure the cart’s power is off before you proceed.
  2. Disconnect the Battery: Removing the negative terminal of the battery (usually black) will prevent any electrical surprises.

Step 4: Remove the Governor

  1. Disengage the Linkage: Carefully detach the linkage connected to the governor.

  2. Unscrew the Governor: Using your socket set, remove any screws or bolts securing the governor in place.

    Tip: Keep the screws in a safe place in case you want to reattach the governor later.

Step 5: Reassemble the Engine Compartment

  1. Reconnect Linkage: If necessary, reattach the throttle cable without the governor.
  2. Check for Loose Wires: Make sure nothing is left disconnected.
  3. Reattach the Cover: Put the engine cover back in place and secure it with screws.

Step 6: Reconnect the Battery

  1. Reconnect the Negative Terminal: Ensure the connection is tight.
  2. Turn On the Cart: Check that everything is in order by starting the cart.

Step 7: Test Drive

  1. Initial Testing: Take your golf cart for a short drive and observe how it accelerates.
  2. Safety Check: Ensure you’re comfortable driving at the new speed and verify that the brakes are in good working condition.

Person Test Driving a Golf CartPerson Test Driving a Golf Cart

Additional Considerations

  • Always check local regulations regarding golf cart speed limits. Some areas may have restrictions.
  • If you’re uncomfortable performing these steps, consult professionals.
  • Replacing the governor is often reversible, so you can always put it back if necessary.

Key Takeaways

  • Understanding the Governor: It’s essential to know what a governor does before removing it.
  • Safety Measures are Crucial: Always wear safety goggles and disconnect the battery before starting.
  • Step-by-Step Process: Follow the steps provided to ensure a smooth and safe removal process.
  • Testing is Important: Make sure to test your golf cart after removal to ensure that all components work correctly.

FAQ

1. Can I remove the governor on any golf cart?

Yes, but the method may vary depending on the brand and model. Always consult your owner’s manual.

2. Will removing the governor damage my golf cart?

While it can increase speed, removing the governor may lead to excess wear on the engine and brakes.

3. How do I know if my golf cart has a governor?

Most golf carts do; you can usually distinguish it by looking for a small device near the throttle cable.

4. Is it legal to remove the governor?

This depends on local laws. Check the regulations in your area regarding golf cart speed limits.

5. Can I put the governor back on after removing it?

Yes, in most cases, the process is reversible, and you can reattach the governor if needed.

6. What are the risks of removing the governor?

Risks include higher speeds that can lead to accidents, reduced control, and increased wear on parts.

7. How fast can my golf cart go after removing the governor?

This varies by model, but speeds can increase by 5 to 15 miles per hour, depending on the modifications made.

8. Do I need to make other upgrades after removing the governor?

Upgrading brakes and tires is advisable to manage increased speed safely.

9. What tools do I need to remove the governor?

Basic tools like screwdrivers, wrenches, and socket sets are typically required.

10. Can I hire someone to do this for me?

Yes, if you’re not comfortable doing it yourself, many mechanics specialize in golf carts and can assist you.

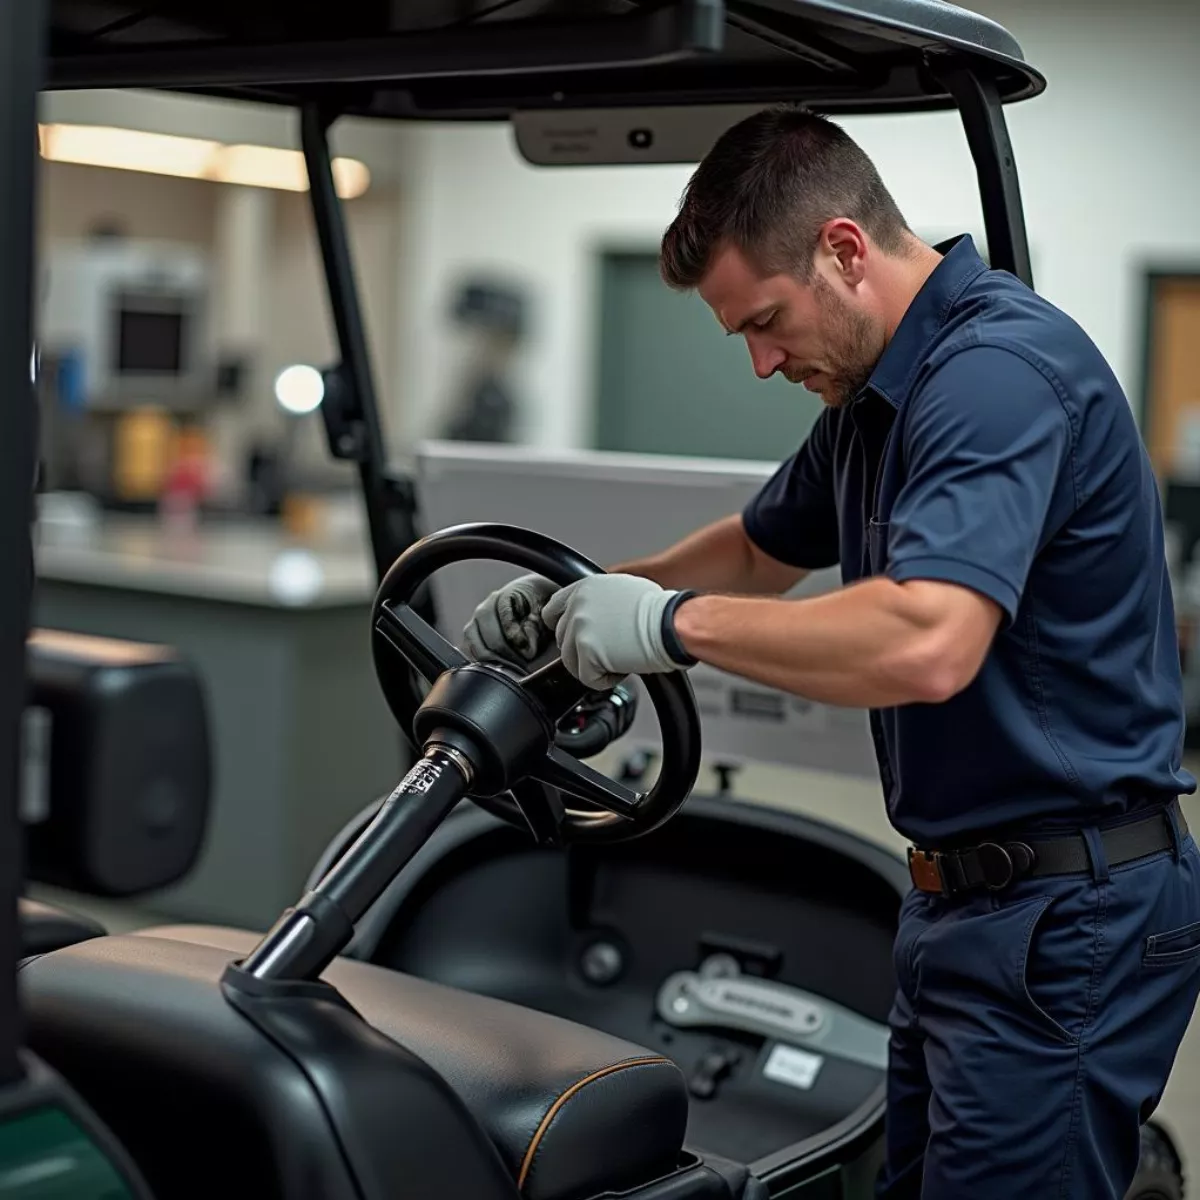
Mechanic Working on Golf CartMechanic Working on Golf Cart

Feel free to take charge and enhance your golf cart’s performance, but remember that with great speed comes great responsibility. Enjoy your rides, and always prioritize safety!

Golf cart motor upgrade

how to speed up a golf cart

Golf carts have come a long way since their humble beginnings. Whether you’re cruising around the golf course, exploring a gated community, or running errands in your neighborhood, having a faster golf cart can enhance your experience. In this guide, we’ll explore various methods on how to speed up your golf cart effectively, safely, and cost-efficiently.

Why Speed Matters

A faster golf cart not only saves time but also adds to the thrill of driving. Imagine gliding over the greens, feeling the breeze, and effortlessly catching up with friends. Plus, higher speeds can make you feel more in control and enhance the overall enjoyment of the ride.

Methods to Increase Your Golf Cart’s Speed

1. Upgrade the Motor

A high-performance motor can significantly increase your cart’s speed. Consider installing a motor with a higher voltage rating (e.g., converting from a 36V to a 48V system) to get more power.

  • **Benefits:**
    • Improved acceleration
    • Increased top speed

Golf cart motor upgradeGolf cart motor upgrade

2. Change the Batteries

If your golf cart uses lead-acid batteries, switching to lithium-ion batteries can lighten the load and offer better performance.

  • **Advantages:**
    • Longer lifespan
    • Faster charging times
    • Reduced weight for improved speed

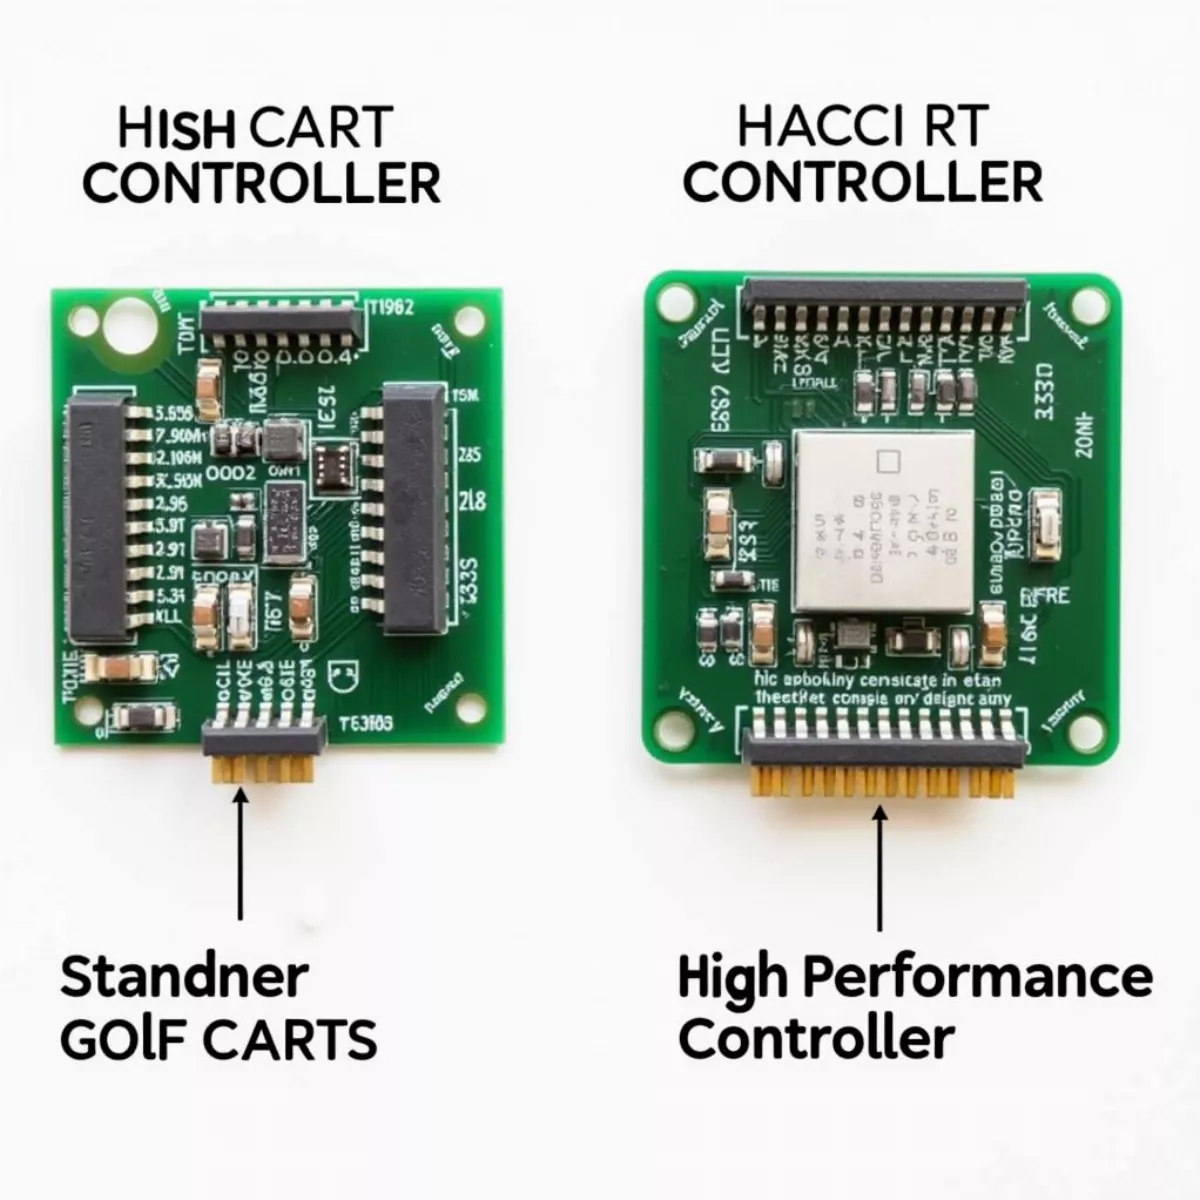
3. Upgrade the Controller

The controller regulates power to the motor. By installing a high-performance controller, you’re allowing the motor to receive more voltage and amperage, which can improve speed.

  • **Considerations:**
    • Ensure compatibility with your motor
    • Professional installation may be required

Golf cart controller comparisonGolf cart controller comparison

4. Use High-Speed Tires

Switching to low-profile tires or tires specifically designed for speed can enhance aerodynamics, helping your golf cart run faster.

  • **Recommended Options:**
    • **Street tires:** Offer better traction and speed.
    • **Lower profile tires:** Help reduce drag and improve handling.

5. Remove Excess Weight

Every extra pound can slow you down. Remove unnecessary items from your golf cart and consider stripping down any bulky accessories.

  • **Weight-saving tips:**
    • Limit passenger numbers
    • Ditch heavy coolers or storage boxes

Golf cart weight reductionGolf cart weight reduction

6. Tune the Gear Ratio

For carts with adjustable gear ratios, tuning the ratio to be more performance-oriented can enhance speed. A higher gear ratio means faster top speeds but may reduce torque.

7. Optimize Aerodynamics

Just like with cars, improving your golf cart’s aerodynamics can lead to faster speeds. Simple modifications can include:

  • **Adding a windscreen:**
    • Directs airflow for less drag.
  • **Using a body kit:**
    • Streamlines the cart for better speed.

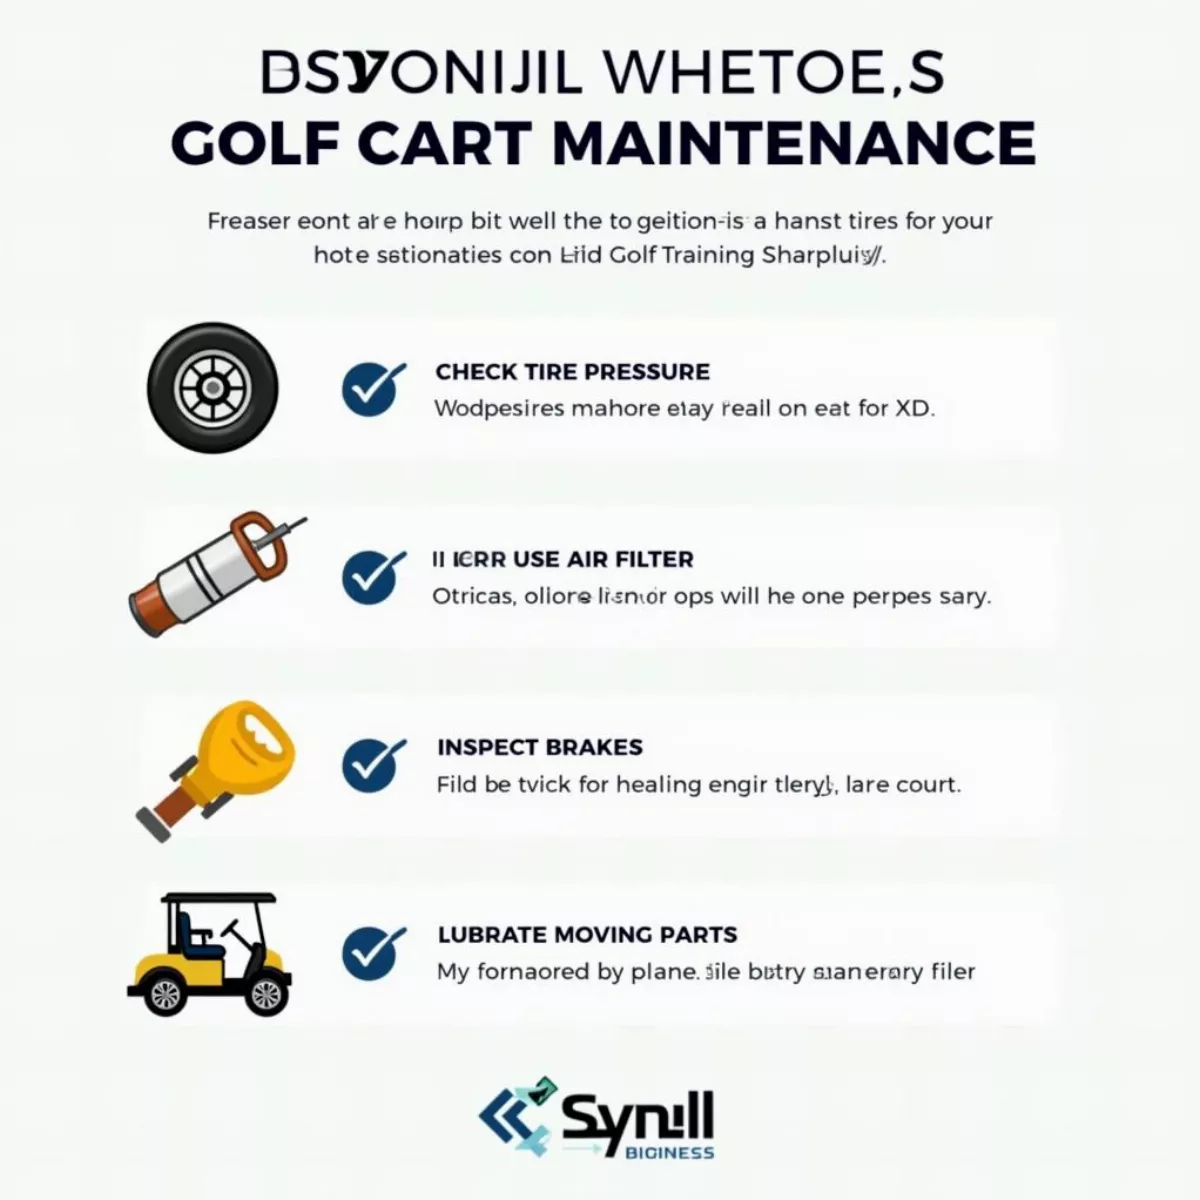
8. Regular Maintenance

Keeping your golf cart in tip-top shape is crucial for achieving its maximum speed. Regularly check and maintain:

  • **Brakes:** Ensure they’re not dragging.
  • **Tires:** Keep them inflated to the correct pressure.
  • **Chassis:** Lubricate joints and moving parts.

Golf cart maintenance checklistGolf cart maintenance checklist

9. Performance Enhancing Mods

Consider adding aftermarket parts specifically designed to boost performance:

  • **Performance Chips:** Improve throttle response.
  • **Exhaust Upgrades:** Enhance engine performance and sound.

FAQs

1. Is it legal to modify my golf cart for speed?

Yes, but ensure you comply with community and local regulations as speeding can attract fines or restrictions.

2. How fast can a golf cart go after modifications?

With upgrades, you can often achieve speeds of 20-30 mph, compared to the typical 12-14 mph.

3. Will modifying my cart void the warranty?

Modifications can void warranties, so check with your manufacturer before making changes.

4. How often should I maintain my golf cart for optimal speed?

Regular maintenance should be done every 3-6 months, depending on usage.

5. Can I convert my gas golf cart to electric for better speed?

Yes, conversion kits are available, but they can be expensive and require technical knowledge.

6. What battery brands are recommended for high performance?

Brands like Trojan, Crown, and Battle Born offer good performance and reliability.

7. Do modifications affect battery life?

Some mods may strain your battery, so it’s crucial to choose compatible components.

8. Can I do the modifications myself?

While some upgrades can be DIY, others, like electrical components, may require professional installation for safety.

9. How do I know if the modifications worked?

Testing your cart before and after modifications will provide a clear comparison.

10. What is considered a safe speed for golf carts?

While golf carts can reach speeds up to 25 mph, staying within 15 mph is generally considered safer.

Key Takeaways

  • Upgrading your **golf cart’s motor**, **batteries**, and **controller** can increase speed.
  • Removing excess weight and improving aerodynamics are simple ways to enhance performance.
  • Regular maintenance is crucial for keeping your cart at peak performance levels.
  • Always check local regulations regarding speed modifications to avoid fines.

Whether you’re aiming to win a race against friends or just want to enjoy a breezy ride, these tips will help maximize your golf cart’s potential. Take your time to research each method, consider your budget, and always prioritize safety. Happy riding!

For more information on maintenance and modifications, check out our related articles linked throughout this guide.

Golfer practicing with an alignment stick for incline plane drill

how to shallow the golf club in the downswing with me and my golf

Golf Swing Mechanics: Mastering the Shallow Downswing

Golf – a game of precision, strategy, and technique. Understanding how to properly execute a golf swing can make all the difference on the course, and one critical aspect of this is learning how to shallow the golf club in the downswing. If you have found yourself struggling with steep swings and inconsistent contact, you’ve come to the right place. In this article, we will explore the intricacies of this technique, providing insights, tips, and drills to help you transform your game.

Why Shallowing the Club is Important

Before diving into the specifics of how to shallow the club during your downswing, let’s quickly discuss why this technique is crucial:

  • Consistency: A shallow club position allows for more consistent ball striking, leading to better accuracy and distance.
  • Reduced Slice: Many golfers unintentionally create a slicing motion; by shallowing the club, you create a more neutral path for the clubhead.
  • Increased Power: A proper downswing allows for maximum energy transfer, providing more distance on your shots.

Remember, the key to a successful golf swing lies in mastering the mechanics!

Key Concepts of Club Shallowing

To achieve the shallow club position during your downswing, understanding key concepts is vital. Here’s what you need to consider:

1. Understanding the Swing Plane

The swing plane is the path that the club follows during your swing. Knowing how to control this is essential in achieving a shallow strike.

  • Steep Angle: A steep swing leads to a steep downswing, making it difficult to achieve clean contact.
  • Shallow Angle: A shallower angle allows the club to approach the ball more horizontally, ensuring better contact.

2. Body Turn

Your body movement plays a crucial role in how the club approaches the ball. Here’s how to utilize your body to help shallow the club:

  • Rotate the Hips: Initiating your downswing with a hip rotation can promote a more natural shallowing effect.
  • Maintain Posture: Ensure you keep your spine angle consistent throughout your swing.

3. Arm Structure

Your arms are an extension of your swing, and how you manage them will significantly affect your downswing.

  • Elbow Position: Keep your lead elbow pointing downwards during your downswing to help shallow the club.
  • Avoid Over-Raising: Prevent your arms from rising too much in the transition from backswing to downswing.

Now that we’ve covered the core concepts, let’s delve into specific techniques to practice shallowing.

How to Practice Shallowing the Golf Club

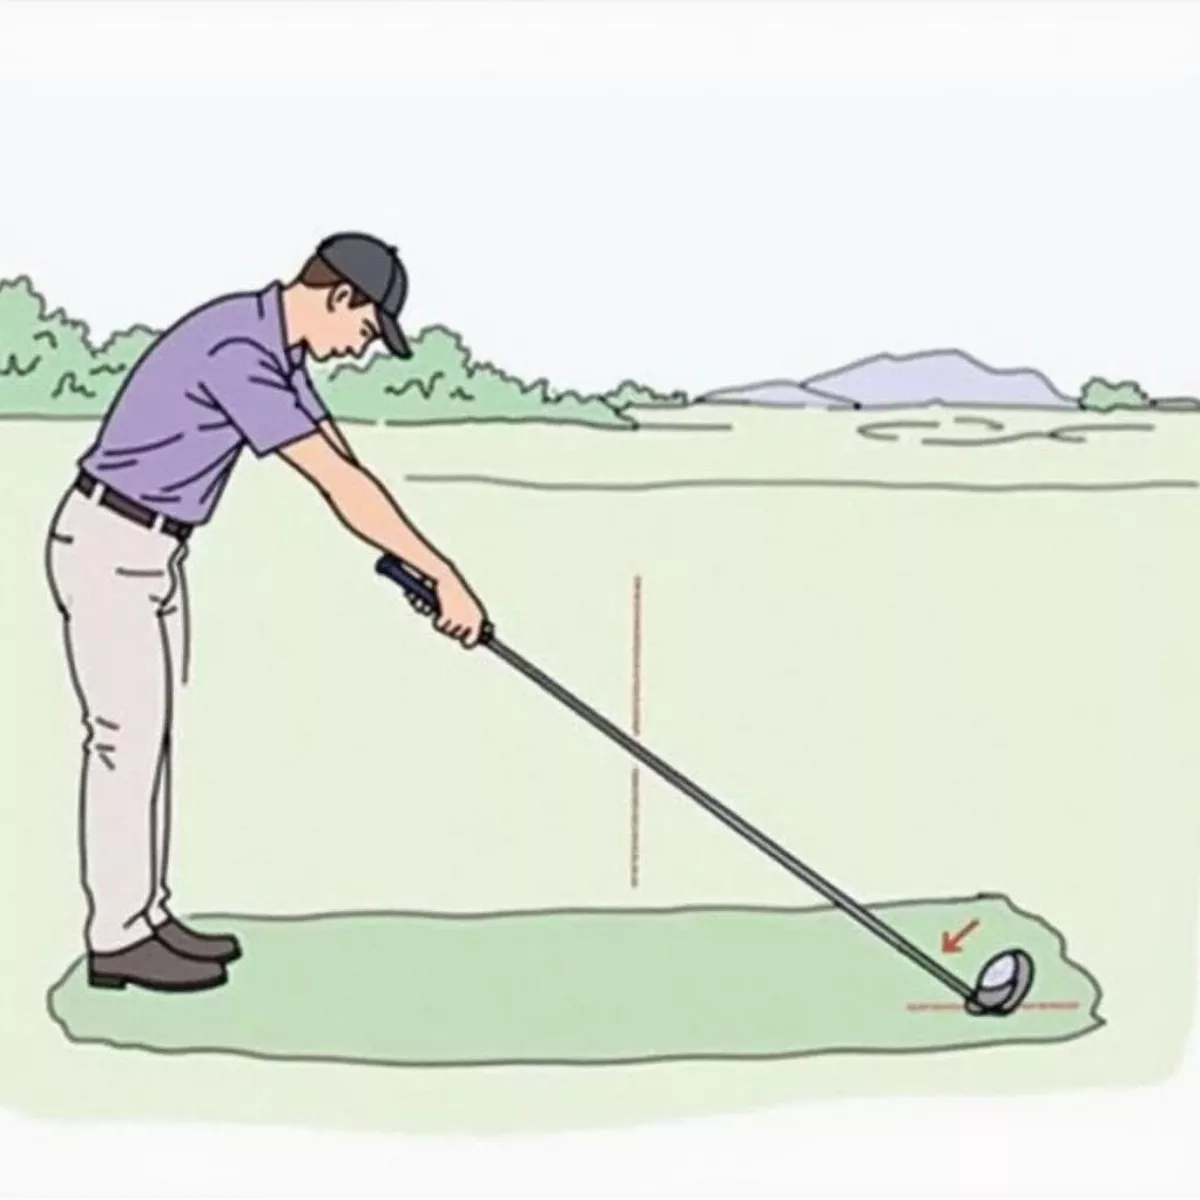
Drill 1: The Incline Plane Drill

This drill will help you visualize the correct swing plane to promote shallowing.

  1. Setup: Place a large alignment stick or club on the ground at an angle corresponding to your desired swing plane.
  2. Shadow Swing: Take practice swings without a ball, aiming to ensure your club stays connected with the stick on the way down.
  3. Focus on maintaining your elbows in front of your body.

Golfer practicing with an alignment stick for incline plane drillGolfer practicing with an alignment stick for incline plane drill

Drill 2: The Hip Bump

This drill encourages proper hip movement, encouraging shallowing.

  1. Setup: Begin your swing as usual, but at the top of your backswing, practice thrusting your hips towards the target.
  2. Feel the Weight Shift: Concentrate on pushing off your back leg and feeling your weight shift to your front leg.

Drill 3: The Single Arm Swing

Using one arm can greatly enhance your understanding of club control.

  1. Setup: Take a club and hold it with your lead arm only.
  2. Swing: Perform your swing using just one arm, focusing on the motion of the club path in relation to your body.
  3. Outcome: This drill helps promote a natural shallow motion.

Tips for Incorporating Shallowing in Your Swing

Here’s a collection of tips to ensure you incorporate this technique seamlessly into your game:

  • Slow it Down: When practicing, start off slowly to understand your changes better.
  • Video Yourself: Use video playback to see your swing and identify areas for improvement.
  • Maintain Relaxation: Tension can hinder your swing; practice relaxation techniques to improve fluidity.
  • Stay Committed: Change takes time; stay patient and committed to your practice.

Golfer practicing shallowing the club on a driving rangeGolfer practicing shallowing the club on a driving range
Key Takeaways

To effectively shallow the golf club in your downswing, remember these core principles:

  • Understand and visualize your swing plane.
  • Focus on proper body movement, especially your hip rotation.
  • Maintain a proper arm structure, and be aware of your elbow position.
  • Practice various drills to foster improvement.
  • Stay patient and committed to your practice.

Frequently Asked Questions

Q1: What is meant by “shallowing the golf club”?

A1: Shallowing the club refers to flattening the angle of the club as it approaches the ball during the downswing, encouraging a more efficient path.

Q2: How does shallowing impact my swing?

A2: It promotes more consistent contact, reduces slicing, and ultimately increases power and distance.

Q3: Can I practice shallowing indoors?

A3: Absolutely! Utilize practice swings, mirrors, and alignment sticks to practice your swing mechanics.

Q4: How long does it take to see improvements?

A4: Improvement can take time depending on practice frequency and quality, but consistent effort can yield noticeable changes within a few weeks.

Q5: Will shallowing prevent all slices?

A5: While shallowing can help reduce slices, it’s also important to examine grip and stance to fully address the issue.

Q6: Should I consult a professional?

A6: If you’re struggling to implement these changes, consider a lesson with a professional instructor for personalized guidance.

Q7: What resources can I use for further learning?

A7: Check out resources like golf instruction books, online videos, and reputable golf websites for additional insights.

Q8: Can fitness influence my ability to shallow the club?

A8: Yes, increasing flexibility and strength can significantly improve your swing mechanics, facilitating a better shallowing action.

Q9: Is it normal to struggle with this change?

A9: Yes! Making significant changes to a long-established swing can be challenging. Be patient and persistent.

Q10: How do I know if I am successfully shallowing the club?

A10: Positive indicators include better ball contact, less slicing, and improved distance on shots.

Conclusion

Learning how to shallow the golf club in your downswing can enhance your overall game significantly. With the right understanding of your swing mechanics, diligent practice, and a commitment to improvement, you will see real progress on the course. Golf is a journey; embrace the process, and have fun along the way!

For further reading on technique enhancements, check out our related articles on swing mechanics and improving contact. Let’s hit the course and practice those swings!

The Golf Channel Contact Us Page

how to send a message to the golf channel

Are you a passionate golfer with something to say to The Golf Channel? Whether you’re interested in sharing your golf story, submitting a question, or providing feedback, reaching out is easier than you might think! This ultimate guide will walk you through the best ways to send a message to The Golf Channel while keeping your communication clear and effective.

Understanding The Golf Channel

The Golf Channel is more than just a television network; it’s a community for golf enthusiasts. It offers a wealth of content, including tournament coverage, golf tips, player profiles, and much more. If you want to connect with this vibrant community, knowing how to properly send a message is crucial.

Here’s what you can expect to learn in this guide:

  • Different methods of communication
  • Best practices for effective messaging
  • Tips for a stronger connection
  • Frequently asked questions

So grab your clubs, and let’s get started!

Methods to Send a Message

The Golf Channel provides various ways to reach out, each suited to different types of inquiries.

1. Social Media

One of the quickest ways to contact The Golf Channel is through social media. They maintain active profiles on several platforms:

  • Twitter: Tweet your questions or comments using @GolfChannel.
  • Facebook: Post a message or comment on their posts to engage.
  • Instagram: Send a direct message or tag them in your relevant posts.

Using social media can be effective for quick responses or to join in on ongoing conversations.

2. Website Contact Form

For more formal inquiries, use the contact form available on The Golf Channel’s official website. Here’s how:

  1. Visit their Contact Us page.
  2. Choose the relevant topic from the dropdown menu.
  3. Fill in your name, email, and message.
  4. Submit the form!

Using the website ensures your message is routed to the right department.

3. Email

If you prefer a more direct approach, consider emailing them. Here are the key addresses:

  • General inquiries: info@golfchannel.com
  • Viewer feedback: feedback@golfchannel.com

Make sure to include a clear subject line to give context to your message.

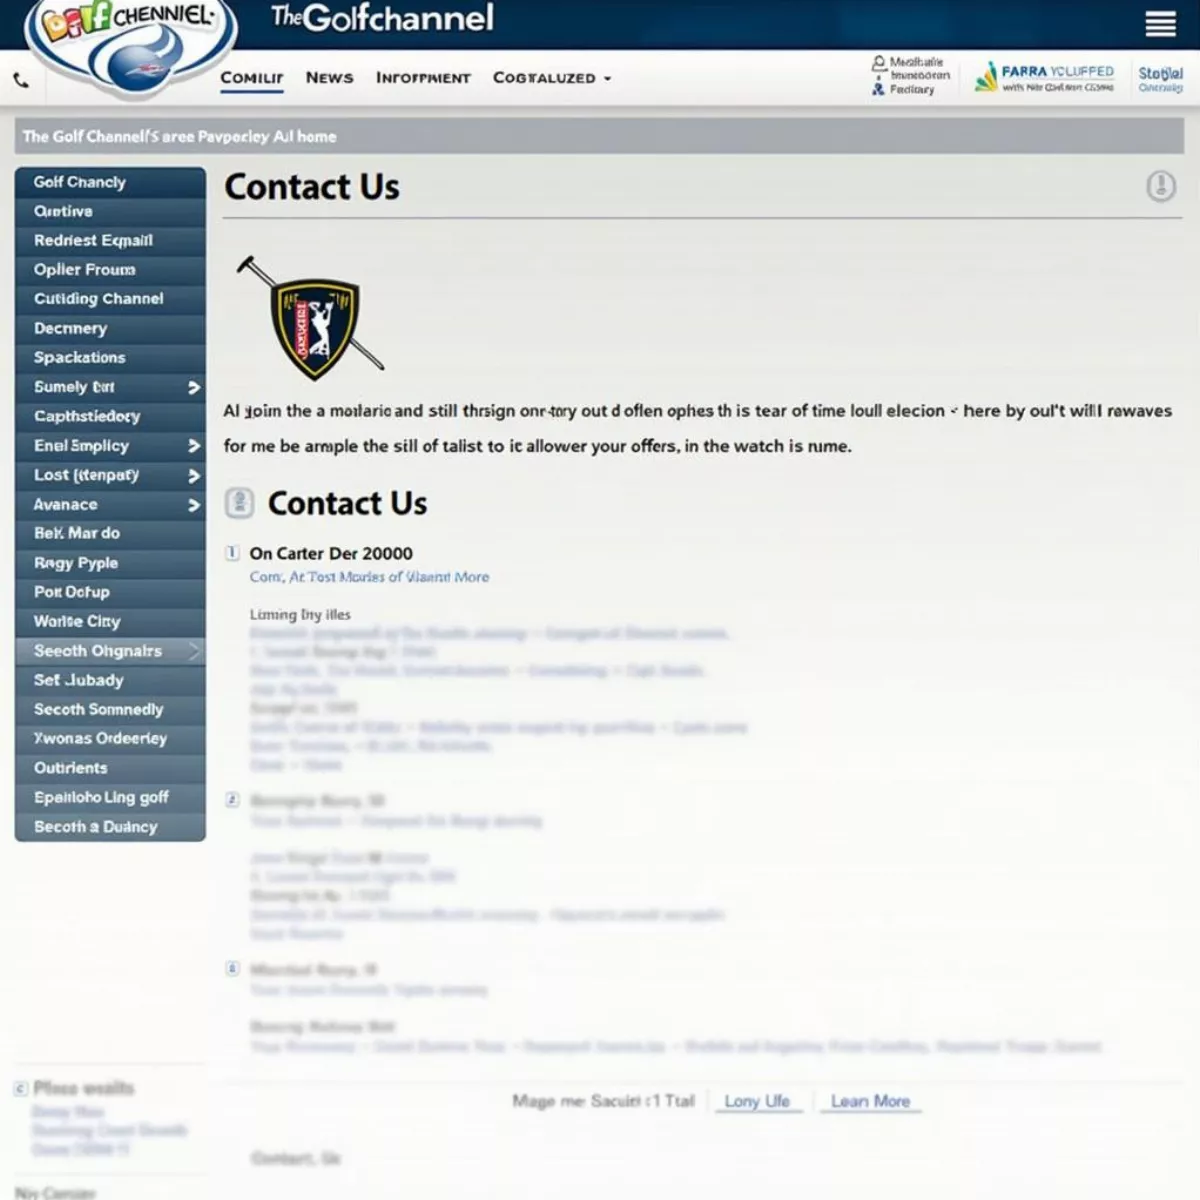
The Golf Channel Contact Us PageThe Golf Channel Contact Us Page

4. Phone Call

If you want immediate assistance, you can also call their customer service. The number can usually be found in the Contact Us section of their website. Be ready to provide information regarding your query, and be respectful of hold times.

5. Mailing Address

For those who prefer traditional means, you can send a letter. Here’s the mailing address:

The Golf Channel
7580 Golf Channel Drive
Orlando, FL 32819
USA

Just remember to include your return address!

Best Practices for Effective Messaging

Now that you know how to send your message, it’s essential to craft it effectively. Here are some best practices to ensure your communication stands out:

Be Clear and Concise

  • Use short sentences and simple words.
  • State your intent early in the message.
  • Avoid jargon unless it’s widely understood in the golfing community.

Be Polite and Respectful

A friendly approach goes a long way:

  • Start with a greeting.
  • Use “please” and “thank you.”
  • Acknowledge their time and effort.

Composing a Professional EmailComposing a Professional Email

Provide Relevant Details

If you’re asking a question or giving feedback:

  • Be specific about what you’re asking or commenting on.
  • Include names, dates, and any other pertinent information.

Proofread Your Message

Before hitting send, take a moment to check:

  • Spelling and grammar.
  • Tone and clarity.
  • Formatting (if applicable).

Tips for a Stronger Connection

Connecting genuinely with The Golf Channel will increase your chances of receiving a response. Here are additional tips:

  • Engage Regularly: Don’t just contact them when you need something. Participate in their online discussions and comment on their posts.
  • Follow Their Content: Familiarize yourself with their shows and content. Referencing specific programs can make your communication feel more personalized.
  • Stay Informed: Keep up with their latest news and updates. This can help frame your message around current events.

Key Takeaways

To summarize, here’s a concise list of the core steps to send a message to The Golf Channel effectively:

  • Choose your method: Social media, website, email, phone, or traditional mail.
  • Be clear and concise: State your purpose and avoid unnecessary jargon.
  • Be polite and respectful: This fosters a positive connection.
  • Provide relevant details: Ensure they understand your inquiry clearly.
  • Proofread your message: Eliminate errors and enhance clarity.

Engaging with Golf Channel Content on Social MediaEngaging with Golf Channel Content on Social Media
FAQs

1. What is the best way to contact The Golf Channel?

Social media is often the quickest way, but emails provide a more detailed platform for your messages.

2. Can I send questions about golf rules?

Yes, you can send inquiries about golf rules through any communication method mentioned above. They may forward your question to an expert.

3. How long does it take to get a response?

Response time varies depending on the communication method; social media inquiries may get quicker responses, while emails may take longer.

4. Are there any specific hours for customer service calls?

Usually, customer service operates during regular business hours, but check their website for specifics.

5. Can I submit my golf story?

Absolutely! Sending your story through the website contact form or email is a great way to share your experiences.

6. What should I include in feedback?

Include details about the content, what you liked or didn’t, and suggestions for improvement.

7. Is there any character limit on social media?

Yes, platforms like Twitter have character limits, so keep your message brief and to the point.

8. Can I send pictures in my message?

This depends on the method; social media allows pictures, but emails and forms may have file size limits.

9. Do they accept guest submissions for articles?

Check their website in the submissions section, as they may have guidelines for contributors.

10. Can I reach out about merchandise questions?

Yes, for queries related to merchandise, it’s best to contact them through their customer service or website form.

Now you’re all set to send your message to The Golf Channel! By following this guide and implementing the recommendations, you’ll communicate effectively, leaving a lasting impact. Happy golfing!

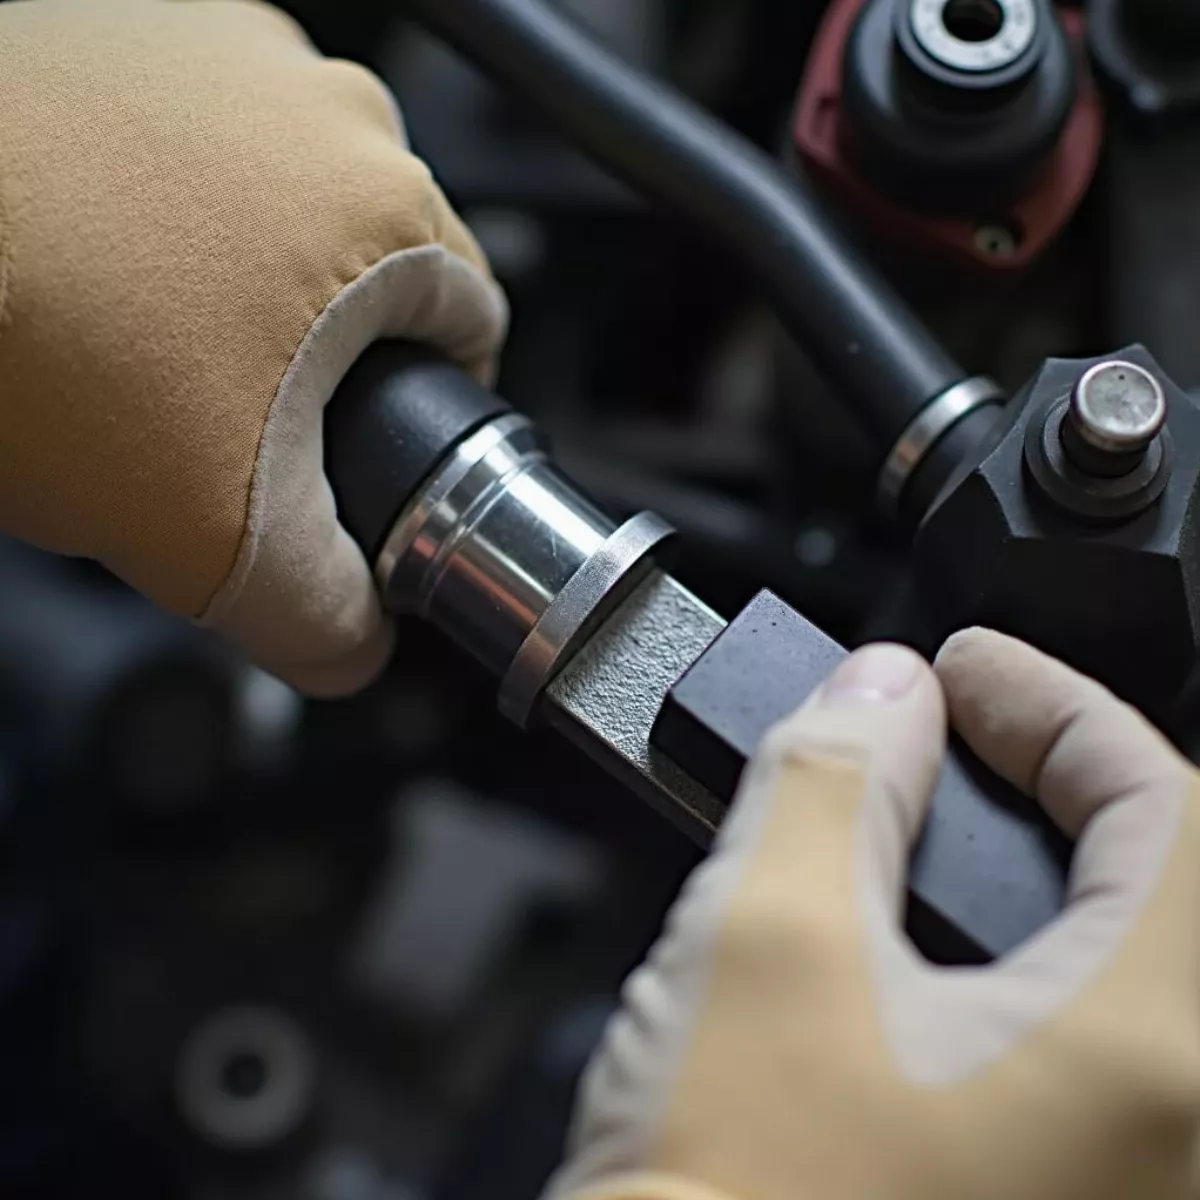
Removing Governor Weight

how to remove the governor on a golf cart

Golf carts are not just for the greens anymore; they’re becoming popular for neighborhood cruising and off-road adventures! However, many golf carts come with governors—devices designed to limit speed and ensure safety. If you’re looking to remove the governor for better performance, you’re in the right place. This article will guide you step by step while ensuring you stay safe and informed.

What is a Governor?

Before diving into how to remove a governor from a golf cart, let’s clarify what it is. A governor is a mechanical device that restricts the engine’s speed. It’s included by manufacturers to promote safety and avoid accidents, especially for inexperienced drivers.

While these devices have their place, you might feel limited in your golf cart’s speed and performance. Whether you’re taking it to the golf course or using it for general transport, removing the governor can enhance your driving experience significantly.

Why Remove the Governor?

There are several reasons why one might want to remove the governor from a golf cart, including:

  • Increased Speed: Removing the governor can give your golf cart a needed speed boost, allowing it to reach up to 25 MPH or more.
  • Performance Upgrade: Removing speed limits can improve acceleration and overall performance, useful for towing or off-road driving.
  • Customization: A lot of golf cart owners enjoy customized experiences; removing the governor can be part of that.

Important Consideration

Before proceeding, understand that removing the governor can impact your cart’s warranty and compliance with local regulations. Always check your local laws to ensure your golf cart modifications are legal.

Step-by-Step Guide to Remove the Governor

Tools You May Need

Before you start, gather the tools listed below:

  • Wrench set
  • Socket set
  • Screwdriver
  • Pliers
  • Safety goggles
  • Work gloves

Removal Process

Step 1: Safety First

Ensure the golf cart is on a flat surface and the power is turned off. Disconnect the battery for added safety.

Step 2: Locate the Governor

  • For many golf cart models, the governor is located on the engine. Common types like Club Car, Yamaha, and EZGO have their governors situated differently.
  • Club Car: Check near the rear end of the engine.
  • Yamaha: Look at the throttle side of the carburetor.
  • EZGO: Generally found on the rear of the engine or near the accelerator.

Step 3: Disconnect the Governor

  • Remove the clutch cover: Use your wrench to disconnect any bolts holding the cover.
  • Detach governor arm: Locate and carefully pull off any linkages or arms connected to the governor.

Step 4: Remove the Governor Weight

  • For carts with a centrifugal governor, you will need to remove weights attached to the governor. Carefully unscrew and detach them.

Removing Governor WeightRemoving Governor Weight

Step 5: Reassemble

  • After confirming everything is removed, reassemble the engine components, ensuring no loose parts are left unaccounted for.

Step 6: Reconnect the Battery

Once everything is securely in place and looks good, reconnect the battery cables.

Step 7: Test Drive

Take your golf cart for a spin! Start at a slow speed to ensure everything is functioning properly. Gradually accelerate to test the increased speed capabilities.

Key Tips for Success

  • Consult Your Manual: Always refer to your golf cart’s owner manual for detailed instructions tailored to your specific model.
  • Consider Professional Help: If you’re uncomfortable performing the steps yourself, consider hiring a professional mechanic who specializes in golf carts.

Key Takeaways

  • Golf cart governors limit speed for safety; removing them can boost performance.
  • Ensure legal compliance and safety before removal.
  • Gather necessary tools and follow a systematic approach.
  • Test drive your modified cart to ensure optimal performance.

Golf Cart Off-RoadingGolf Cart Off-Roading

Frequently Asked Questions (FAQ)

  1. Is it legal to remove the governor on a golf cart?

    Answer: It depends on your local laws. Always check your local regulations before making any modifications.

  2. Will removing the governor void my warranty?

    Answer: Yes, tampering with manufacturer equipment like governors often voids warranties.

  3. Can I put the governor back after removal?

    Answer: Yes, most governors can be reinstalled if needed, though you may need to retain all removed parts.

  4. How much speed can I gain by removing the governor?

    Answer: Typically, you can gain between 5-15 MPH, depending on the model and the modifications made.

  5. Can I safely drive my golf cart faster?

    Answer: Yes, but be mindful of safety and the cart’s ability to handle higher speeds. Make sure the brakes and tires are capable.

  6. What are the risks of removing the governor?

    Answer: Risks include compromised safety, higher chances of accidents, and potential mechanical failures.

  7. Will this modification affect battery life?

    Answer: Yes, higher speeds may lead to increased battery drain, requiring more frequent recharges.

  8. Do I need to change any other parts for better speed?

    Answer: It’s a good idea to consider upgrading tires or the motor for improved performance alongside governor removal.

  9. Are there any aftermarket options for speed enhancement?

    Answer: Yes, many aftermarket speed chips or performance kits are available specifically for golf carts.

  10. What’s the best way to maintain speed after governor removal?

    Answer: Regular maintenance, such as checking the battery, ensuring tire pressure, and tuning the engine, will help maintain speed.

By following this guide, you should now be equipped with all the information to remove the governor from your golf cart safely and effectively. Whether you’re looking to enhance your speed for joyrides or off-road adventures, remember to prioritize safety above all else. Happy driving!

EZGO Golf Cart Speed Limiter

how to remove speed limiter on ezgo golf cart

If you’re a golf cart enthusiast, you might find yourself itching for a little more speed on the course or around the neighborhood. An EZGO golf cart is known for its reliability and versatility, but some models come equipped with speed limiters to ensure safety and prolong battery life. In this guide, we’ll walk you through how to remove the speed limiter on your EZGO golf cart while keeping safety in mind. Let’s dive in!

Understanding Speed Limiters

Before we get into removing speed limiters, it’s important to understand what they are and why they are installed on golf carts.

  • What is a Speed Limiter?

A speed limiter is a device designed to restrict the maximum speed of a vehicle. In golf carts, this is often set to prevent accidents and maintain control.

  • Why Are They Used?

Speed limiters can help with safety for inexperienced drivers, conserve battery life, and enhance the longevity of the vehicle. However, some drivers may find these restrictions inconvenient.

Do You Need to Remove the Speed Limiter?

Before taking any action, consider whether you truly need to remove the speed limiter. Here are some questions to ponder:

  • Will you be driving in areas where speed is a concern?
  • Do you have experience operating faster vehicles?
  • Are the benefits worth the potential risks?

The Pros and Cons of Removing the Speed Limiter

Pros Cons
Increased performance and speed Higher risk of accidents
Enhanced driving experience Greater battery consumption
Improved vehicle responsiveness May void warranty if not done correctly

EZGO Golf Cart Speed LimiterEZGO Golf Cart Speed Limiter

Steps to Remove the Speed Limiter on EZGO Golf Carts

Now that you’ve weighed the pros and cons, let’s look at how to safely remove the speed limiter from your EZGO golf cart. Follow these steps carefully to ensure you do it right.

Tools You’ll Need

  • Socket wrench set
  • Screwdriver set
  • Multimeter (optional, for double-checking connections)
  • Safety glasses
  • Gloves

Step-by-Step Instructions

  1. Locate the Limiter

    • For EZGO electric models, the speed limiter is usually found on the controller. The controller is typically located under the seat at the rear of the cart.
    • For gas models, it could be located on the throttle assembly.
  2. Disconnect the Battery

    • Safety first! Before working on any electrical components, disconnect the battery terminals. Start by removing the negative terminal to avoid accidental short circuits.
  3. Access the Speed Limiter

    • Use your socket wrench to remove any screws or bolts holding the controller cover in place. Take care to keep all parts organized.
  4. Identify the Speed Limiter Wires

    • Look for the wires connected to the speed limiter. Usually, these wires will be color-coded (check your owner’s manual for accurate identification).

EZGO Golf Cart Speed Limiter WiresEZGO Golf Cart Speed Limiter Wires

  1. Modify or Remove Wires

    • Carefully cut or disconnect the speed limiter wire, ensuring you do not damage other components. If you’re uncertain, it’s a good idea to consult the manual or a professional.
  2. Reconnect the Battery

    • After making changes, reconnect the negative terminal on the battery, and make sure all your connections are secure.
  3. Test the Cart

    • Power on the golf cart and take it for a test drive. Ensure that the speed limiter is disabled and check for any unusual sounds or behaviors. If you notice anything odd, it’s best to consult a professional.

Important Safety Reminders

  • Always wear safety glasses and gloves when working on your golf cart.
  • Make sure you perform this process in a well-ventilated area.
  • Be cautious of how fast you drive your golf cart after modification. Increased speed can lead to accidents.

When to Consult a Professional

Sometimes, the DIY route isn’t the best option. If you feel uncomfortable or unsure about any part of the modification, it might be wise to consult with a professional mechanic or a service center specializing in golf carts.

Key Takeaways

  • Understand the function of speed limiters before deciding to remove them.
  • Assess the risks and benefits of modifying your golf cart.
  • Follow the steps carefully to ensure safe removal of the speed limiter.
  • Always prioritize safety by wearing appropriate gear and considering professional help if needed.

Frequently Asked Questions (FAQs)

1. Will removing the speed limiter void my warranty?

Yes, tampering with the golf cart’s components, including the speed limiter, can void your warranty. Always check with your manufacturer for specifics.

2. What is the average speed of an EZGO golf cart?

Typically, an EZGO golf cart can reach speeds of 12-20 mph, depending on the model and conditions. Removing the speed limiter can increase this.

3. How can I tell if the speed limiter is working?

A quick test drive should help you determine if the speed limiter is functioning. If the cart doesn’t exceed the expected speed limits, it may be working properly.

4. Can I install a new speed limiter if I change my mind?

Yes, you can install a new speed limiter if you choose to revert the modification. Specialized kits are available for this purpose.

5. What are the legal considerations for speed limits on golf carts?

Check local and state regulations. Many areas have specific speed limits for golf carts, especially on public roads. Always comply with these laws for safety.

EZGO Golf Cart On RoadEZGO Golf Cart On Road

6. Are there aftermarket speed limiter devices?

Yes, there are aftermarket options available that can provide controlled speed limits or enhancements. Research to find reputable products that fit your model.

7. How often should I check my golf cart’s speed limit?

Periodically checking it, especially before the start of the season or after modifications, is recommended to ensure safety.

8. Will removing the speed limiter affect battery life?

Yes, operating at higher speeds can lead to increased battery consumption, possibly reducing overall battery life if used continually at high speeds.


Removing the speed limiter on your EZGO golf cart can provide a thrilling experience, but it’s essential to do so safely and responsibly. Whether you’re cruising the golf course or enjoying a leisurely ride, understanding your vehicle’s capabilities is crucial for safety and fun. If you follow the steps outlined in this guide, you’ll be well on your way to enjoying your golf cart to its fullest potential!

Golf Cart Battery Voltage Test

how to refurbish golf cart batteries

Golf carts serve as versatile vehicles, perfect for not only cruising around a golf course but also for neighborhood rides and errands. Like any other vehicle, though, golf carts rely heavily on their batteries. The cost of replacing these batteries can add up, often leaving owners searching for ways to refurbish and extend the life of their existing batteries. In this guide, we’ll walk you through the process of refurbishing golf cart batteries while maintaining a friendly and straightforward tone.

Understanding Golf Cart Batteries

Before diving into the refurbishment process, it’s essential to understand what kind of batteries are used in golf carts. Most golf carts use either lead-acid batteries or lithium-ion batteries. Lead-acid batteries are the most common due to their cost-effectiveness, whereas lithium-ion batteries are emerging as a more high-performance option.

Common Issues with Golf Cart Batteries

  • Sulfation: This occurs when lead sulfate crystals form on the plates, reducing efficiency.
  • Low water levels: Water is vital for the operation of lead-acid batteries.
  • Corroded terminals: This can cause poor connectivity.
  • Age: Batteries typically last 4-6 years but can last longer with care.

Step-by-Step Process to Refurbish Golf Cart Batteries

1. Gather Your Materials

Before starting, make sure you have the necessary tools and materials:

  • Safety goggles and gloves
  • Distilled water
  • Baking soda
  • A multi-meter
  • Battery charger
  • Wire brush or terminal cleaner
  • voltmeter for checking battery health

2. Safety First

Before you dive into the refurbishment process, ensure you’re wearing safety goggles and gloves. Battery acid is hazardous and can splash during the refurbishment. Work in a well-ventilated area to avoid inhaling harmful vapors.

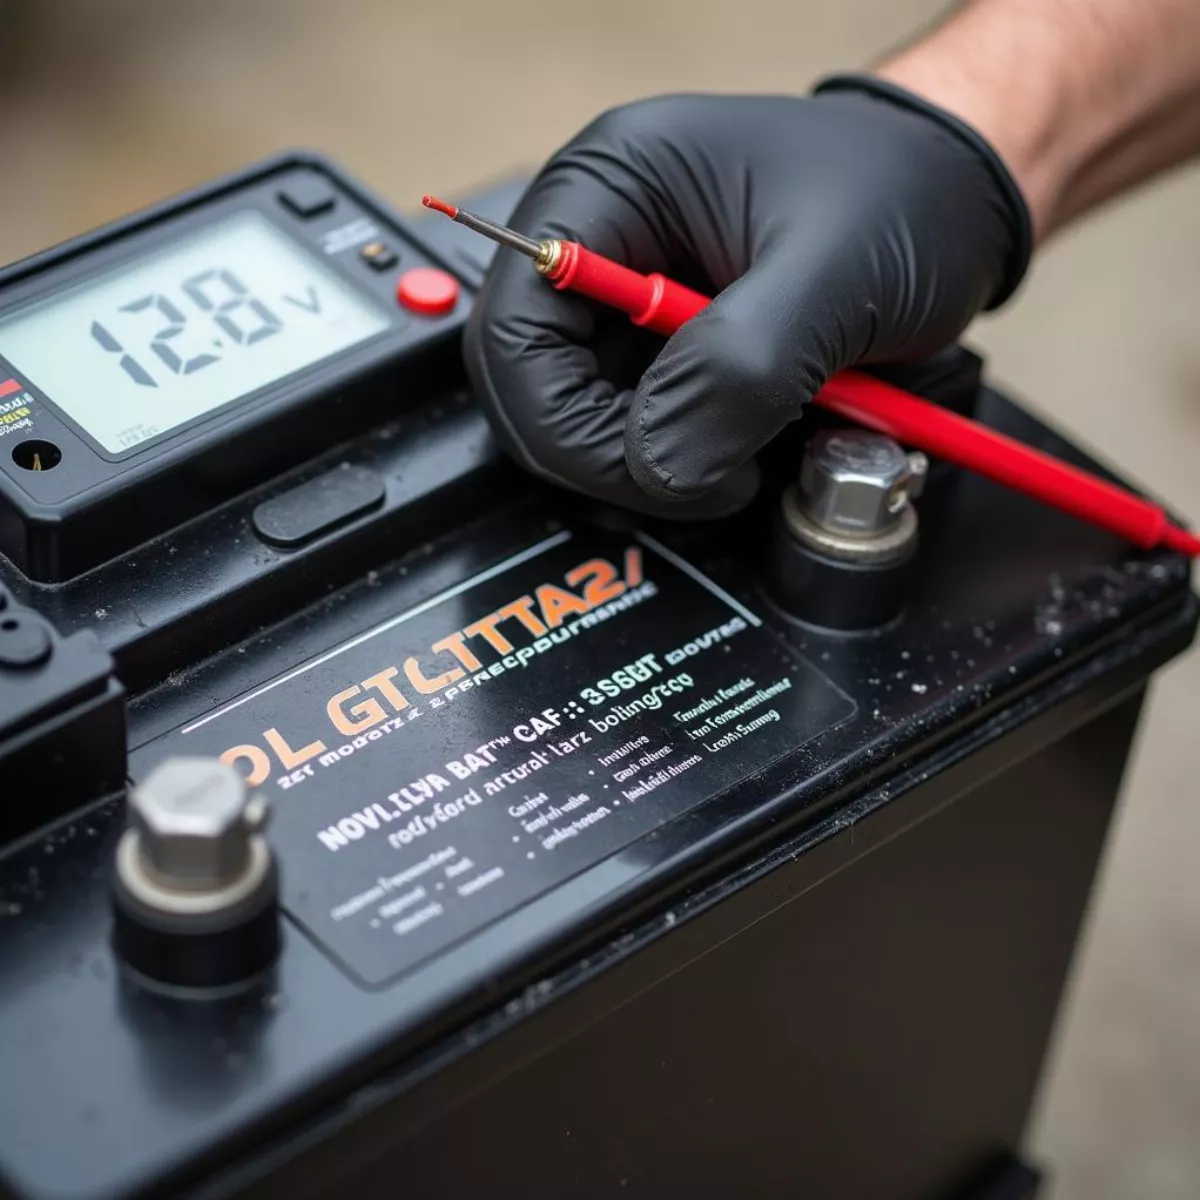
3. Evaluate the Condition of the Batteries

To refurbish your batteries effectively, first assess their condition by testing the voltage with a multi-meter. Follow these steps:

  • Disconnect the batteries from the golf cart.
  • Use the multi-meter to measure the voltage of each battery.
  • Note any batteries that read below 12.0 volts, as they may need refurbishing.
Typical Voltage Levels Battery Condition Voltage Level
Fully Charged 12.6 – 12.8 V
Charged 12.4 – 12.6 V
Needs Refurbishing Below 12.0 V

Golf Cart Battery Voltage TestGolf Cart Battery Voltage Test

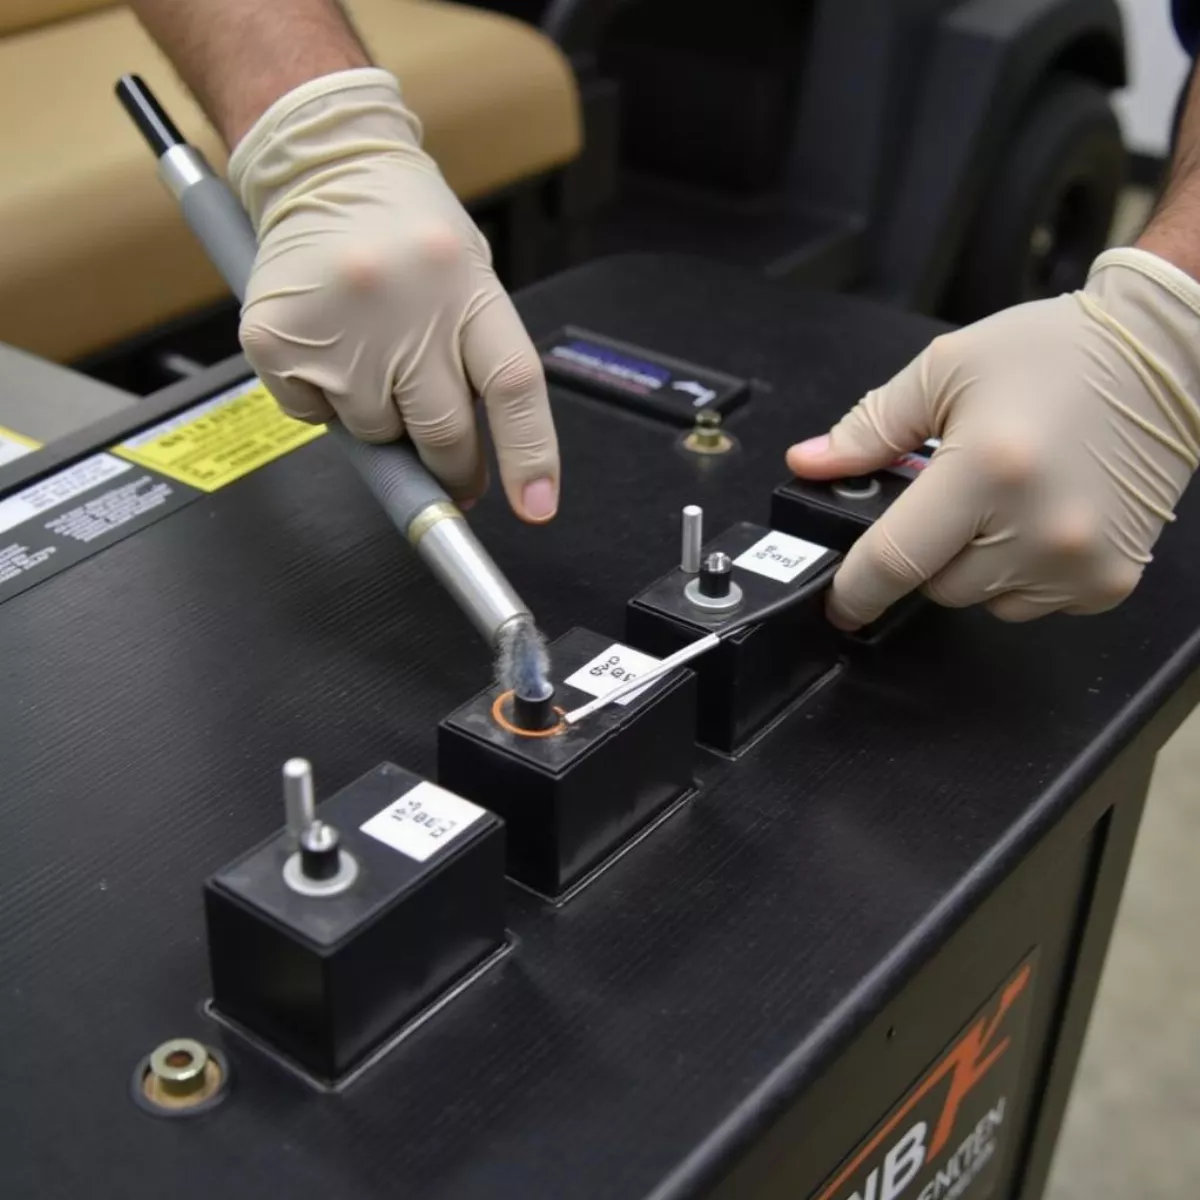
4. Clean the Battery Terminals

Corrosion can hinder performance, so cleaning the battery terminals is essential.

  • Mix baking soda with water to create a paste.
  • Apply the paste to corroded areas using a brush.
  • Allow it to sit for a few minutes and then scrub away the residue.
  • Rinse with water and dry thoroughly.

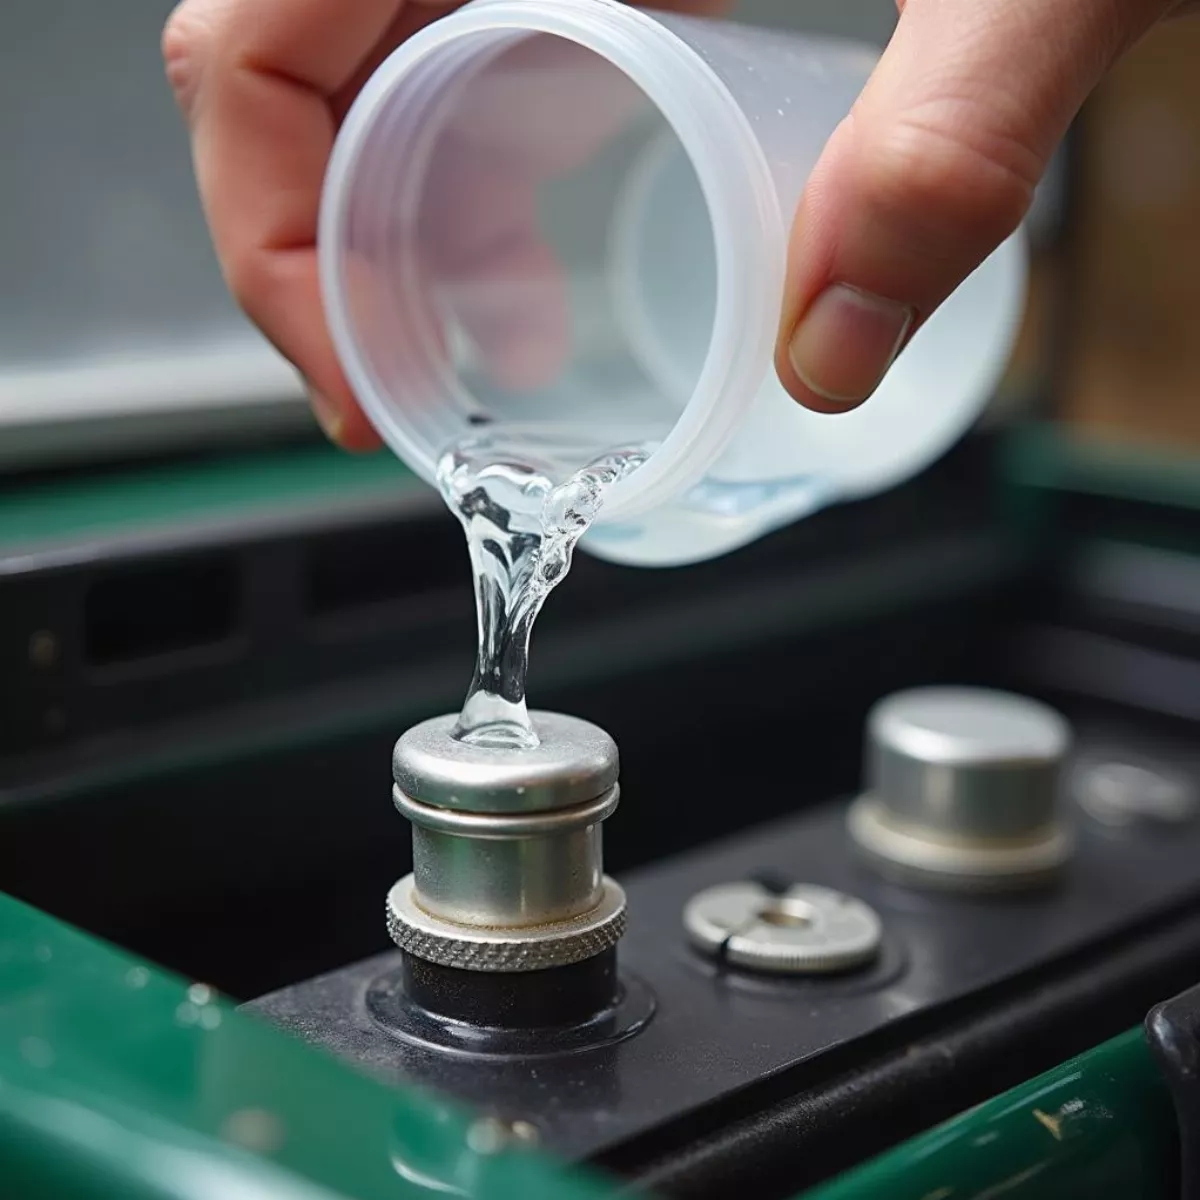
5. Top Up Distilled Water

Lead-acid batteries need sufficient water for optimal functioning.

  • Open the caps and check the water levels in each cell.
  • Add distilled water if levels are low, up to the recommended fill line. Avoid tap water as it may contain minerals that can interfere with battery performance.

Refilling Golf Cart Battery with Distilled WaterRefilling Golf Cart Battery with Distilled Water
6. Equalize the Batteries

Equalization is done to balance the charge in each battery cell. This helps prevent sulfation and extends battery life.

  • Hook up your battery charger to the batteries and set it to the equalization mode (if available).
  • Leave the charger connected until the batteries are fully charged.

7. Test the Batteries Again

After refurbishing, it’s crucial to test the batteries again.

  • Use your multi-meter to check voltage levels.
  • Ensure all batteries are at or above 12.4 volts.

8. Reinstall the Batteries

Once you are satisfied that the batteries are cleaned, topped up, and charged, you can reinstall them in the golf cart.

  • Be cautious to reconnect the terminals correctly:
    • Positive to positive
    • Negative to negative

9. Monitor Performance

Once the batteries are back in the golf cart, monitor their performance for a week or two. Keep an eye on charging times and the distance traveled on a single charge to gauge improvements.

Maintenance Tips to Extend Battery Life

  • Regular Charging: Charge batteries after each use to prevent deep discharging.
  • Water Checks: Regularly check water levels and top them up.
  • Proper Storage: Store batteries in a cool, dry place when not in use.
  • Frequent Cleaning: Clean terminals and cables periodically to prevent corrosion.

Cleaning Golf Cart Battery TerminalsCleaning Golf Cart Battery Terminals

Key Takeaways

  • Evaluate the batteries first using a multi-meter.
  • Clean terminals and refill with distilled water.
  • Equalize your batteries for balanced charge.
  • Test voltage after refurbishment for optimal performance.
  • Regular maintenance is essential for longevity.

Frequently Asked Questions (FAQ)

1. How often should I refurbish my golf cart batteries?

While it depends on the usage, consider refurbishing them every 1-2 years to maintain optimal performance.

2. Can I refurbish lithium-ion batteries?

Refurbishing lithium-ion batteries is more complex and often not recommended due to safety issues; replacing them is generally preferred.

3. What tools do I need to refurbish golf cart batteries?

You’ll need a multi-meter, battery charger, distilled water, and basic cleaning supplies.

4. How can I tell if my battery is beyond refurbishment?

If the voltage readings are consistently below 10.0 volts or if you notice physical damage, it may be time to replace the battery.

5. What does sulfation mean?

Sulfation is the formation of lead sulfate crystals on the battery plates, which occurs when the battery is left in a discharged state for too long.

6. Why is distilled water recommended for lead-acid batteries?

Distilled water is free from minerals and impurities, ensuring it doesn’t harm the battery chemistry.

7. How can I check if my battery charger is working correctly?

Try connecting the charger to a different battery set. If the charger still doesn’t function, consider replacing it.

8. What’s the lifespan of a golf cart battery?

On average, lead-acid batteries last 4-6 years, depending on maintenance and use.

9. What should I do if my batteries are leaking?

If you notice any leakage, disconnect them immediately and check for damage. Dispose of them correctly at a recycling facility.

10. Where can I find more information on battery maintenance?

Check out additional resources on battery maintenance and refurbishment on Battery University or your golf cart’s manufacturer’s website.

In conclusion, refurbishing golf cart batteries can significantly extend their lifespan and save you money in the long run. By following the steps outlined in this guide and maintaining your batteries regularly, you can ensure you enjoy seamless rides on your golf cart for years. Happy refurbishing!