Cutting a graphite shaft may sound intimidating, but with the right tools, knowledge, and a bit of patience, you can do it yourself. Whether you’re customizing your golf clubs, tinkering with a fishing rod, or adjusting a racquet, knowing how to cut a graphite shaft properly can lead to improved performance and a personalized experience. In this guide, we’ll walk you through the step-by-step process of cutting a graphite shaft while offering tips, tricks, and all the key information you need.
Why Cut a Graphite Shaft?
Before we dive into the nitty-gritty, let’s discuss why you might want to cut a graphite shaft in the first place.
- Personalization: You may want to tailor the length of your equipment to match your height and playing style.
- Performance: A shorter shaft can enhance control and potentially improve your performance.
- Repair: If a shaft is damaged, cutting it can sometimes be a reliable way to salvage the equipment.
 Tools for Cutting Graphite Shafts
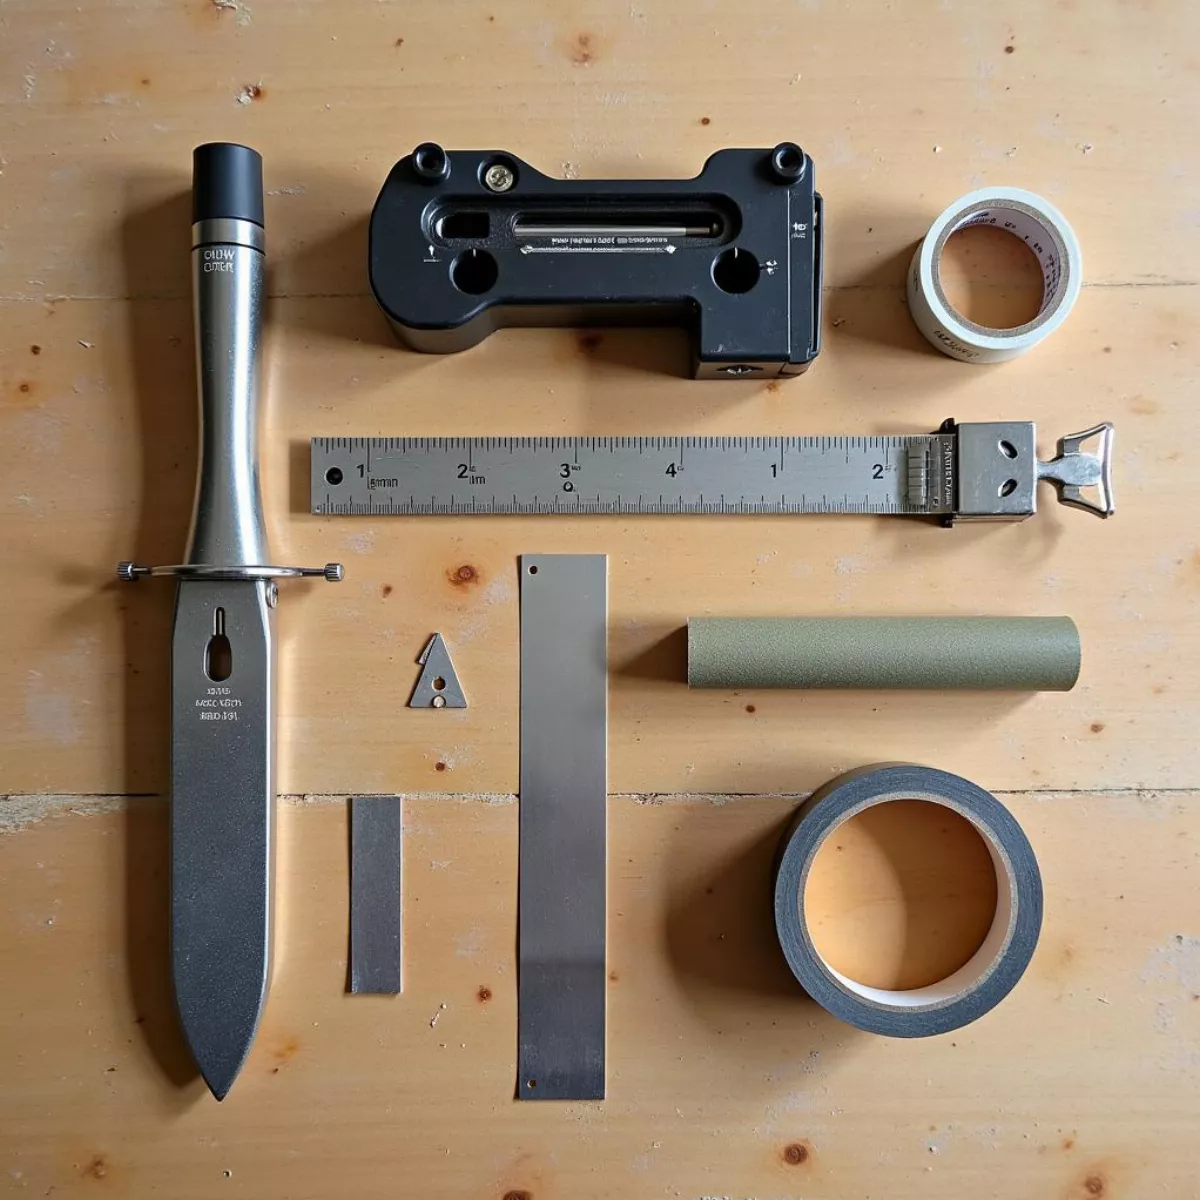
Tools Needed for Cutting Graphite Shafts
Having the right tools can make the cutting process seamless. Here’s a list of necessary items:
- Graphite shaft cutter: This specialized tool minimizes damage while cutting.
- Measuring tape: Accurate measurements are crucial for achieving the desired length.
- Masking tape: Use this to mark your cutting line and prevent fraying.
- Sandpaper: To smooth out the edges after cutting.
- Safety goggles: Always prioritize safety when working with sharp tools.
- Work surface: A stable and flat work table helps ensure precision during the cutting process.
Optional Tools
- Dremel tool with a cutting wheel: For those with a little more experience, this can provide cleaner cuts.
- Clamps: To hold the shaft securely in place while you work.
Step-by-Step Guide to Cutting a Graphite Shaft
Now that you’ve gathered your tools, let’s get into the step-by-step process of cutting a graphite shaft.
Step 1: Measure the Length
Start with a firm measurement.
- Decide on the Desired Length: Consider your height, swing style, and preferences.
- Use the Measuring Tape: Measure from the butt end of the shaft to the point you plan to cut.
- Mark the Cutting Point: Use a piece of masking tape to clearly mark the exact location. This tape also helps to reduce fraying.
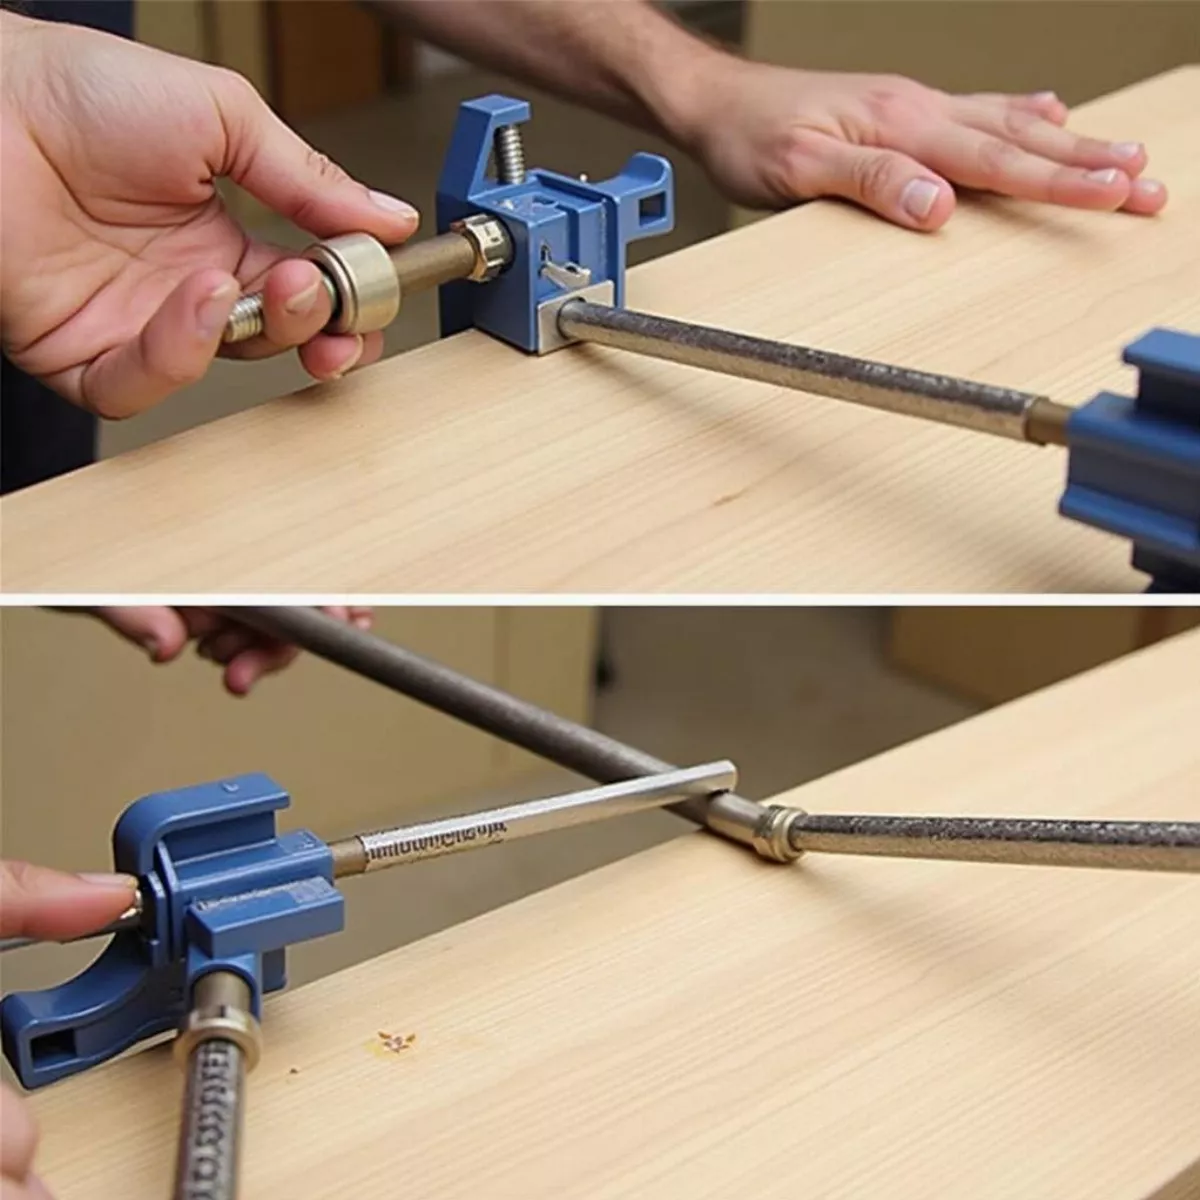
Step 2: Secure the Shaft
To ensure precision, you want to keep the shaft stable.
- If you have clamps, secure the shaft to your work surface.
- If not, hold it firmly by hand, making sure to keep it steady throughout the cutting process.
 Securing Graphite Shaft for Cutting
Step 3: Make the Cut
Using your graphite shaft cutter:
- Position the cutting tool at the tape mark.
- Apply gentle pressure while starting the cut, ensuring that you maintain a straight line.
- Avoid rushing; a slow, steady approach will yield the best results.
"Patience is key! A rushed cut can lead to a rough edge or an improper measurement."
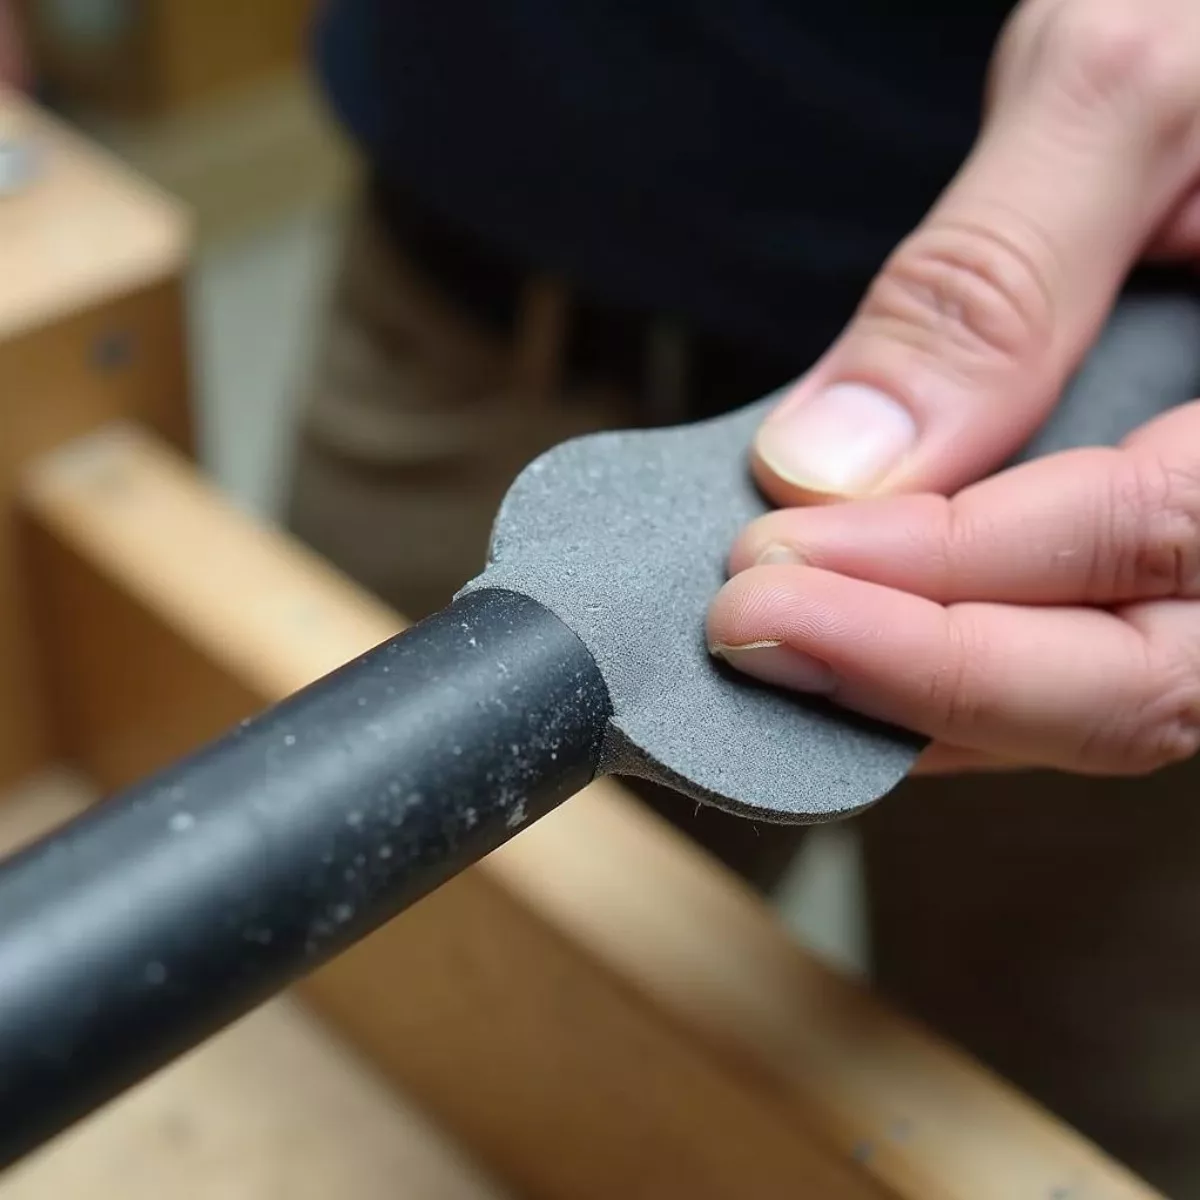
Step 4: Smooth the Edge
Once you’ve cut through the shaft:
- Use sandpaper to smooth the cut edge. This will not only make it more comfortable to handle but will also provide a cleaner finish.
Step 5: Inspect Your Work
Check the shaft for any imperfections.
- Look for Fraying: Ensure that there aren’t any fibers sticking out. If you notice any, sand them down.
- Measure Again: Confirm that you’ve reached the desired length. If not, small adjustments can be made with further cutting or sanding.
 Sanding Graphite Shaft Edge
Additional Tips for Cutting Graphite Shafts
- Use the Right Tools: As mentioned, a graphite shaft cutter is ideal because it’s specifically designed for this material.
- Work Slowly: You’ll want to take your time to prevent damage or measurement errors.
Key Takeaways
- Measure Twice, Cut Once: Proper measurements are crucial for a successful cut.
- Use Masking Tape: This not only marks your cut but minimizes fraying.
- Smoothing Matters: Don’t skip this step; it can enhance comfort and performance.
- Safety First: Always wear safety goggles and handle your tools with care.
- Practice Makes Perfect: If you’re new to cutting, consider practicing on a scrap piece before attempting your final cut.
FAQ: Cutting a Graphite Shaft
1. How do I know how much to cut off my graphite shaft?
Measure your height and swing style. A general rule is that the longer the shaft, the more you may need to adjust depending on your comfort.
2. Will cutting my graphite shaft affect its strength?
If done properly, cutting should not significantly affect the strength, but avoid cutting too close to the tip as it may compromise the integrity.
3. Can I cut my graphite shafts at home?
Absolutely! With the right tools and technique, you can perform this task yourself.
4. What happens if I cut too much off?
If you cut too much, the shaft will be too short to be effective. In this case, you may need to consider using extensions or purchasing a new shaft.
5. Can I use a regular saw to cut the shaft?
While you could use a regular saw, it’s not recommended. A specialized graphite shaft cutter is designed to minimize damage.
6. How can I smooth out the cut edge?
Use fine-grit sandpaper carefully to smooth out any rough edges after cutting.
7. Is it necessary to wear protective gear?
Yes, safety goggles are important to protect your eyes from graphite dust or shards.
8. How do I know if the shaft is right for me after cutting?
Once cut, take it for a test swing or use it to ensure it feels comfortable and practical for your playing style.
9. Can I replace a tip after cutting a shaft?
Yes, you can replace tips or extensions, but making sure your cut is clean will ease the process.
10. How can I prevent fraying when cutting?
Using masking tape to mark your cutting line will significantly reduce fraying at the cut.
Making the decision to cut a graphite shaft can be a rewarding DIY project. With the right tools, techniques, and a little patience, you’re set to enhance your performance and enjoy a personalized piece of equipment. Now, go ahead and make that precise cut—you’ve got this!

