Mini golf is a fun activity that combines creativity, outdoor entertainment, and a touch of friendly competition. Building your own mini golf course provides a fantastic opportunity for family bonding, social gatherings, or even a unique backyard business venture. In this guide, we’ll take you through all the steps needed to create an engaging, interesting, and enjoyable course right in your backyard!
Why Build a Mini Golf Course?
Before we dive into the how-to, let’s discuss why you might want to create a mini golf course.
- Fun for All Ages: Mini golf appeals to everyone, from kids to adults.
- Customization: You have the freedom to design holes to fit your personal style or theme.
- Physical Activity: Encourages movement and exercise without being overly strenuous.
- Entertainment: Great way to host parties or family get-togethers.
Planning Your Mini Golf Course
1. Determine Your Space
First, you need to assess your backyard or available area:
- Size Consideration: How much space do you have? Ideally, you want at least 600 to 800 square feet.
- Terrain Type: Is your ground flat, sloped, or uneven? This will affect your design.
2. Set a Budget
Your budget will dictate the materials and complexity of your course. Consider:
- Basic Budget: $100-$500 for simple designs.
- Advanced Budget: $1,000 and above for elaborate setups.
3. Design Your Course Layout
Draft a plan for your course. Here are some points to consider:
- Hole Count: Aim for 9 to 18 holes. A standard course has 18 holes.
- Hole Themes: Use whimsical designs (like pirates or jungle themes) to enliven the experience.
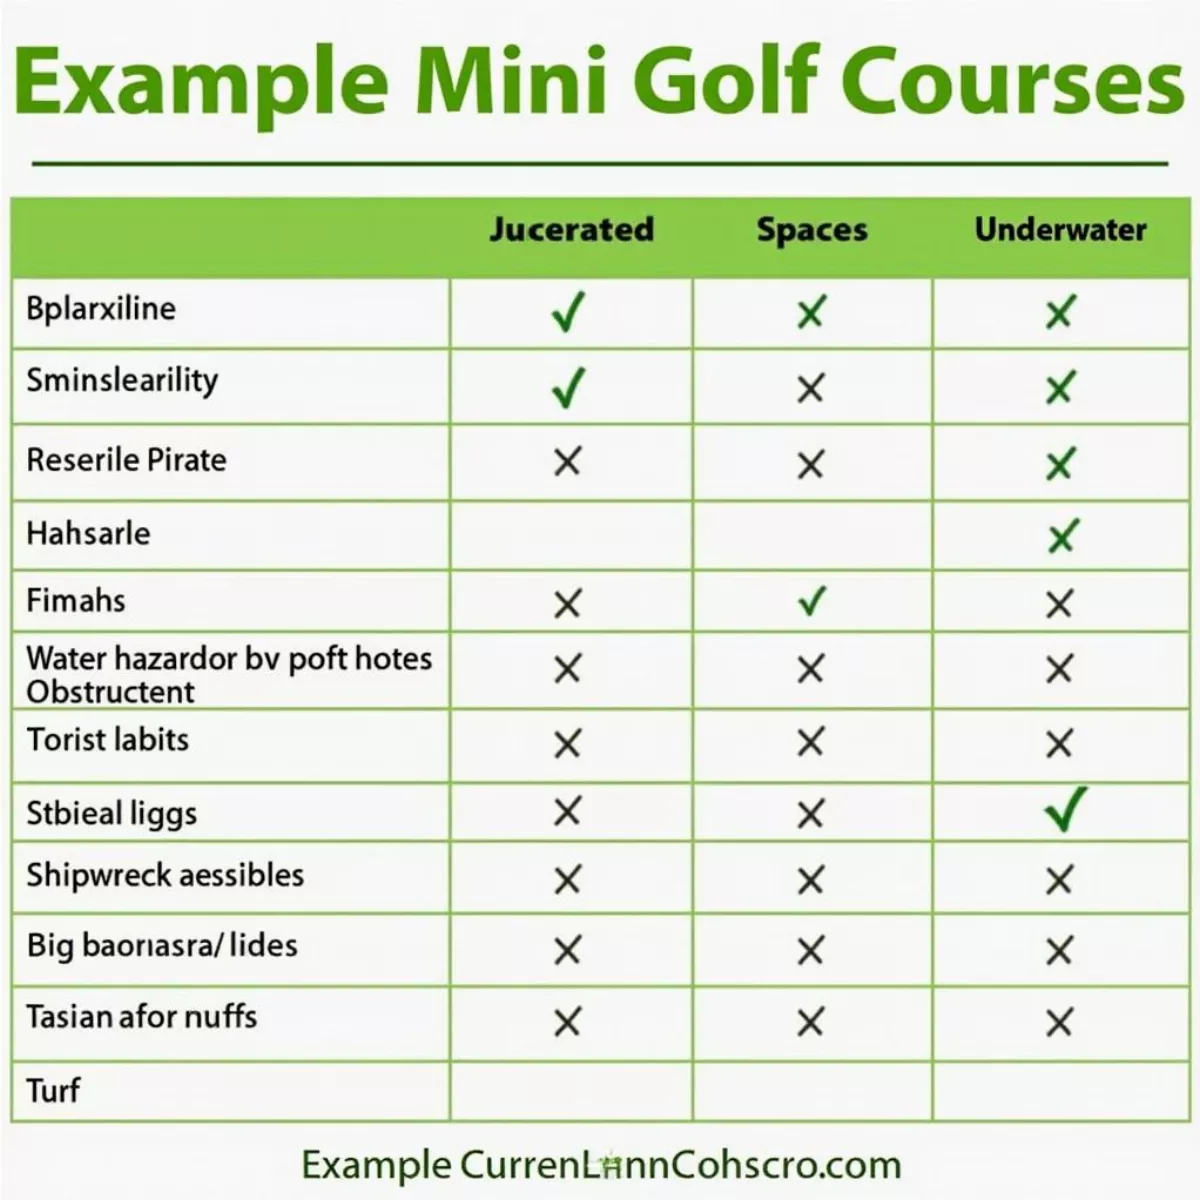
Example Layout
| Hole | Theme | Features |
|---|---|---|
| 1 | Jungle | Tunnel, water hazard |
| 2 | Pirate | Shipwreck obstacle |
| 3 | Space | Galaxy lights, star-shaped hole |
| 4 | Underwater | Blue turf, fish decorations |
| … |
 Example mini golf course layout
4. Gather Materials
Here’s a quick list of materials you might need:
- Turf: Synthetic lawn or carpeting for a smooth putting surface.
- Wood or PVC pipes: To create barriers or obstacles.
- Paint: For creative designs.
- Tools: Hammer, screws, saw, drill, and measuring tape.
Constructing the Mini Golf Course
1. Mark Your Holes
Once your design is finalized, the next step is to get the markers out.
- Use cones or chalk to mark out where each hole will be located.
2. Create the Greens
Lay down your putting surface:
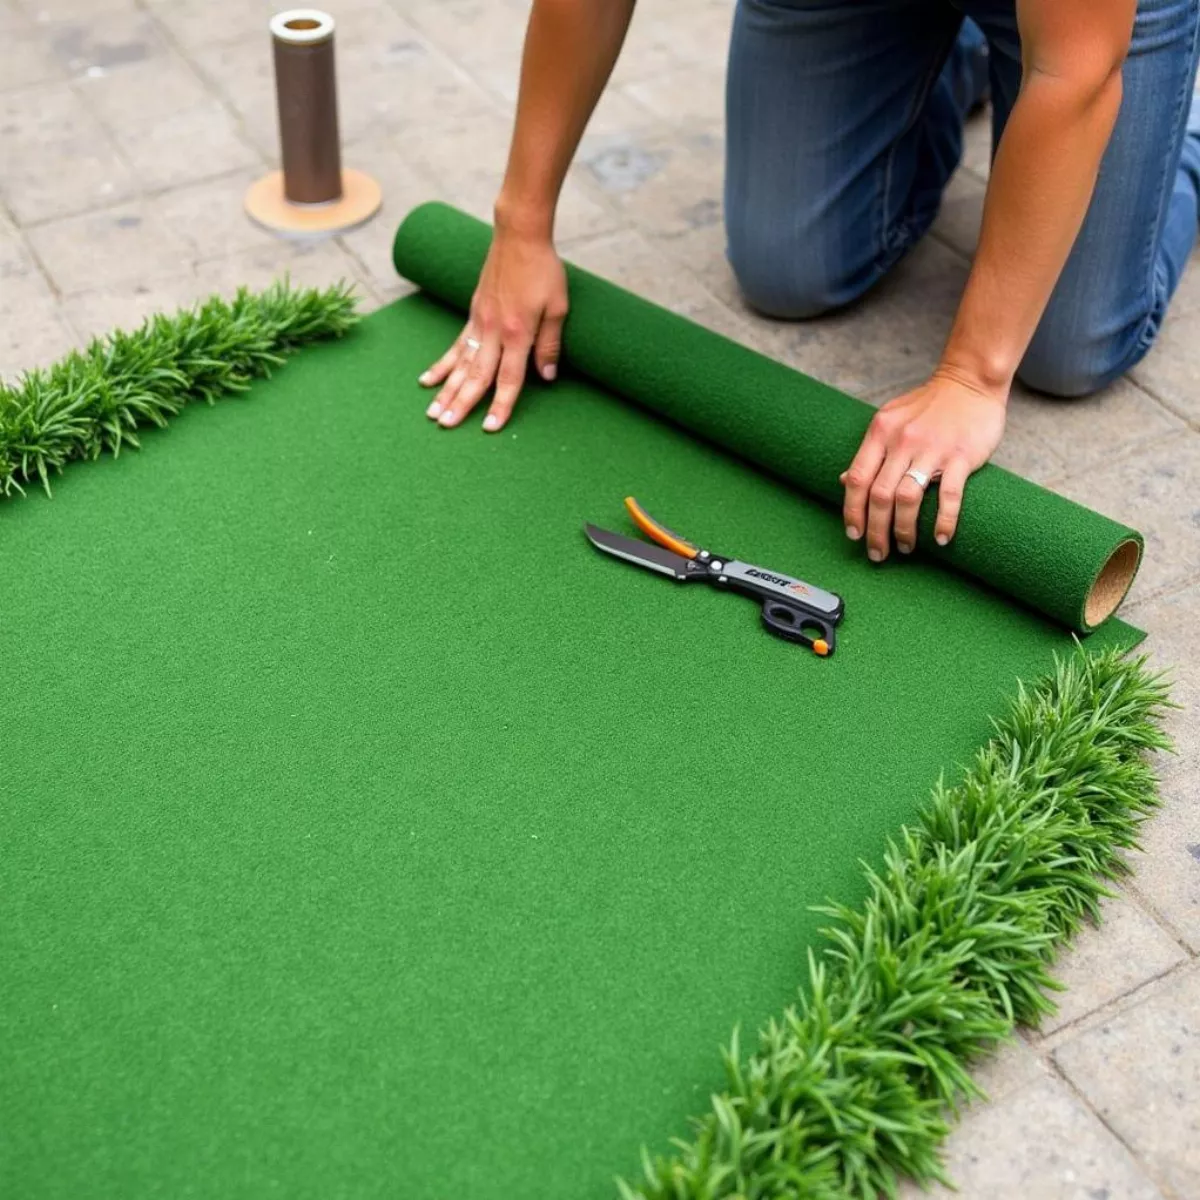
- If using synthetic turf, roll it out and cut to desired sizes.
- Ensure it’s smooth without any rough patches, as this will affect gameplay.
 Laying synthetic turf for a mini golf course
3. Build the Obstacles
Now it’s time to add challenges:
- Ramps: Create slopes using wood and angle them.
- Tunnels: Use PVC pipes or cardboard tubes for fun obstacles.
- Borders: Use wood, bricks, or stones to define each hole.
4. Paint and Decorate
Get creative with your obstacles!
- Colors: Use bright paint for a vibrant, inviting course.
- Themes: Add decorative items like flags, signs, or funny props related to your themes.
5. Add Finish Touches
- Lighting: If you plan to play in the evening, consider solar lights.
- Signage: Clearly mark each hole with numbers or fun names.
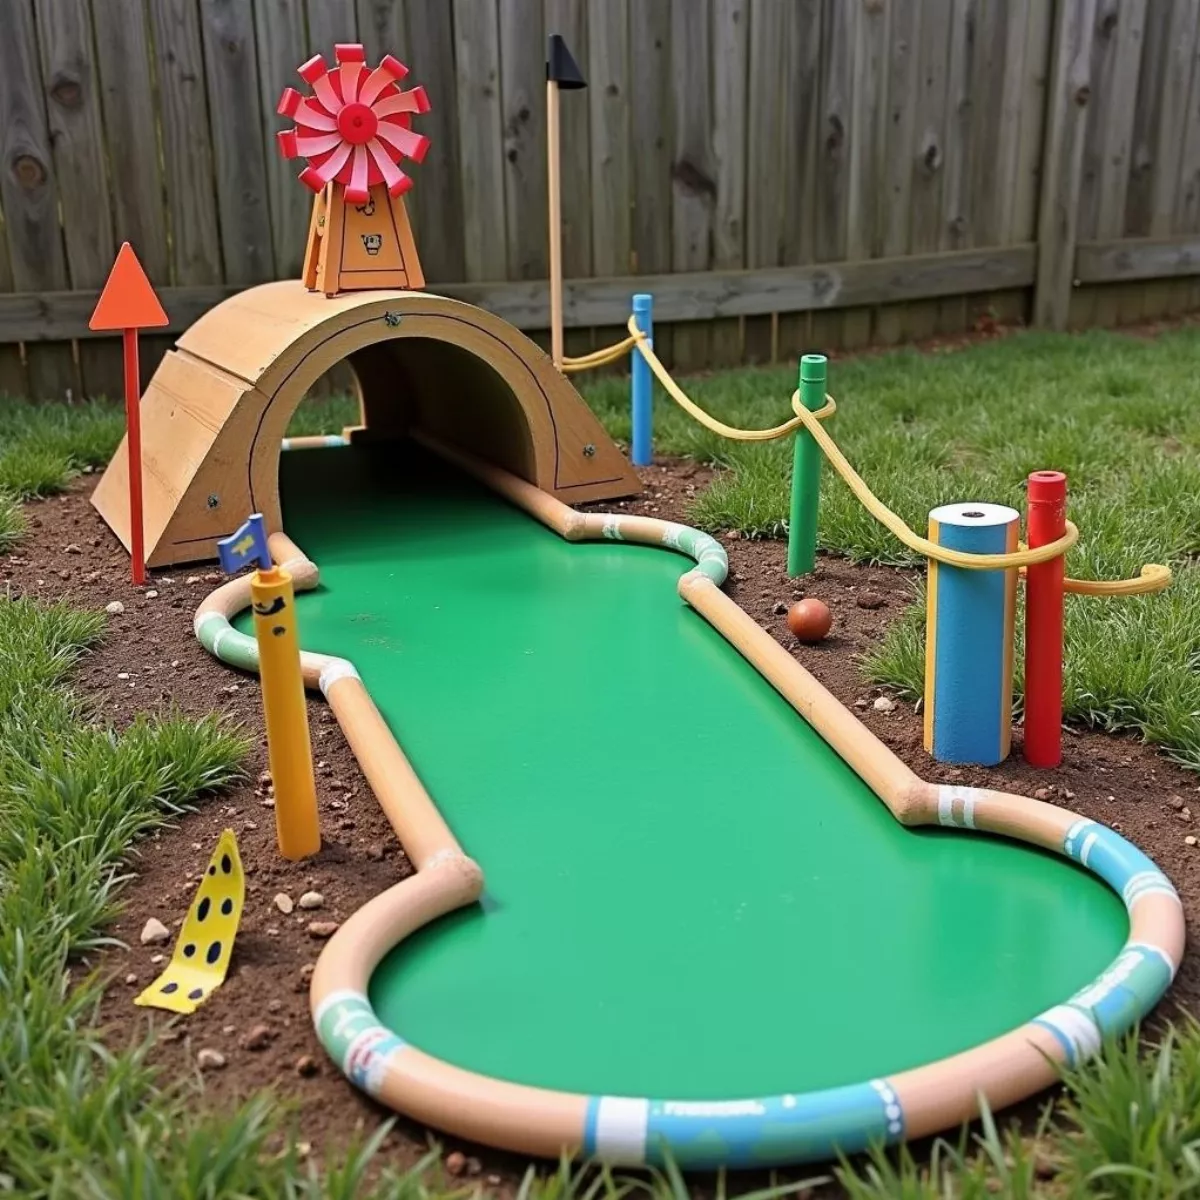
 Mini golf course obstacles and decorations
Maintaining Your Mini Golf Course
Your work doesn’t end after the construction. Regular maintenance will ensure both safety and enjoyment.
- Check for Wear and Tear: Regularly inspect for damages.
- Turf Cleaning: Remove leaves, debris, and check for any tears.
- Repairs: Fix obstacles or surfaces as needed to maintain playability.
Playing on Your Mini Golf Course
To grab the most fun out of your mini golf course, consider these tips:
- Set Rules: Before starting, agree on rules and scoring to keep it fair.
- Invite Friends: Nothing beats a little friendly competition.
Key Takeaways
Creating your mini golf course can be both a joyful and rewarding experience. Here are the essential steps to remember:
- Assess Available Space: Determine how much area you have.
- Set a Budget: Know your financial limits to guide your decisions.
- Design Thoughtfully: Come up with engaging themes and obstacles.
- Use Quality Materials: Ensure a smooth surface and sturdy obstacles.
- Regularly Maintain: Keep the course enjoyable by addressing wear and tear.
FAQ Section
1. How much space do I need for a mini golf course?
You ideally need 600 to 800 square feet for an engaging experience.
2. What materials are best for constructing obstacles?
Common materials include wood, PVC pipes, cardboard, and paint for decoration.
3. How do I maintain the mini golf course?
Regular cleaning, inspection for damages, and upkeep of turf are essential.
4. Can I make a mini golf course for under $100?
Yes, a basic DIY course with simple obstacles can be made within this budget.
5. What’s a good age for kids to start playing mini golf?
Generally, children aged 3 and above can enjoy mini golf with adult supervision.
6. Can I incorporate technology?
Yes! You can look into using scorekeeping apps or fun analytics to track players’ progress.
7. How long does it take to build a mini golf course?
This depends on the complexity of your course but generally ranges from one weekend to several weeks.
8. Is it okay to use my mini golf course for events?
Absolutely! It’s a fun way to elevate gatherings and is generally well-received.
9. Should I have a theme for my course?
Themes can enhance the experience, making it more visually appealing and fun for players.
By following this guide, you’ll be well on your way to crafting a memorable mini golf experience that your friends and family will cherish. Have fun planning, building, and playing!
