Are you looking to breathe new life into your trusty putter? Painting it can not only enhance its appearance but also reflect your personal style on the golf course! In this comprehensive guide, we will walk you through the steps to successfully paint your putter, share helpful tips, and answer common questions to ensure your DIY project is successful. Whether you want to change the color or add some stylish designs, painting a putter can be a fun and rewarding process.
Why Paint Your Putter?
Before we dive into the process, let’s discuss why you might want to paint your putter. Here are a few reasons:
- Personalization: Stand out on the course with a unique design that showcases your personality.
- Durability: A good paint job can protect your putter from wear and tear.
- Improved Alignment: Certain colors can enhance your focus on alignment marks, helping you sink more putts.
Materials Needed
To get started, gather the following materials:
| Item | Purpose |
|---|---|
| Paint (enamel acrylic) | For coloring your putter |
| Primer | For better paint adhesion |
| Clear coat | To protect the final finish |
| Sandpaper | To prep the surface |
| Painter’s tape | To create sharp lines and protect non-painted areas |
| Brush or airbrush | For applying paint |
| Rags or paper towels | For cleaning and drying |
| Small container | To mix paint and primer |
| Gloves | To keep your hands clean |
Tip: Use high-quality acrylic paint formulated for metal surfaces for the best results!
Step-by-Step Guide to Painting a Putter
1. Prepare Your Workspace
To ensure a successful painting experience:
- Choose a well-ventilated area to avoid inhaling fumes.
- Lay down a drop cloth or newspaper to protect your workspace from paint drips.
- Keep all your materials organized and within reach.
2. Disassemble Your Putter
Carefully disassemble your putter, removing any detachable parts like the grip or weight. This ensures a clean painting surface.
3. Clean the Putter
Start by cleaning your putter with soap and water to remove dirt and oils. Then, dry it thoroughly. A clean surface is crucial for paint adhesion!
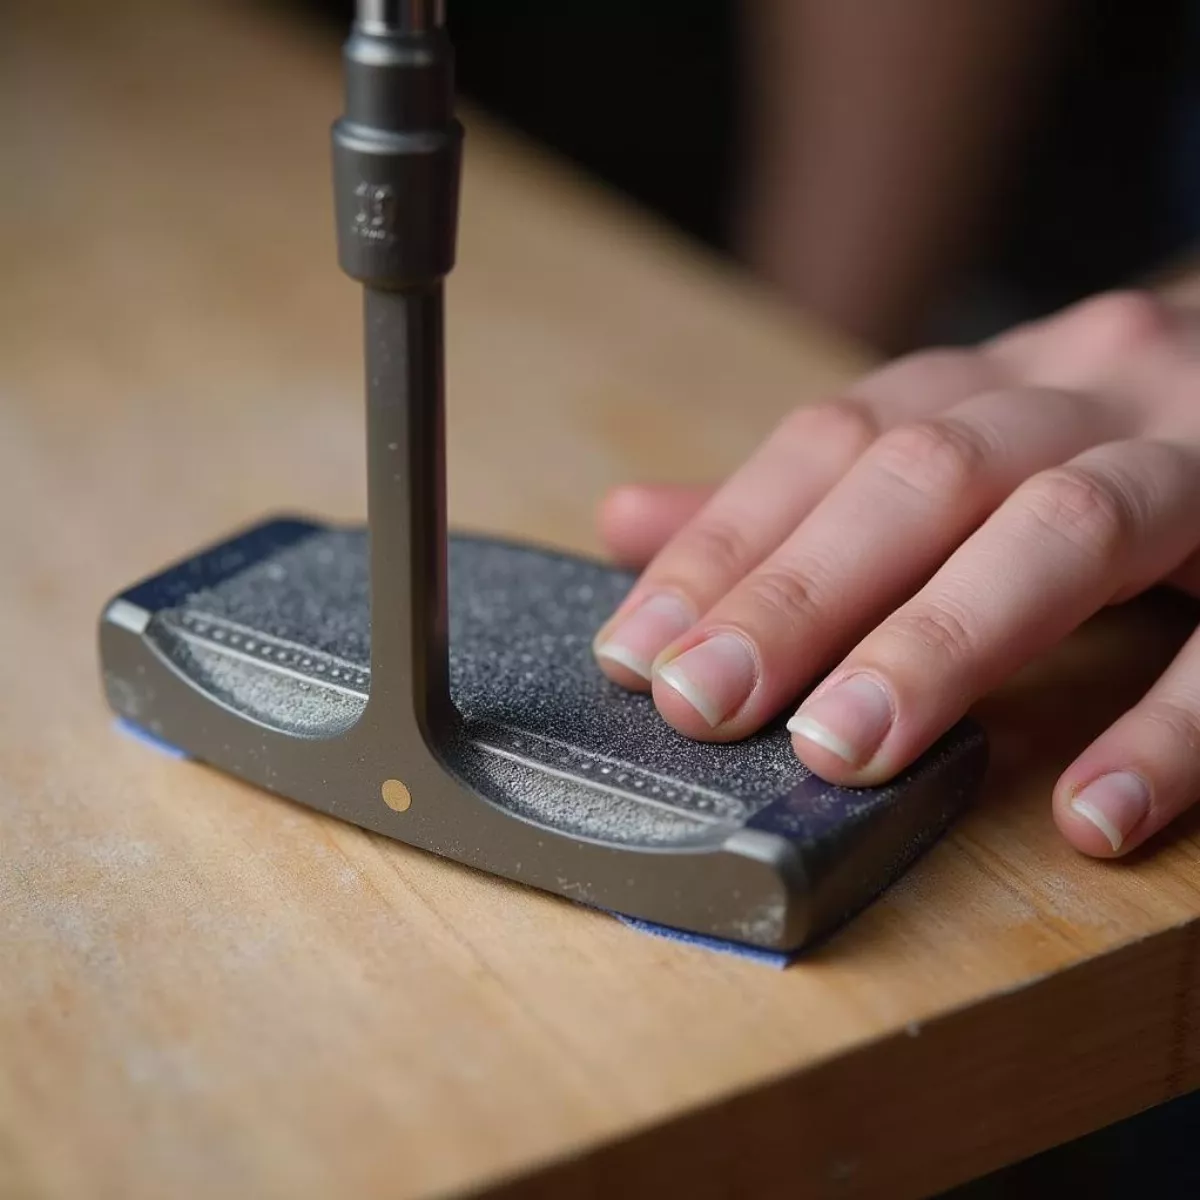
4. Sand the Surface
Using a fine-grit sandpaper (220-grit recommended), gently sand the putter’s surface. This will create a slightly rough texture for better paint adherence. Be sure to sand evenly and carefully around any logos or engravings you want to preserve.
 Sanding a golf putter
5. Apply Primer
- Choose a good quality primer designed for metal surfaces. This step is essential for better paint adherence and longevity.
- Apply the primer evenly with a brush or spray can. Allow it to dry as per the manufacturer’s instructions—usually between 1 to 2 hours.
6. Paint Your Putter
Once the primer is dry, it’s time to add color!
- Choose your desired paint color—be bold or stick to classic shades!
- Apply paint in thin layers, allowing each layer to dry completely before applying the next. This helps avoid runs and sags in the paint.
- Use painter’s tape to mask off any areas you don’t want to paint, ensuring clean lines.
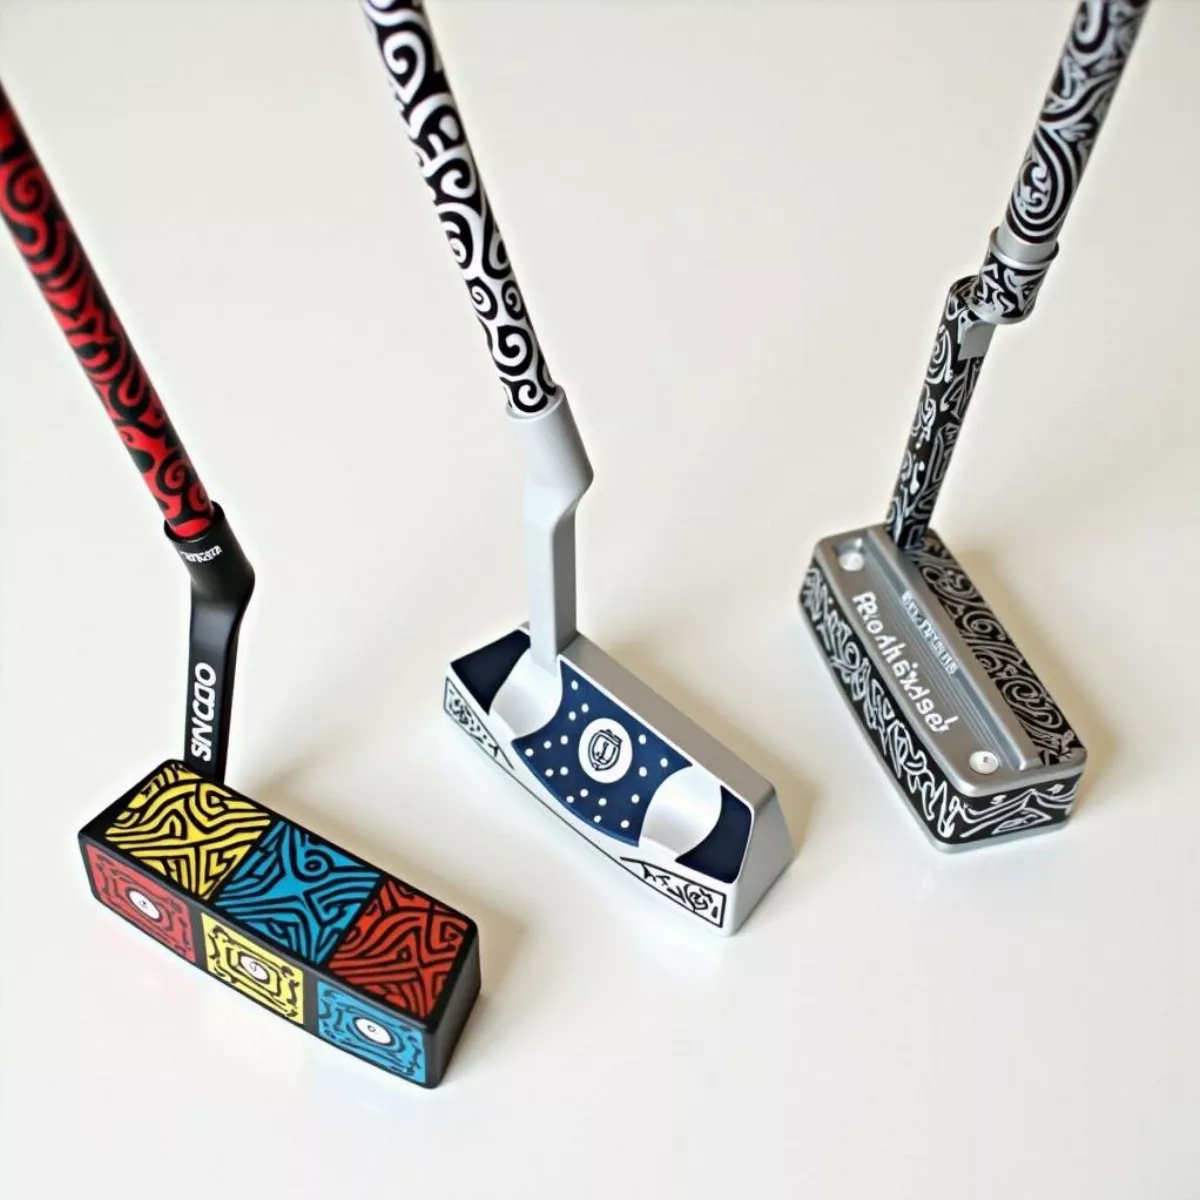
7. Add Design Elements (Optional)
If you’re feeling artistic, now is the time to add designs:
- Stencils: Use stencils to create patterns or logos. Simply place the stencil over the painted area and gently sponge paint over it.
- Freehand: Get creative! Use a fine brush for detailed work.
 Golf putters with custom paint designs
8. Seal the Paint with Clear Coat
Once all the paint is dry:
- Apply a clear coat for added protection against scratches and wear.
- Allow it to cure completely according to the instructions, typically for 24 hours.
9. Reassemble Your Putter
After everything has dried, carefully reassemble your putter. Double-check that everything is tight and secure.
10. Enjoy Your Custom Putter!
Take your newly painted putter to the course and show it off! It’s not only a conversation starter but also a reflection of your personal style.
Key Tips for Successful Putter Painting
- Take Your Time: Quality work requires patience. Don’t rush the painting or drying process.
- Test Paint Colors: Before committing, test your colors on a scrap piece of metal to ensure you like the shade.
- Use Quality Materials: Invest in good-quality paints and tools. They may cost more initially but will yield better results.
Key Takeaways
- Preparation is critical for a successful paint job.
- Choose high-quality enamel acrylic paint and primer for lasting results.
- Use painter’s tape and apply paint in thin layers to avoid drips.
- Don’t forget the clear coat for durability.
- Showcase your personal style by experimenting with colors and designs!
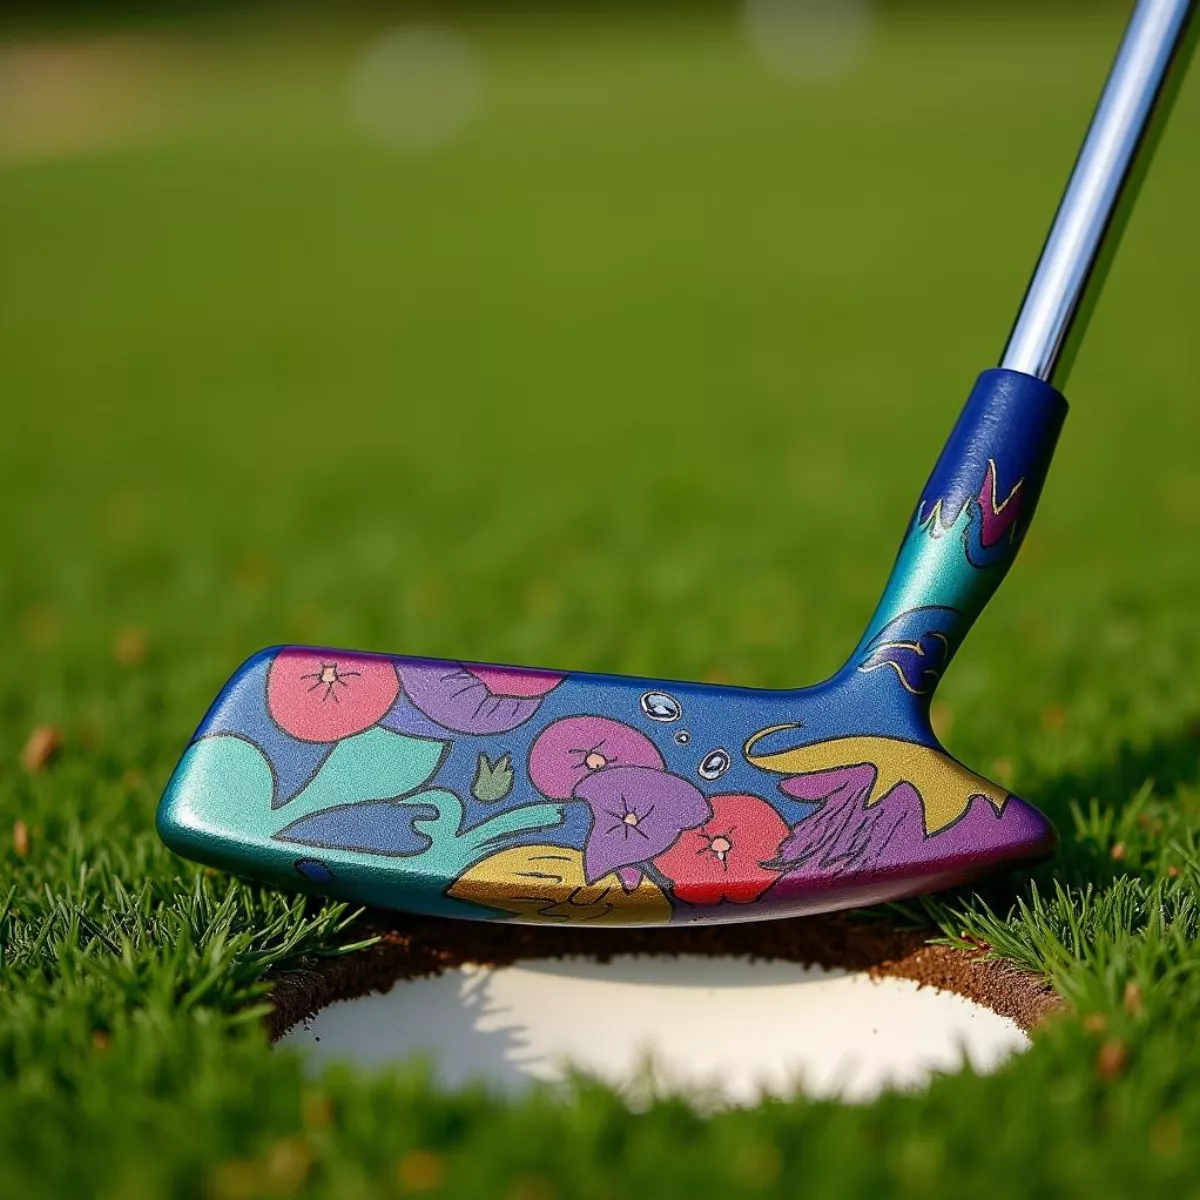
 Custom painted golf putter on grass
FAQ Section
1. Can I paint a putter with regular spray paint?
No, it’s best to use acrylic enamel paint specifically designed for metal surfaces to ensure durability and adhesion.
2. How long does it take for paint to dry on a putter?
Generally, paint should dry for at least 1-2 hours between coats. A full curing time of 24-48 hours is recommended before putting your putter to use.
3. Do I need to sand my putter before painting?
Yes, sanding helps to create a roughed-up surface for the paint to adhere better. A fine-grit sandpaper (like 220-grit) works well.
4. Will painting my putter affect its performance?
If done correctly, painting shouldn’t affect performance. However, avoid adding excessive paint to the striking surface of the putter.
5. Can I use nail polish to paint my putter?
While nail polish can be used for small details, it’s not recommended for larger areas as it may not adhere well or last over time.
6. How can I remove paint from my putter?
To remove paint, soak the putter in a paint stripper suitable for metal surfaces, then scrub with fine steel wool. Ensure all paint is removed before repainting.
7. Is it worth painting an expensive putter?
While you should protect the value of high-end putters, if you think a personal touch will improve your enjoyment and connection to the club, painting can be a worthwhile choice.
8. Can I add designs to my putter with stickers?
Yes! Just make sure to seal with a clear coat over the stickers for durability.
9. What’s the best way to clean my putter after painting?
Use a soft cloth dampened with water and mild soap. Avoid abrasive cleaners that may damage the paint.
10. Is painting a putter a difficult task?
With the right materials and preparation, painting a putter can be a rewarding DIY project suitable for most skill levels!
By following this comprehensive guide, you’re well on your way to transforming your putter into a stunning piece of art that reflects your personality. Happy painting, and may your new look help you sink more putts!

