Golf carts are not just for the golf course anymore; they’ve become incredibly versatile vehicles, ideal for various outdoor activities, events, and even community transport. However, one common quest among golf cart owners is finding ways to raise their golf carts effectively without breaking the bank on expensive kits. In this guide, we’ll explore step-by-step methods you can use to raise your golf cart on your own, ensuring better off-road capability and that extra bit of style.
Why Raise Your Golf Cart?
Before diving into the “how,” let’s talk about the “why.” Raising your golf cart can provide several benefits:
- Improved Off-Road Capability: A higher ride allows for easier navigation over uneven terrains.
- Better Tire Choices: With additional lift, you can upgrade to larger tires that enhance traction and performance.
- Increased Ground Clearance: This reduces the risk of bottoming out on tough terrains.
- Enhanced Visual Appeal: A lifted cart just looks cooler, and an aesthetically pleasing cart can be a great conversation starter.
Tools and Materials Needed
Before you start, gather all necessary tools and materials:
- Basic Tools: Wrenches, sockets, and ratchets
- Jack and Jack Stands: To lift your cart safely
- Heavy-Duty Springs or Spacers: For raising the cart
- Wood Blocks or Planks: Optional, for temporary height adjustments
- Measure Tape: To ensure desired height is achieved
- Lubricant: For easier disassembly of bolts and nuts
Step-by-Step Instructions
Step 1: Prepare Your Golf Cart
- Choose a Safe Location: Ensure your golf cart is on a flat, stable surface.
- Disconnect the Battery: Safety first! Always disconnect the battery before starting any maintenance work.
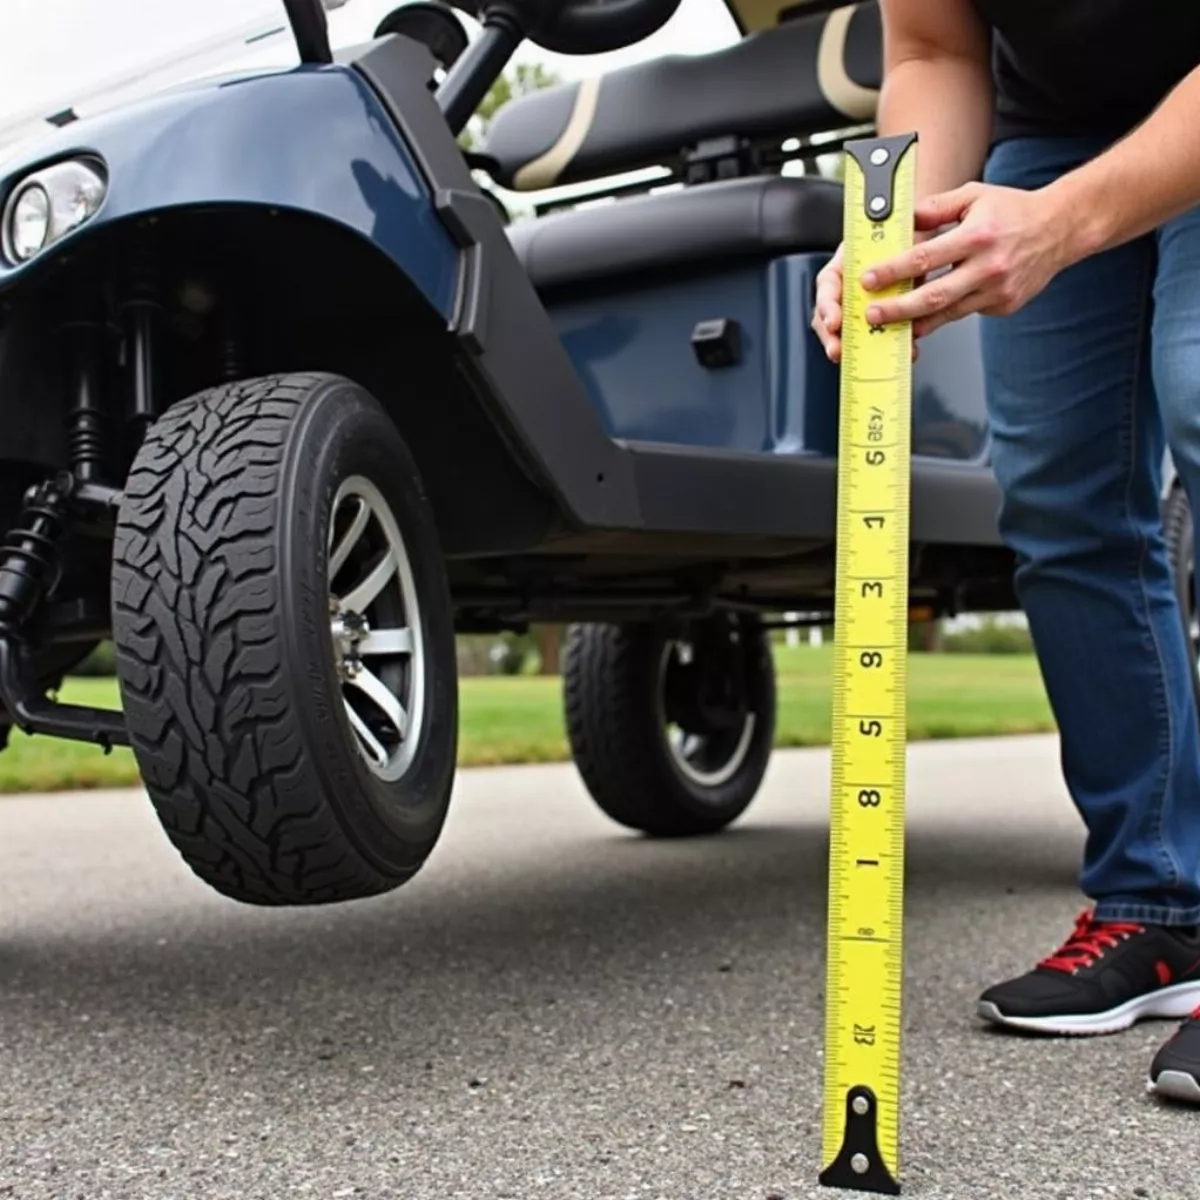
- Measure Initial Height: Use a tape measure to find the current ground clearance. This will help you gauge how much you want to raise it.
Step 2: Lift Your Golf Cart
- Jack Up the Cart: Using a jack, lift the back or front of the cart high enough to work comfortably underneath. Support it with jack stands for safety.
- Secure the Cart: Before working on it, give it a light shake to confirm it’s stable.
 Golf cart lifted with jack and secured with jack stands
Step 3: Remove Old Springs or Shocks
- Locate the Suspension Components: Identify the springs and shocks.
- Remove Nuts and Bolts: Use your wrenches to take out the fasteners holding the shocks in place.
- Take Out Old Springs/Shocks: Carefully wiggle them free.
Step 4: Install New Springs or Spacers
- Choose Your Replacement: Depending on how high you want your cart to go, you can use either heavy-duty springs or spacers.
- Install New Components:
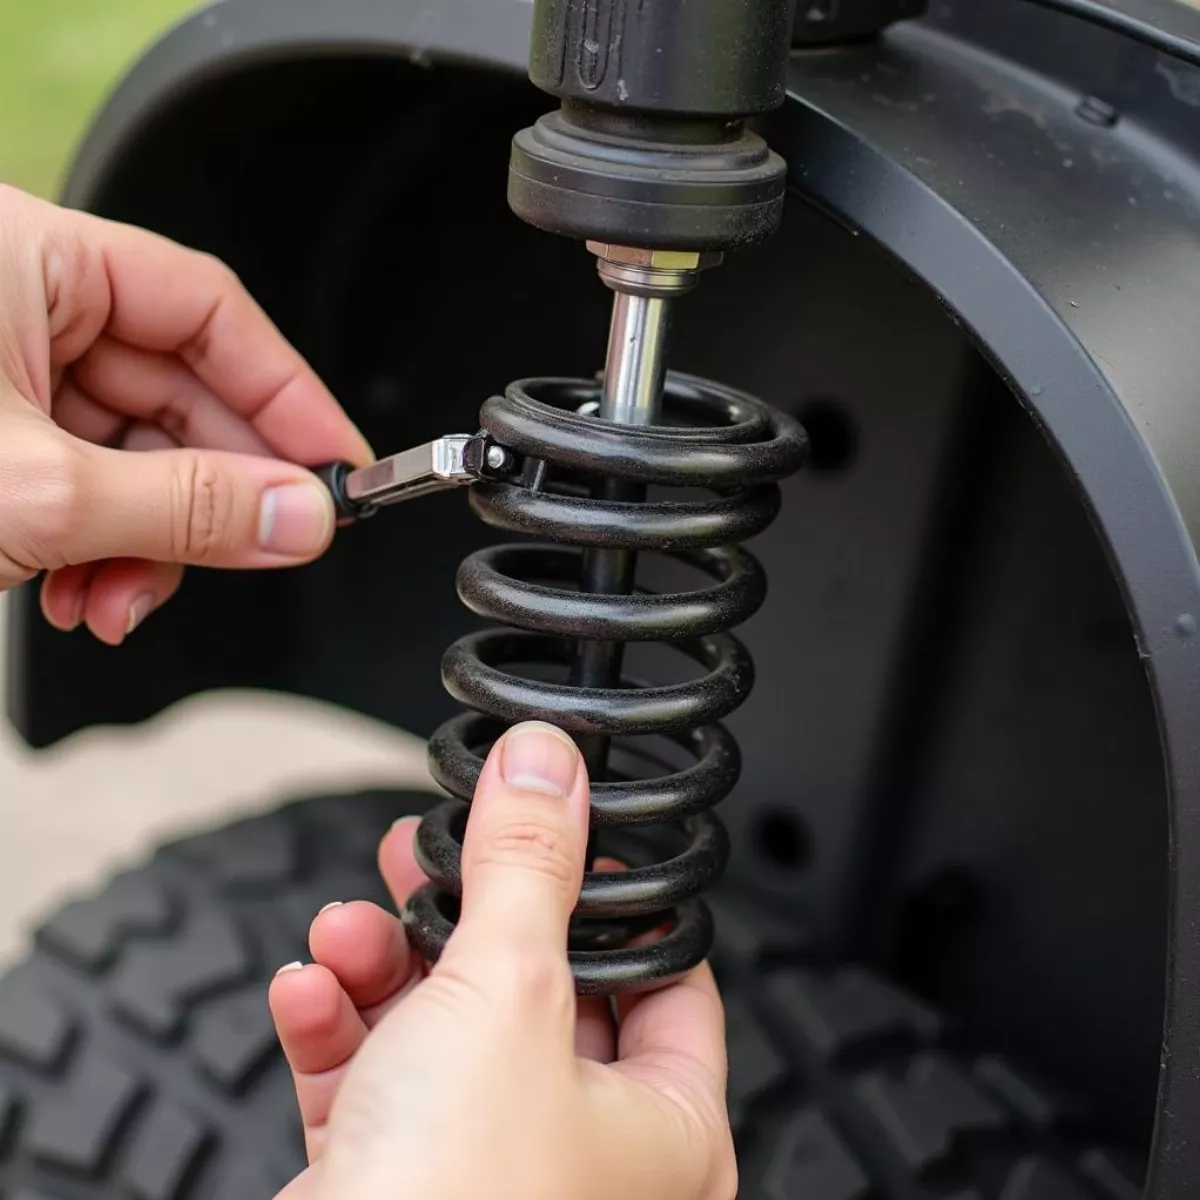
- If using springs: Fit the new springs into place and secure them using the same nuts and bolts.
- If using spacers: Position them above the existing springs, ensuring they fit snugly.
- Double Check Your Work: Ensure everything is tight and properly positioned.
 Installing new springs on a golf cart
Step 5: Reassemble and Test
- Reattach Shocks: Fix the shocks back into their places.
- Reconnect the Battery: If everything looks good, reconnect the battery.
- Lower Your Cart: Carefully remove jack stands and lower the cart to the ground.
- Final Measurement: Measure the ground clearance again. Congratulations, you’ve raised your golf cart!
Maintenance Tips
After you’ve raised your golf cart, it’s essential to keep it in great condition. Here are some tips:
- Regularly Inspect the Suspension: Keep an eye on the springs and shocks for any signs of wear.
- Lubricate Moving Parts: Ensure all moving parts operate smoothly for better longevity.
- Check Tire Pressure: With larger tires, the right pressure becomes crucial for performance and safety.
Key Takeaways
- Raising a golf cart without a kit is achievable by using basic tools and some heavy-duty springs or spacers.
- Always prioritize safety by working in a stable environment and disconnecting the battery.
- Regular maintenance will ensure your modified golf cart remains in excellent condition.
FAQs About Raising a Golf Cart Without a Kit
1. Can I raise my golf cart without modifications to the frame?
Yes, using heavy-duty springs or spacers allows you to raise the cart without needing to modify the frame.
2. Will raising my golf cart affect its speed or power?
Generally, it can lead to slightly reduced speed due to added weight, but upgraded tires can enhance traction which potentially improves handling.
3. How high can I raise my golf cart?
Typically, you can safely raise it 2-4 inches depending on the components used and the manufacturer’s recommendations.
 Measuring golf cart's ground clearance
4. Should I replace my tires when raising my golf cart?
It’s advisable to consider larger tires for better performance and stability after raising the cart.
5. Is it necessary to change the shocks when I raise my cart?
While it’s not strictly necessary, upgrading the shocks might be beneficial for better handling and stability.
6. How can I ensure my cart remains safe after modifications?
Regularly inspect all suspension components and keep an eye on the alignment and tire pressure.
7. Will raising my golf cart void my warranty?
This depends on your golf cart’s warranty policies. Always check your warranty terms before making modifications.
8. How long does the raising process take?
If done correctly, this can take anywhere from two to four hours, depending on your experience and the tools available.
9. Can these methods be applied to electric golf carts?
Yes, electric golf carts can be raised using the same methods; however, consider the potential impact on the battery placement and weight distribution.
10. Where can I find specific parts for raising my cart?
Look for local parts websites or retailers that specialize in golf cart components, or check with your golf cart’s manufacturer.
Raising your golf cart can truly change how you use it, enhancing performance while adding a personal touch. Now that you’ve got the knowledge and steps to do it, you’ll be cruising in style in no time!

