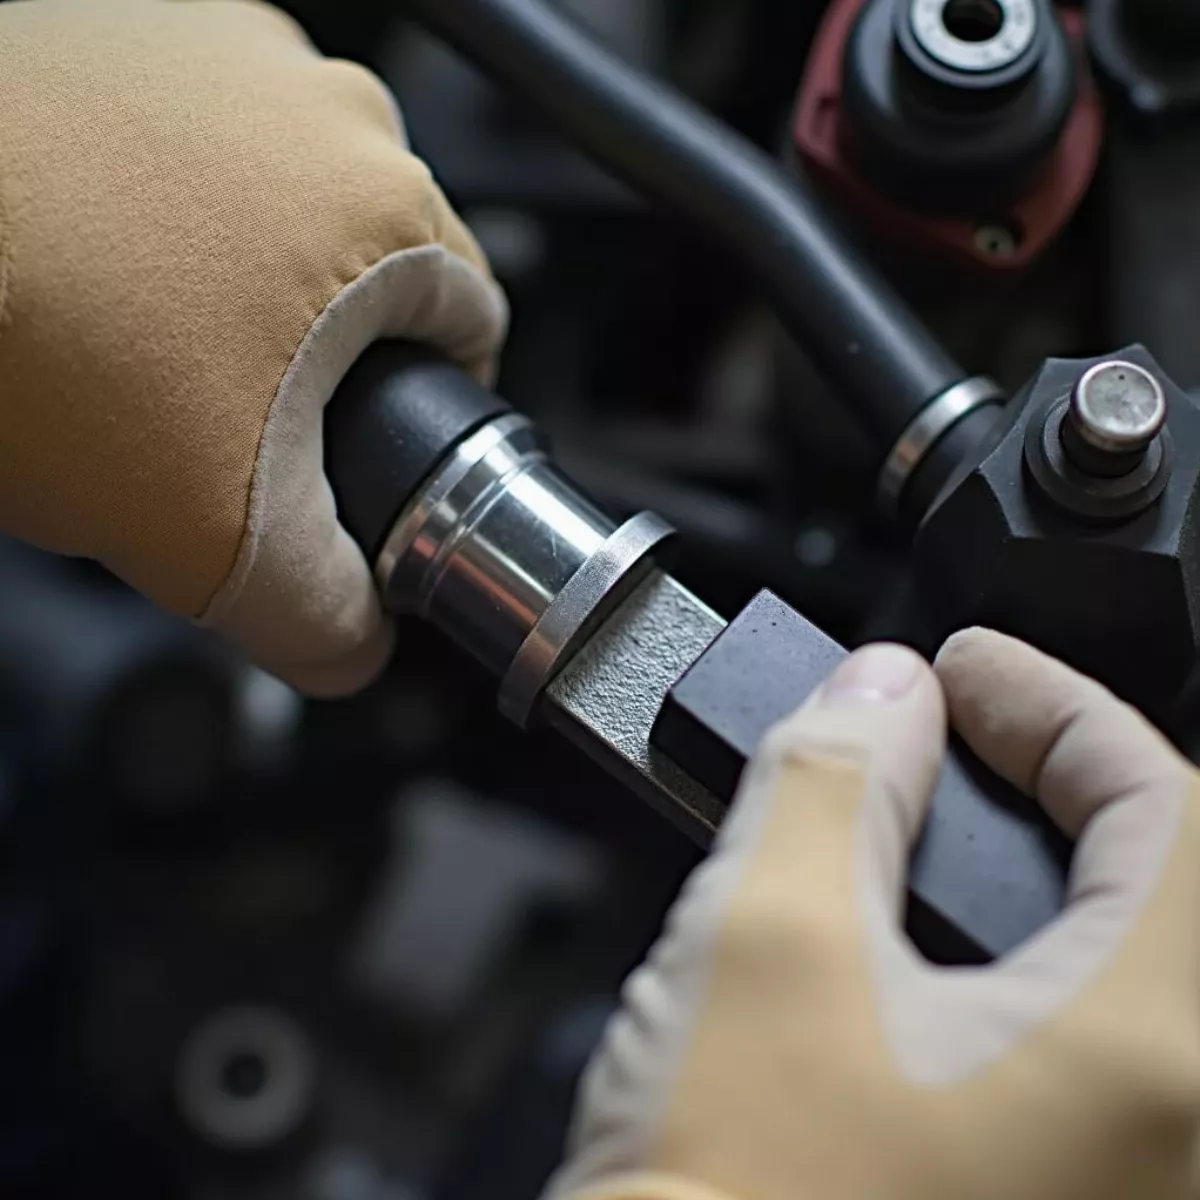
Golf carts are not just for the greens anymore; they’re becoming popular for neighborhood cruising and off-road adventures! However, many golf carts come with governors—devices designed to limit speed and ensure safety. If you’re looking to remove the governor for better performance, you’re in the right place. This article will guide you step by step while ensuring you stay safe and informed.
What is a Governor?
Before diving into how to remove a governor from a golf cart, let’s clarify what it is. A governor is a mechanical device that restricts the engine’s speed. It’s included by manufacturers to promote safety and avoid accidents, especially for inexperienced drivers.
While these devices have their place, you might feel limited in your golf cart’s speed and performance. Whether you’re taking it to the golf course or using it for general transport, removing the governor can enhance your driving experience significantly.
Why Remove the Governor?
There are several reasons why one might want to remove the governor from a golf cart, including:
- Increased Speed: Removing the governor can give your golf cart a needed speed boost, allowing it to reach up to 25 MPH or more.
- Performance Upgrade: Removing speed limits can improve acceleration and overall performance, useful for towing or off-road driving.
- Customization: A lot of golf cart owners enjoy customized experiences; removing the governor can be part of that.
Important Consideration
Before proceeding, understand that removing the governor can impact your cart’s warranty and compliance with local regulations. Always check your local laws to ensure your golf cart modifications are legal.
Step-by-Step Guide to Remove the Governor
Tools You May Need
Before you start, gather the tools listed below:
- Wrench set
- Socket set
- Screwdriver
- Pliers
- Safety goggles
- Work gloves
Removal Process
Step 1: Safety First
Ensure the golf cart is on a flat surface and the power is turned off. Disconnect the battery for added safety.
Step 2: Locate the Governor
- For many golf cart models, the governor is located on the engine. Common types like Club Car, Yamaha, and EZGO have their governors situated differently.
- Club Car: Check near the rear end of the engine.
- Yamaha: Look at the throttle side of the carburetor.
- EZGO: Generally found on the rear of the engine or near the accelerator.
Step 3: Disconnect the Governor
- Remove the clutch cover: Use your wrench to disconnect any bolts holding the cover.
- Detach governor arm: Locate and carefully pull off any linkages or arms connected to the governor.
Step 4: Remove the Governor Weight
- For carts with a centrifugal governor, you will need to remove weights attached to the governor. Carefully unscrew and detach them.
 Removing Governor Weight
Step 5: Reassemble
- After confirming everything is removed, reassemble the engine components, ensuring no loose parts are left unaccounted for.
Step 6: Reconnect the Battery
Once everything is securely in place and looks good, reconnect the battery cables.
Step 7: Test Drive
Take your golf cart for a spin! Start at a slow speed to ensure everything is functioning properly. Gradually accelerate to test the increased speed capabilities.
Key Tips for Success
- Consult Your Manual: Always refer to your golf cart’s owner manual for detailed instructions tailored to your specific model.
- Consider Professional Help: If you’re uncomfortable performing the steps yourself, consider hiring a professional mechanic who specializes in golf carts.
Key Takeaways
- Golf cart governors limit speed for safety; removing them can boost performance.
- Ensure legal compliance and safety before removal.
- Gather necessary tools and follow a systematic approach.
- Test drive your modified cart to ensure optimal performance.
 Golf Cart Off-Roading
Frequently Asked Questions (FAQ)
-
Is it legal to remove the governor on a golf cart?
Answer: It depends on your local laws. Always check your local regulations before making any modifications.
-
Will removing the governor void my warranty?
Answer: Yes, tampering with manufacturer equipment like governors often voids warranties.
-
Can I put the governor back after removal?
Answer: Yes, most governors can be reinstalled if needed, though you may need to retain all removed parts.
-
How much speed can I gain by removing the governor?
Answer: Typically, you can gain between 5-15 MPH, depending on the model and the modifications made.
-
Can I safely drive my golf cart faster?
Answer: Yes, but be mindful of safety and the cart’s ability to handle higher speeds. Make sure the brakes and tires are capable.
-
What are the risks of removing the governor?
Answer: Risks include compromised safety, higher chances of accidents, and potential mechanical failures.
-
Will this modification affect battery life?
Answer: Yes, higher speeds may lead to increased battery drain, requiring more frequent recharges.
-
Do I need to change any other parts for better speed?
Answer: It’s a good idea to consider upgrading tires or the motor for improved performance alongside governor removal.
-
Are there any aftermarket options for speed enhancement?
Answer: Yes, many aftermarket speed chips or performance kits are available specifically for golf carts.
- What’s the best way to maintain speed after governor removal?
Answer: Regular maintenance, such as checking the battery, ensuring tire pressure, and tuning the engine, will help maintain speed.
By following this guide, you should now be equipped with all the information to remove the governor from your golf cart safely and effectively. Whether you’re looking to enhance your speed for joyrides or off-road adventures, remember to prioritize safety above all else. Happy driving!