Golf clubs are a critical investment for any serious golfer. Over time, wear and tear can diminish their performance, making it essential to know how to properly resurface your clubs. This guide will walk you through everything you need to know in a friendly and informative style.
Why Resurfacing Golf Clubs Matters
Before diving into the steps for resurfacing, let’s first explore why it matters. The surface of your golf clubs affects how they interact with the ball—both in terms of spin and distance. Here’s why you should consider resurfacing:
- Improved Performance: A smoother face can enhance control and spin rates.
- Increased Longevity: Resurfacing can extend the life of your clubs, saving you money in the long run.
- Enhanced Aesthetics: A revamped finish can give your clubs a new look and feel.
When to Resurface Your Golf Clubs
Knowing when to resurface is as important as understanding how to do it. Here are a few signs:
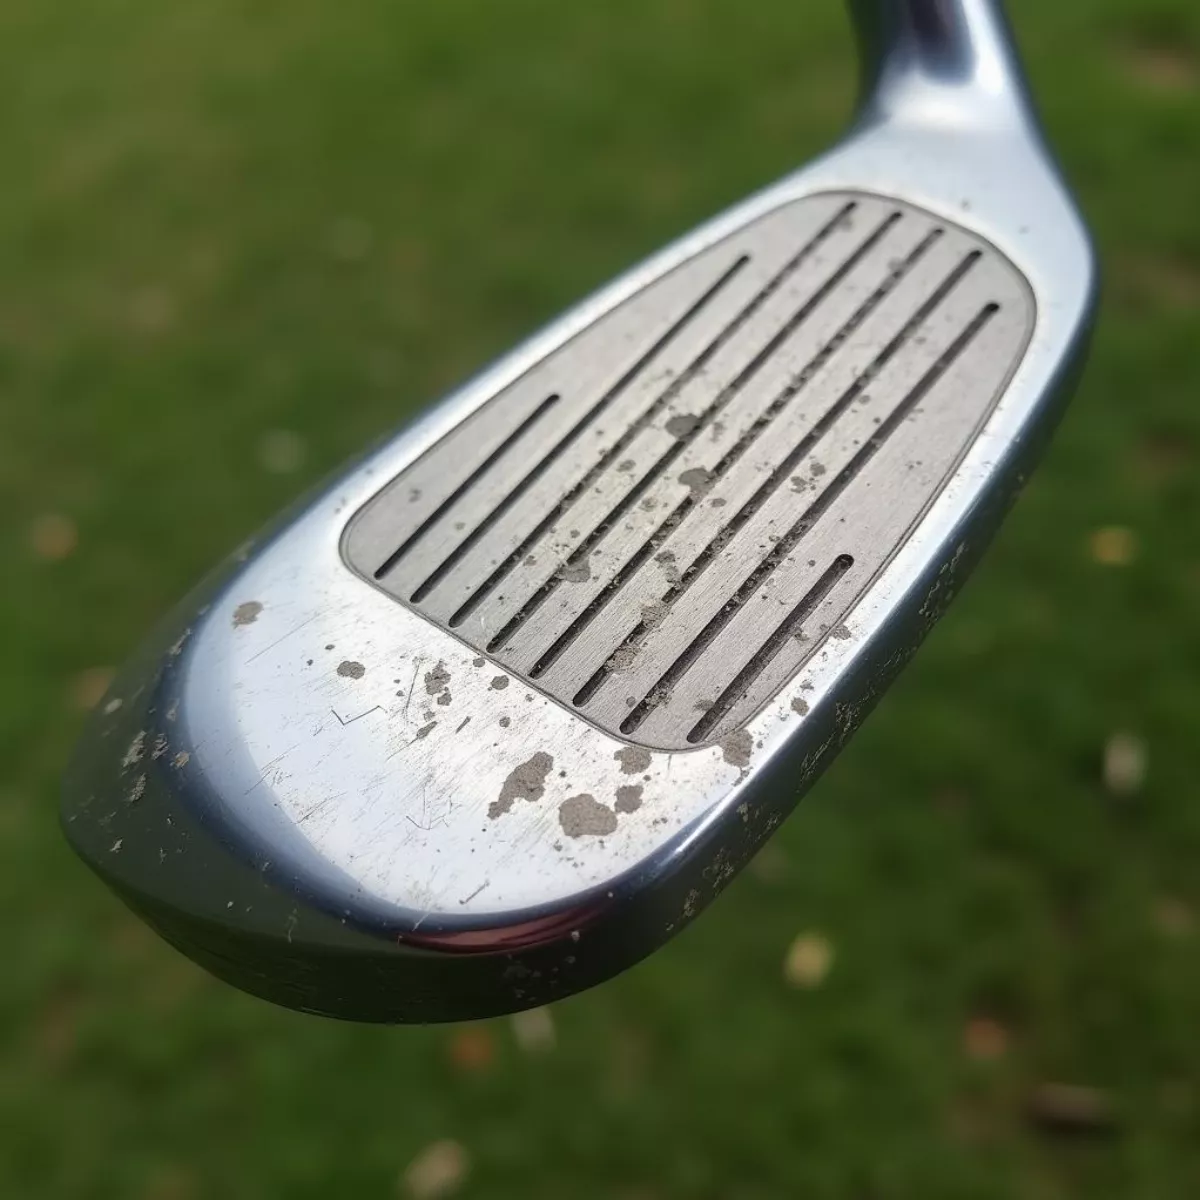
- Visible Scratches or Dings: If you see significant damage on the face of your club, it’s time.
- Loss of Spin: If you’ve noticed changes in ball spin, resurfacing may be needed.
- Worn Grooves: When grooves become shallow, they affect shot control.
 Worn Golf Club Grooves
Tools You’ll Need
Preparations are vital. Here’s your essential toolkit for resurfacing:
- Sandpaper: Use fine grit (1000 or 1500) for polishing.
- Golf Club Resurfacing Tool: A special tool may help in achieving better results.
- Metal Polish: This can help add shine post-resurfacing.
- Ruler: For measuring groove depth.
- Cloth: To wipe down your clubs.
- Protective Gloves: Safety first!
How to Resurface Your Golf Clubs: Step-by-Step Guide
Follow these steps for a successful resurfacing process.
Step 1: Clean Your Clubs
Start with basic cleaning. Use warm soapy water and a cloth to remove dirt and grime.
Tip: Avoid using any harsh chemicals that may damage your club’s finish.
Step 2: Inspect the Grooves
Take a close look at the grooves on your clubs. Use a ruler or gauge to measure the depth and determine if resurfacing is indeed necessary.
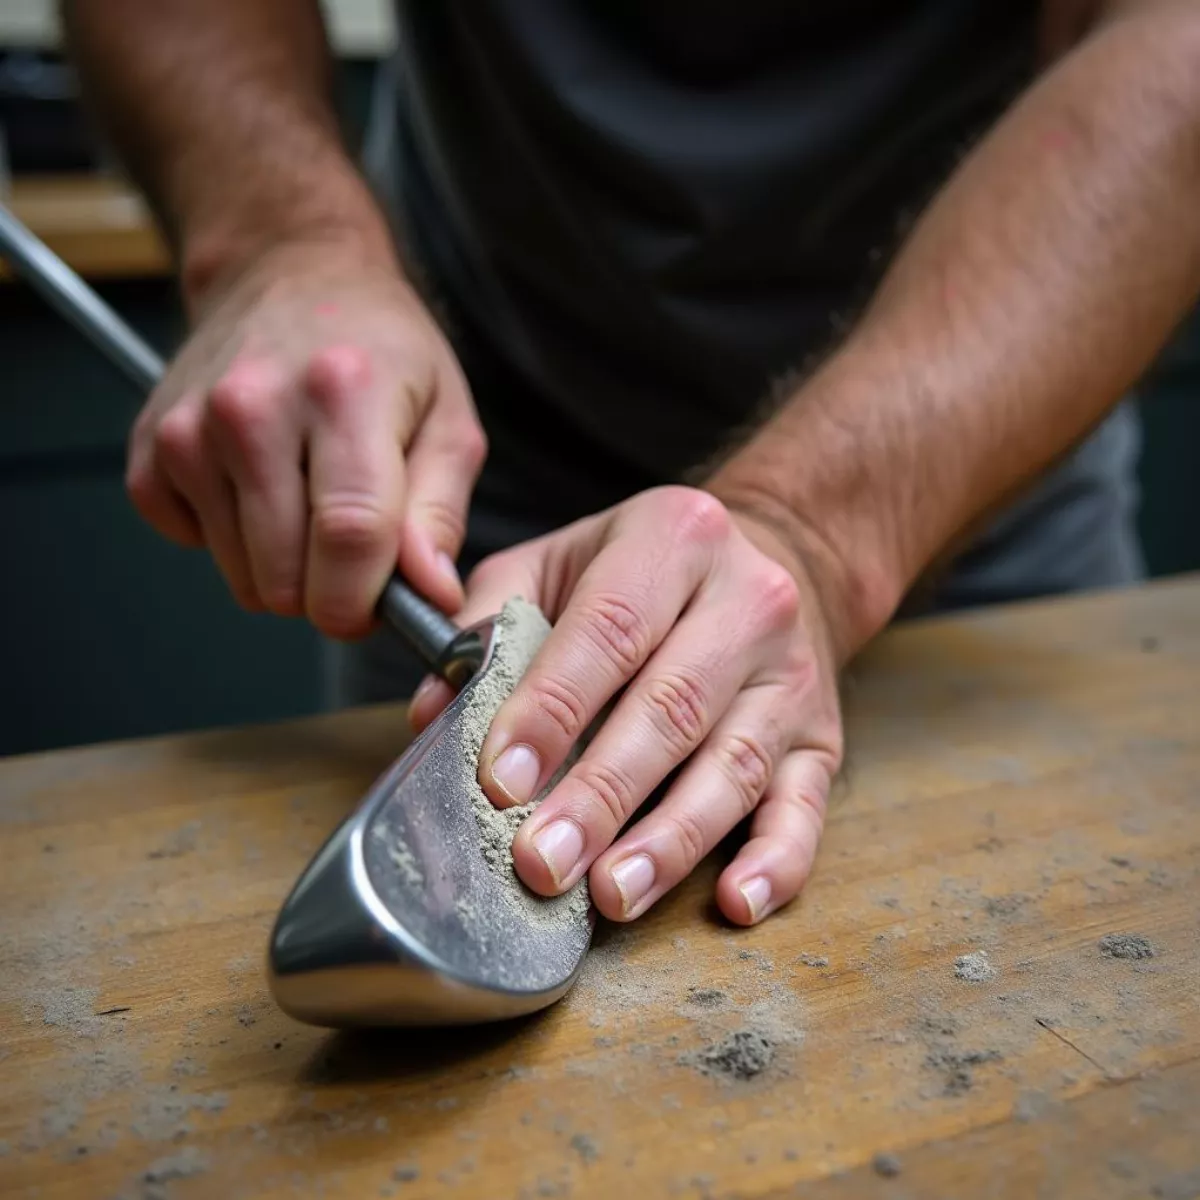
Step 3: Sanding the Clubface
Sanding Techniques
- Dry Sanding: Use fine grit sandpaper to gently sand the area. Move in a circular motion to ensure an even finish.
- Wet Sanding: Soak the sandpaper in water for smoother results. This technique minimizes scratch marks.
Remember: Be careful not to alter the club’s loft or lie angle.
 Resurfacing Golf Clubface
Step 4: Polishing
After sanding, it’s time to polish.
- Apply a small amount of metal polish to your cloth.
- Rub the clubface gently to bring back its original shine.
Step 5: Clean Again
Rinse the club to remove any residual polish and dirt. Dry it thoroughly with a soft cloth.
Step 6: Final Inspection
Give your club a thorough once-over. Make sure that the grooves are clear and the surface is smooth.
Maintenance Tips for Resurfaced Clubs
To keep your resurfaced clubs in top shape, consider following these tips:
- Regular Cleaning: Always clean your clubs after each round.
- Cover: Use headcovers to protect the clubface.
- Store Properly: Keep them in a cool, dry place to avoid rust.
Key Takeaways
- Resurfacing golf clubs can enhance performance and longevity.
- Common signs include visible scratches and loss of spin.
- Use the right tools: sandpaper, polishing compounds, and cleaning materials.
- Follow a careful step-by-step guide for best results, including cleaning, sanding, polishing, and re-inspecting.
 Resurfaced Golf Clubs
FAQs on Resurfacing Golf Clubs
1. How often should I resurface my golf clubs?
- It depends on usage; generally, every 1-2 years is sufficient for most golfers.
2. Can I resurface my clubs myself?
- Yes! With the right tools and technique, resurfacing is achievable for most.
3. What happens if I sand too much?
- Over-sanding can alter club characteristics like loft, which may affect performance significantly.
4. Is it safe to use sandpaper on my clubs?
- Yes, as long as you use fine grit and are gentle, it won’t damage the clubs.
5. Why do I need to polish after sanding?
- Polishing removes fine scratches and restores that initial shine.
6. How do I know if the grooves are still effective?
- If you can’t see them clearly or they feel shallow, they likely need resurfacing.
7. Will resurfacing change the feel of my clubs?
- It may slightly alter the feel due to improved conditions, but should enhance performance.
8. Can I use any household metal polish?
- While it’s possible, using a product designed for golf clubs is recommended to avoid unwanted residue.
9. Does resurfacing affect my warranty?
- Always check with the manufacturer, as altering the club may void warranties.
10. Where can I find professional resurfacing services?
- Many pro shops and specialized golf retailers offer resurfacing services. Check locally for options.
Whether you’re a newbie to golf or an experienced player, knowing how to properly resurface your golf clubs can dramatically improve both their lifespan and your game. Don’t hesitate to add this skill to your golf maintenance toolkit. Happy golfing!