Golf carts offer a convenient and eco-friendly way to travel around the golf course, neighborhoods, or even large commercial properties. A golf cart charger plays a crucial role in maintaining your cart’s battery health, ensuring you can enjoy uninterrupted rides. But what happens when your golf cart isn’t charging effectively? It’s time to get your multimeter and conduct some tests. In this guide, we’ll delve into how to test a golf cart charger using a multimeter effectively.
Why You Need to Test Your Golf Cart Charger
Over time, a golf cart charger may encounter issues due to wear and tear, lack of use, or electrical problems. Testing your charger can help you avoid costly battery replacements or downtime. Here are a few common reasons to test your charger:
- Battery Health: Identify if the batteries are holding a charge.
- Charger Functionality: Ensure the charger is delivering the proper voltage needed.
- Preventative Maintenance: Catch minor issues before they become severe problems.
What You Will Need
Before you start, gather the following tools:
- Multimeter
- Basic Tools (for accessing battery terminals)
- Safety Gloves
- Safety Glasses
- Owner’s Manual for your golf cart (optional for reference)
Understanding Your Multimeter
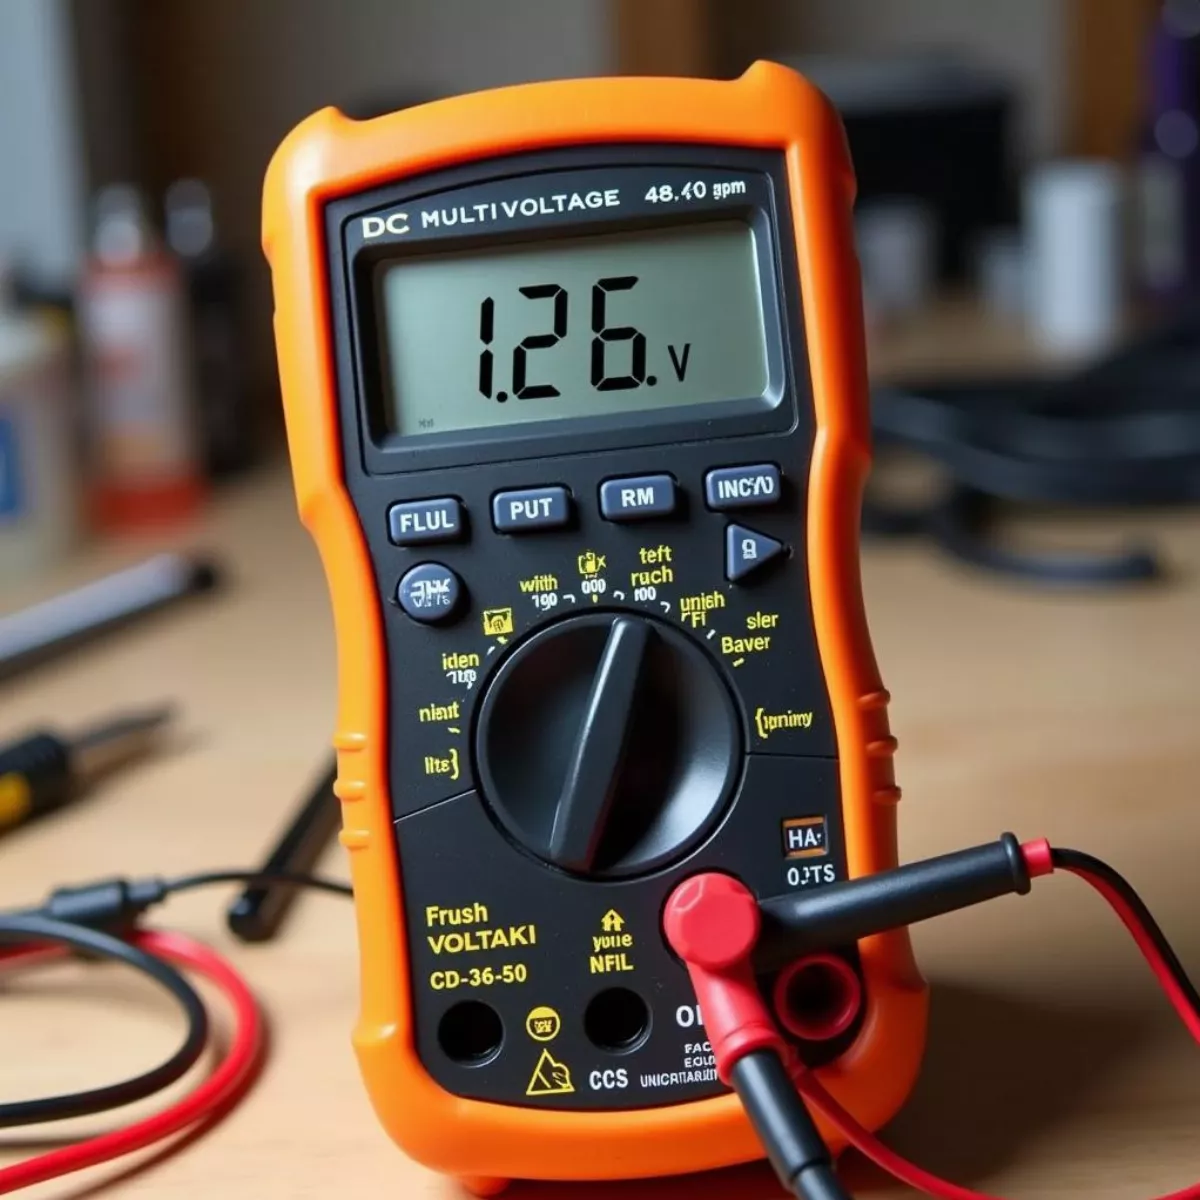
A multimeter is an invaluable tool for diagnosing electrical problems and measuring voltage, current, and resistance. Here’s a quick overview of the functions you’ll use while testing:
- Voltmeter: Measures voltage potential between two points.
- Amperemeter: Measures current flow (though not commonly needed for chargers).
- Ohmmeter: Measures resistance in a circuit.
 Multimeter with Probes
Step-by-Step Guide to Testing Your Golf Cart Charger
Let’s break down the process in a simple, manageable way.
Step 1: Safety First
Before you begin testing the charger, keep these safety precautions in mind:
- Always wear safety gloves and glasses.
- Make sure the charger is unplugged from the wall outlet.
- Handle the batteries with care to avoid shocks.
Step 2: Locate the Charger and Batteries
Identify the charger and batteries in your golf cart. Most electric golf carts have their batteries accessible under a seat or a cover.
Step 3: Settings on Your Multimeter
- Turn the multimeter dial to the DC Voltage setting (usually indicated by a “V” with a straight line).
- Set it to a range that can read between 0-20 volts.
Step 4: Testing Battery Voltage
Now that you have the multimeter set, follow these steps to check the voltage:
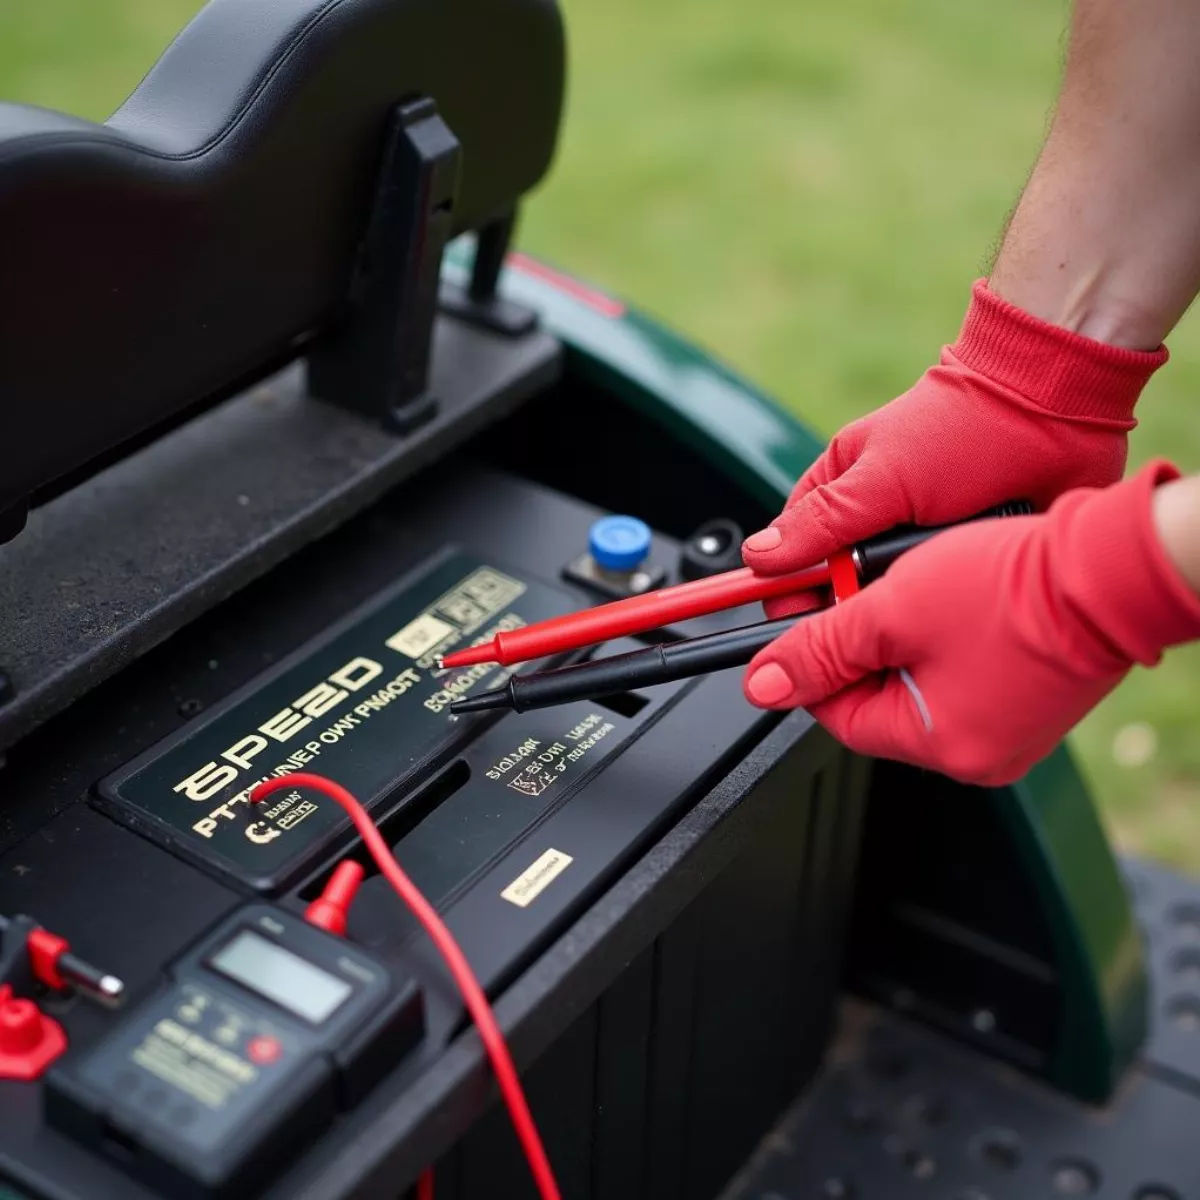
- Connect the leads:
- Place the red lead on the positive terminal of the battery.
- Place the black lead on the negative terminal.
- Read the Voltage:
- Take a note of the voltage reading.
- It should typically be around 12.6 volts for a fully charged lead-acid battery. If you’re working with lithium batteries, refer to your specific manufacturer’s recommendations.
 Connecting Multimeter to Golf Cart Battery
Step 5: Testing the Charger Output
Next, check the charger’s output:
- Reconnect your charger: Plug the charger back in.
- Wait for a few moments and check the voltage at the charger output terminals if accessible.
- Again connect the multimeter:
- Red lead to the positive terminal of the charger.
- Black lead to the negative terminal.
- You should expect a reading around 15-20 volts if the charger is functioning properly.
Step 6: Analyzing the Readings
- If the battery voltage is low (<12 volts), your batteries could be discharged or failing.
- If the charger output is low (<15 volts) or zero when plugged in, it may indicate a problem within the charger.
Step 7: Repeat as Necessary
If issues persist, it might be worth repeating the test on each individual battery (if using a multi-battery setup) and consulting an expert if the readings don’t seem right.
Key Takeaways
- Always prioritize safety when working with electricity and batteries.
- Use your multimeter to first check the battery voltage and then the charger output.
- Look for readings that match or slightly exceed standard values to confirm functionality.
- Document your readings for future reference.
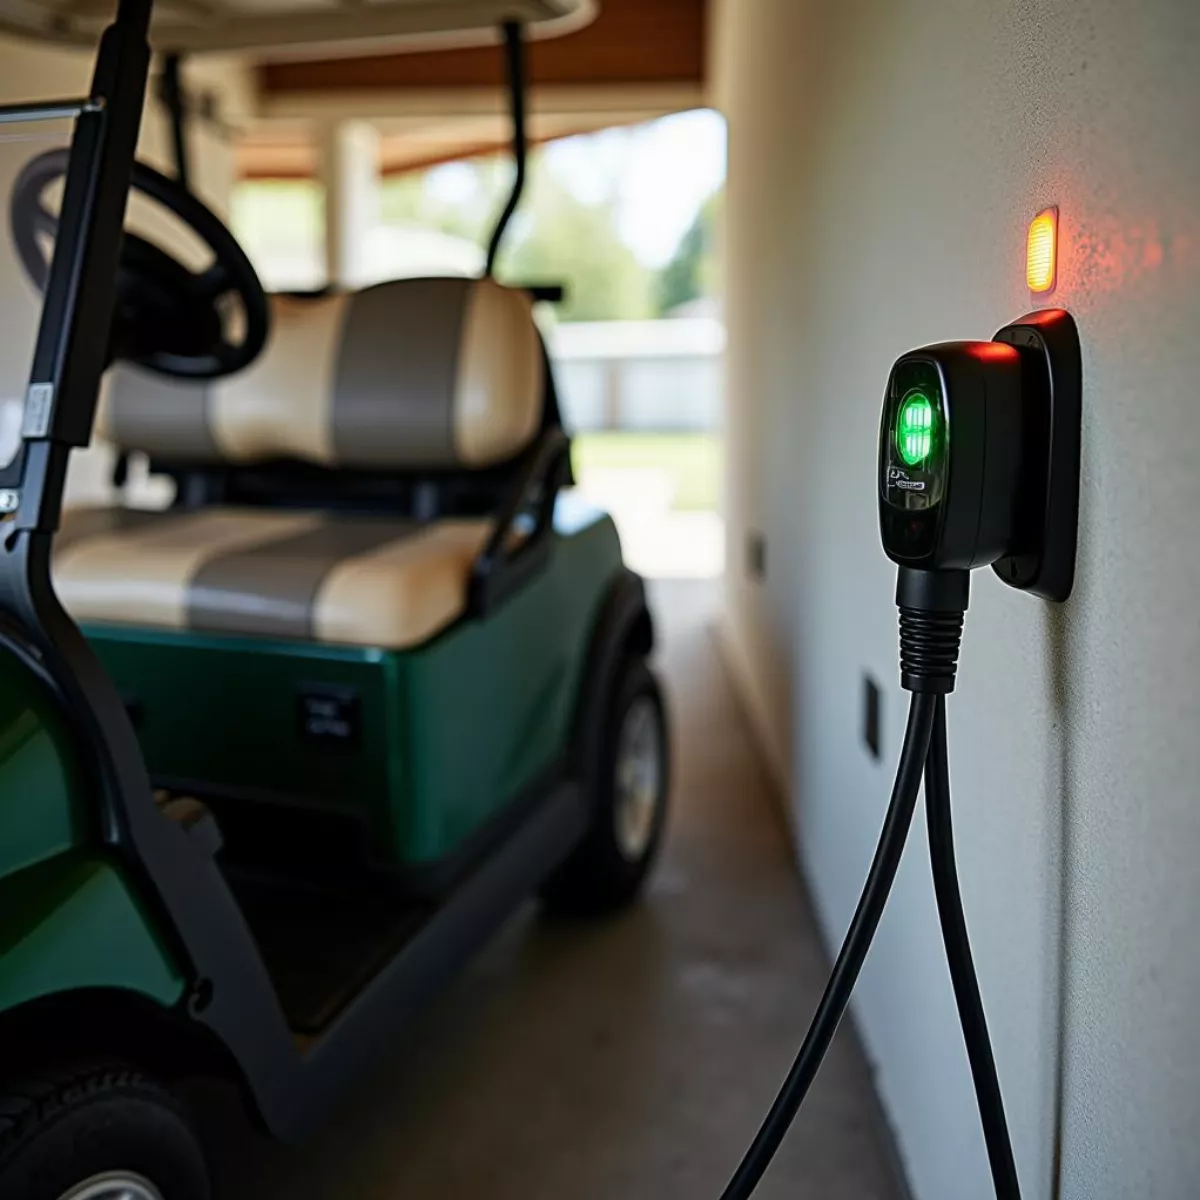
 Golf Cart on Charger
Frequently Asked Questions (FAQ)
- What is a multimeter?
- A multimeter is a tool used to measure voltage, current, and resistance. It’s essential for diagnosing electrical issues in various devices, including golf cart chargers.
- What should the voltage be when testing a golf cart battery?
- The standard voltage for a fully charged lead-acid golf cart battery should be about 12.6 volts.
- What if my golf cart charger shows zero output?
- A zero reading could indicate a faulty charger. Double-check the connections and consult a professional if the issue persists.
- Can I use a multimeter to check other electrical components?
- Yes! A multimeter is versatile and can test batteries, circuits, and more.
- How often should I test my golf cart charger?
- It’s a good idea to check your charger and battery condition at least once a month for optimal performance.
- Is it safe to test a charger while it’s plugged in?
- Yes, as long as you’re careful and follow safety precautions. However, avoid touching the terminals directly with your body.
- What tools are essential for maintaining a golf cart?
- A good multimeter, basic hand tools, and occasionally a comprehensive maintenance manual specific to your golf cart model.
- What causes a golf cart battery to not charge?
- Several issues can cause this, including a faulty charger, poor battery connections, or degraded battery condition.
By following this guide, you should feel confident about testing your golf cart charger with a multimeter. Not only will you keep your golf cart in optimal shape, but you will also extend the life of your batteries and charger. Happy golfing!