If you’re an avid golfer, you likely enjoy scooting around the course in your trusty golf cart. Keeping that cart in top shape means making sure its battery charger is fully operational. But how do you know if your battery charger is working effectively? In this article, we will walk you through multiple methods to test a battery charger for your golf cart, helping you keep your cart and game on point!
Why Test Your Battery Charger?
Before diving into the how-to, let’s briefly discuss why it’s essential to test your battery charger.
- Safety: A malfunctioning charger can be a fire hazard.
- Cost Efficiency: Replacing a battery charger can be expensive. Testing can help you determine if repairs, rather than replacements, are necessary.
- Performance: A proper charger will ensure that your golf cart runs smoothly and efficiently.
Understanding the Components of Golf Cart Battery Chargers
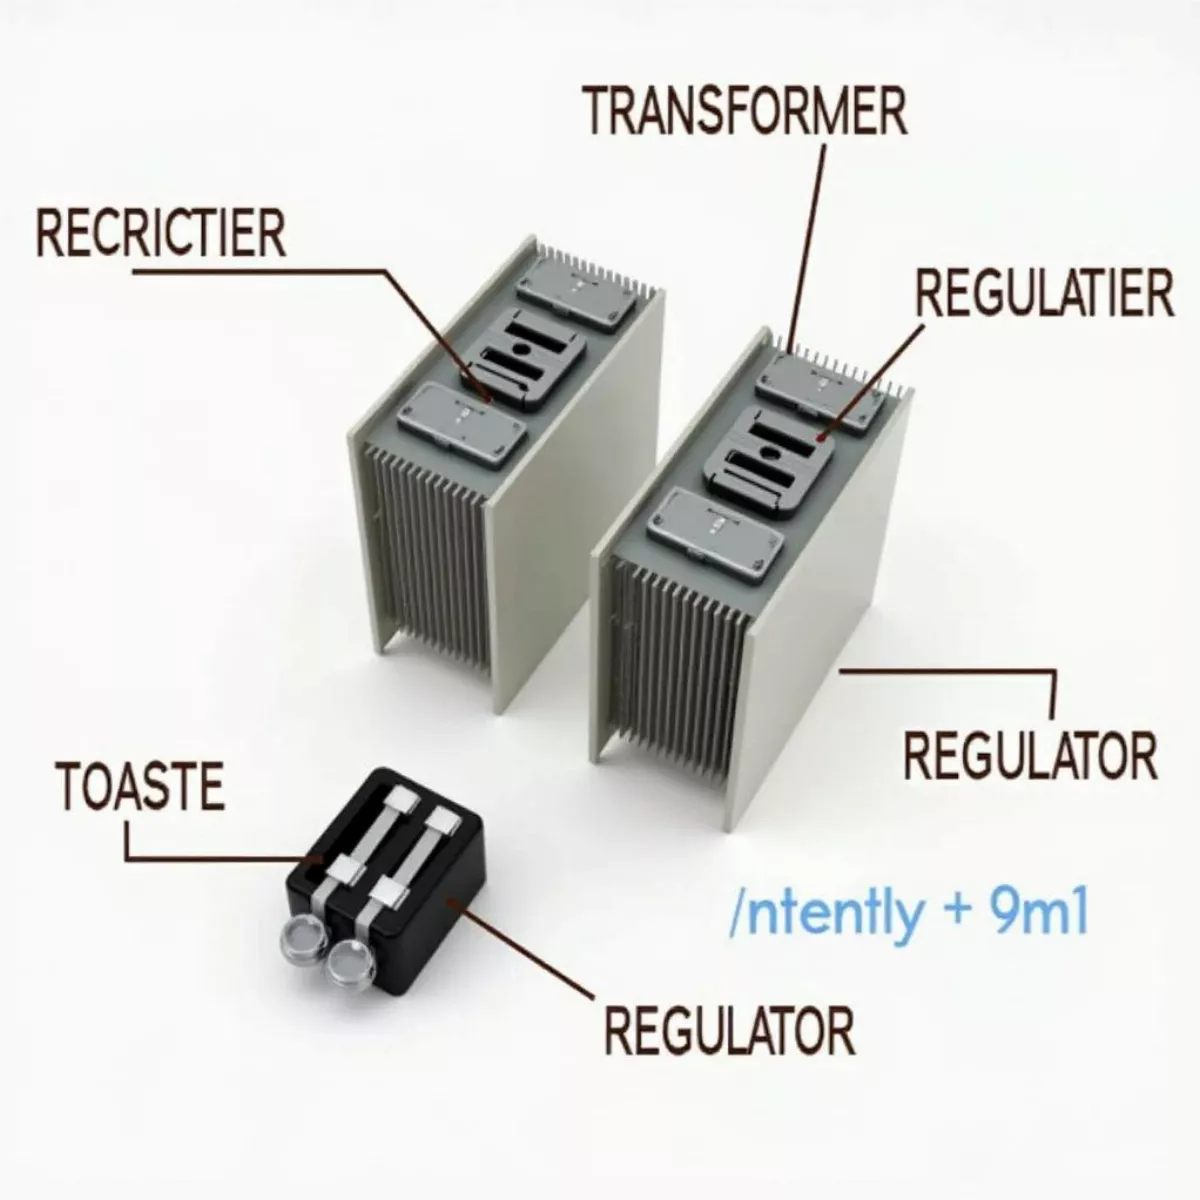
Before we start testing, it’s crucial to understand the components of a golf cart battery charger. The main parts include:
- Transformer: Reduces the voltage from your electrical outlet.
- Rectifier: Converts AC to DC power.
- Regulator: Maintains the output voltage.
By knowing these components, you’ll better understand what to look for when testing your charger.
 Golf Cart Battery Charger Components
Tools Needed for the Test
To successfully test your battery charger, you’ll need some basic tools:
- Multimeter: For measuring voltage and checking for continuity.
- Screwdriver: To access the charger if needed.
- Safety Gloves: Always prioritize safety when working with electrical devices.
Step-by-Step Guide to Testing Your Battery Charger
Step 1: Inspect the Charger
Before using your multimeter, visually inspect the charger for obvious signs of damage. Look out for:
- Burn marks
- Frayed wires
- Loose connections
If you notice any of these signs, it might be best to replace the charger.
Step 2: Check the Input Voltage
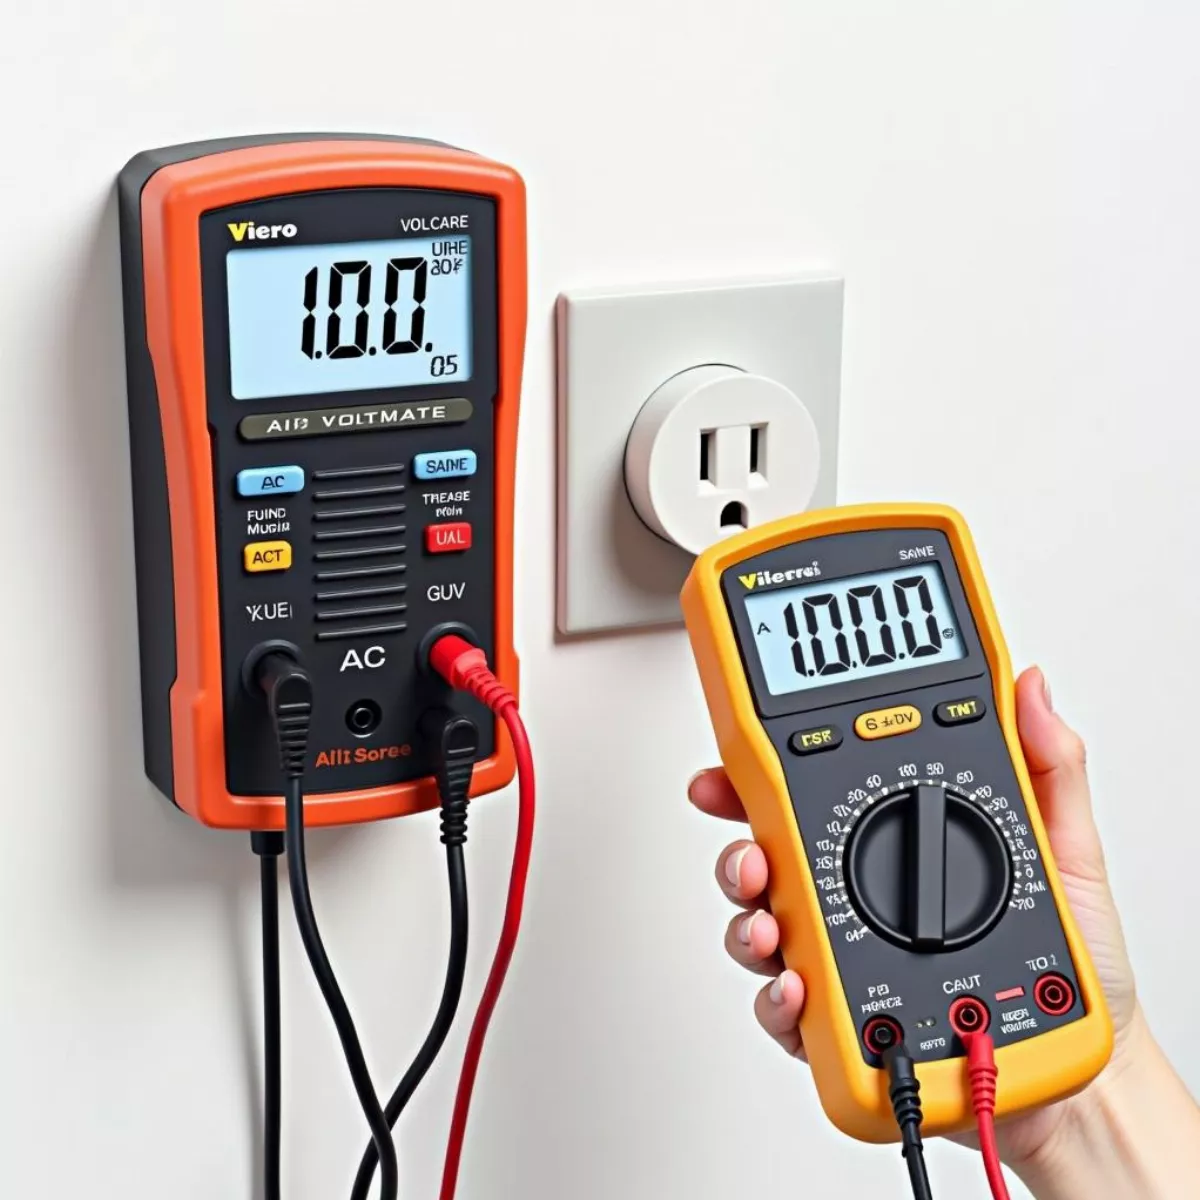
- Unplug the charger from the golf cart and plug it into a wall outlet.
- Set your multimeter to measure AC voltage.
- Test the outlet first to ensure it’s providing the correct voltage (usually between 110-120 volts).
- Next, measure the voltage at the charger’s input terminals.
Expected Reading: Your multimeter should give you a reading similar to what you found at the wall outlet. If not, the charger might be faulty.
 Testing Golf Cart Charger Input Voltage
Step 3: Test the Output Voltage
- With the charger plugged into the wall but not connected to the golf cart, set your multimeter to measure DC voltage.
- Place the multimeter probes on the charger’s output terminals (be careful not to touch them with your hands).
Expected Reading: Most golf cart chargers should output between 36V to 48V, depending on the type of battery.
- If the voltage is significantly lower than expected, the charger may not be working effectively.
Step 4: Measure Current Flow
To confirm your charger’s functionality, you can also check the current flow:
- Turn off the charger.
- Connect your multimeter in series with the output wires.
- Turn on the charger again.
Expected Reading: The multimeter should indicate a current flow consistent with your charger’s specifications. If not, the charger may require repairs.
Step 5: Inspect Internal Components
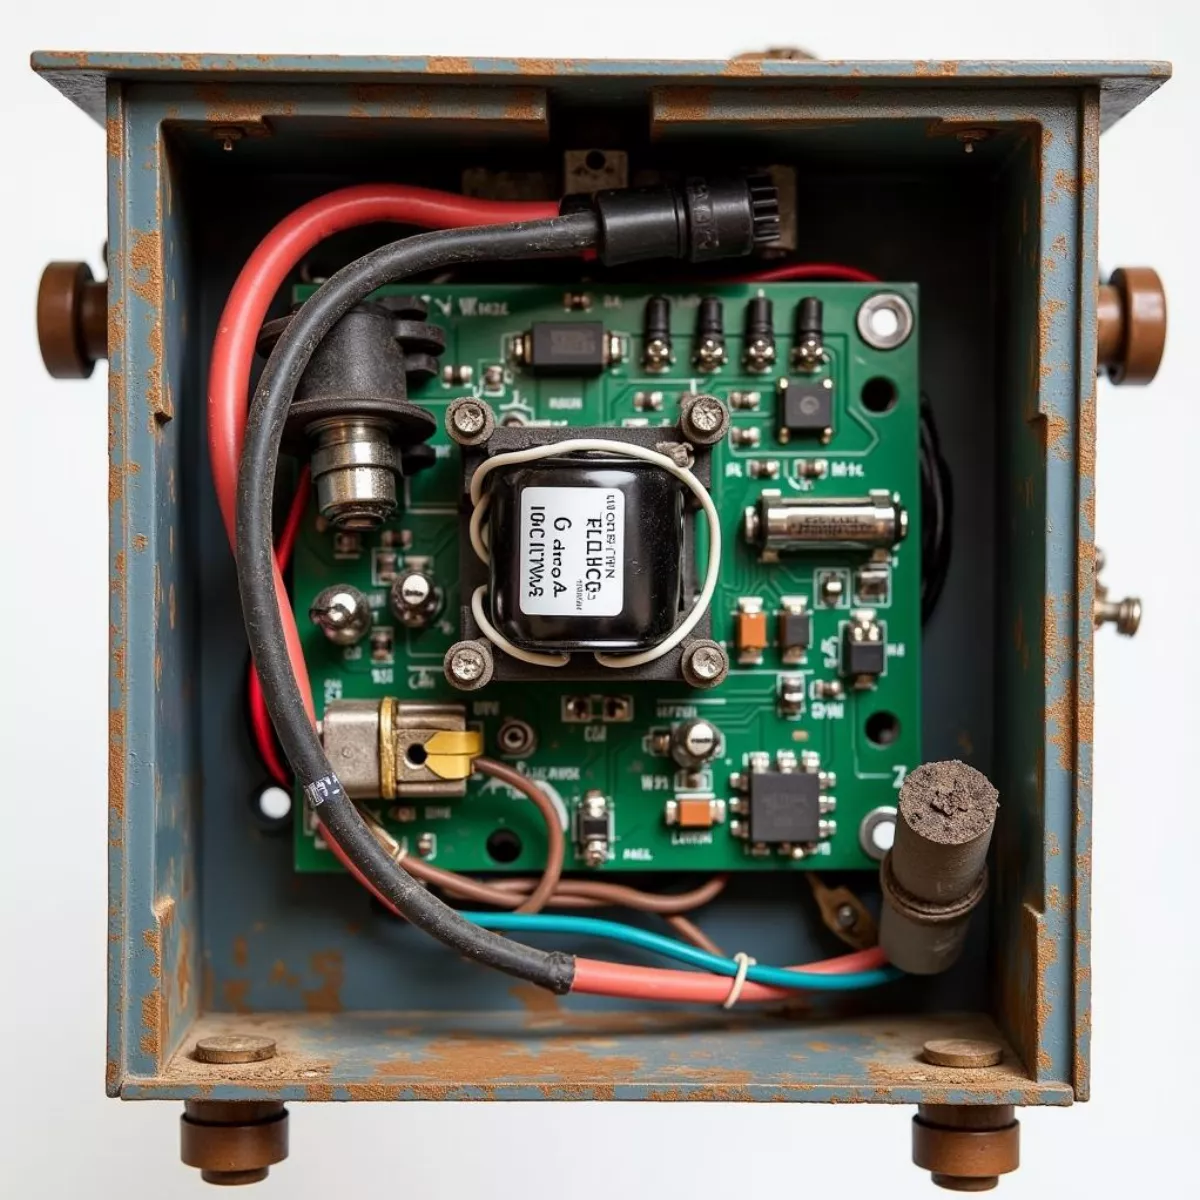
If you’re comfortable doing so, open up the charger to examine internal components. Here’s what to look for:
- Burnt Components: Look for any burnt traces on the circuit board or burnt smell.
- Loose Connections: Ensure all components are securely attached.
If you’re not comfortable with high-voltage electronics, it’s advisable to consult a professional.
 Inspecting Golf Cart Charger Internal Components
Step 6: Check for Fault Codes
Some modern chargers display error codes. Browsing through the user manual can help you understand these codes.
Tip: Resetting the charger may help. Simply unplug it for a few minutes and then plug it back in.
Preventive Measures to Extend Charger Lifespan
Treat your charger well, and it will return the favor! Here are some preventive measures:
- Regular Inspections: Check for wear and tear monthly.
- Use Appropriate Settings: Never use a charger not suited for your battery type.
- Store Properly: Keep the charger in a dry area away from extreme temperatures.
“An ounce of prevention is worth a pound of cure.” – Benjamin Franklin
Key Takeaways
- Perform regular inspections to catch issues early.
- Use a multimeter to check both input and output voltage.
- Look for internal damage if the charger doesn’t perform as expected.
- Consider consulting a professional for repairs if you are not comfortable doing the tests.
Frequently Asked Questions (FAQs)
-
How often should I test my golf cart battery charger?
- It’s advisable to test your charger at least once a season or if you notice charging issues.
-
What should I do if my charger is not giving the correct voltage?
- Check for visible signs of damage first. If no damage is apparent, consider resetting it or consult a professional.
-
Can I use a multimeter without any electrical knowledge?
- While it’s possible to use a multimeter, having basic electrical knowledge helps ensure accurate readings and safety.
-
What are common signs that a charger is failing?
- Signs include unusual noises, inconsistent voltage, or failure to charge the batteries.
-
Is it safe to open the battery charger?
- If you’re not trained in electrical work, it’s safer to leave internal inspections to professionals.
-
What is the typical lifespan of a golf cart charger?
- A well-maintained charger typically lasts 5-10 years.
-
Can I charge my golf cart’s battery with a car charger?
- No, car chargers are not designed for golf cart batteries and can cause damage.
-
Should I unplug the charger after fully charging?
- Yes, it’s best to unplug to avoid potential overcharging and heat buildup.
-
Can I use a different charger for my golf cart?
- Always use a charger designed specifically for your battery type to avoid issues.
-
How can I find a replacement charger for my golf cart?
- Check with local golf cart dealers or online retailers that specialize in golf cart accessories.
With this guide, you should feel equipped to test your battery charger for your golf cart. Regular maintenance not only saves you money but ensures that your golf cart is ready for your next round of golf! Happy golfing!

