Whether you’re a novice golfer or a seasoned pro, you know that the greens and fairways you play on can greatly affect your game. One of the simplest yet often overlooked tools in a golfer’s arsenal is the divot tool. Understanding how to properly use this handy instrument not only helps you maintain the course but also shows respect for the game. In this guide, we’ll explore everything you need to know about using a divot tool, including tips for effective use, maintenance, and etiquette on the golf course.
What is a Divot Tool?
A divot tool is a small, fork-like device designed to repair the small holes or divots that occur on the green when a golfer takes a shot. These divots can disrupt the smooth surface of the green, affecting the ball’s roll and, ultimately, your score. By using a divot tool correctly, you contribute to the health of the course, ensuring that it remains in pristine condition for all players.
Why Is It Essential to Use a Divot Tool?
Using a divot tool is vital for several reasons:
- Course Maintenance: Keeps greens and fairways in playable condition.
- Fair Play: Treating the golf course well reflects your respect for the game.
- Enhanced Gameplay: Smoother greens improve the overall playing experience for you and others.
Basic Components of a Divot Tool
Before diving into usage techniques, it’s helpful to understand the different components of a divot tool:
- Forked Prongs: For lifting the turf gently.
- Lever: Used to flatten the repaired area.
- Magnetic Ball Marker (in many tools): To aid in marking your ball’s position.
How to Properly Use a Divot Tool
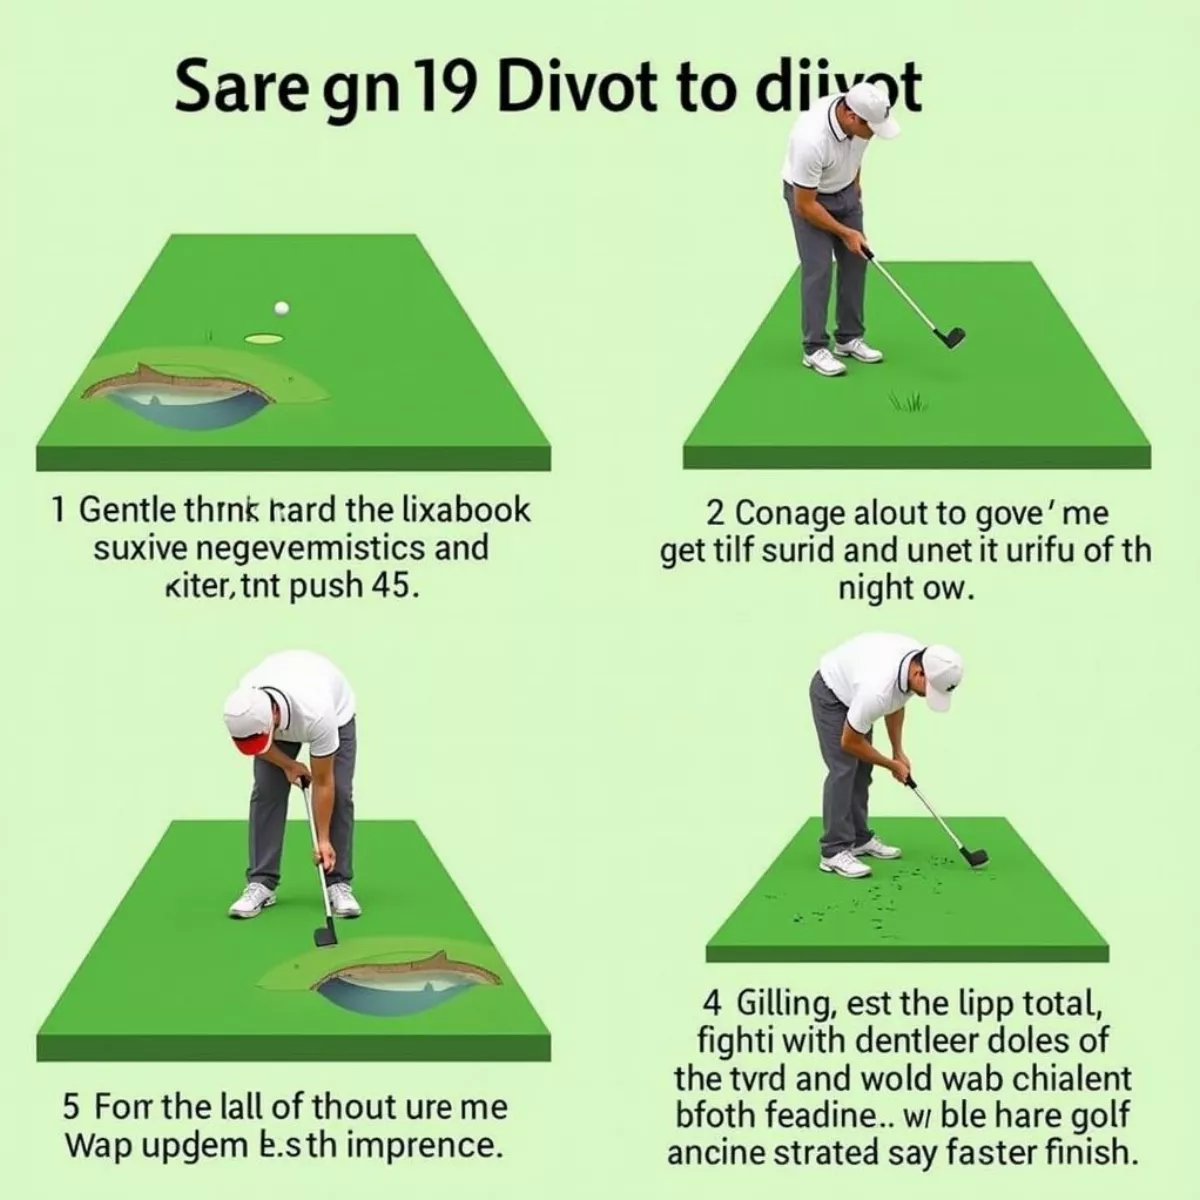
Using a divot tool is straightforward but requires technique for maximum efficiency. Here are the steps for effective usage:
- Identify the Divot:
- Look for small depressions that have formed a hole, typically on the green.
- Insert the Tool Gently:
- Insert one prong of the tool into the edge of the divot at a 45-degree angle.
- Avoid pushing directly down, as this can harm the grass roots.
- Lift the Turf:
- Gently pry the turf upwards. By lifting the grass, you can help restore it to its original position.
- Use the Lever:
- Place the other prong in the ground next to the lifted area and use it as a lever to push the turf down.
- This helps to secure the grass and encourages it to heal properly.
- Flatten the Area:
- Once the divot is lifted and positioned correctly, use your foot or hand to ensure the area is flat and smooth.
- Inspect Your Work:
- Ensure the repaired area is level with the surrounding turf.
 Golf Divot Repair Steps
Quick Tips for Divot Tool Use
- Always carry your divot tool in your pocket or on your bag.
- Be respectful of other players’ lines; don’t step on their putt line when repairing a divot.
- If you’re unsure, look for divot repair signs on the course for guidance.
- Follow up each round of golf by inspecting your divots and using your divot tool on any remaining marks.
Maintaining Your Divot Tool
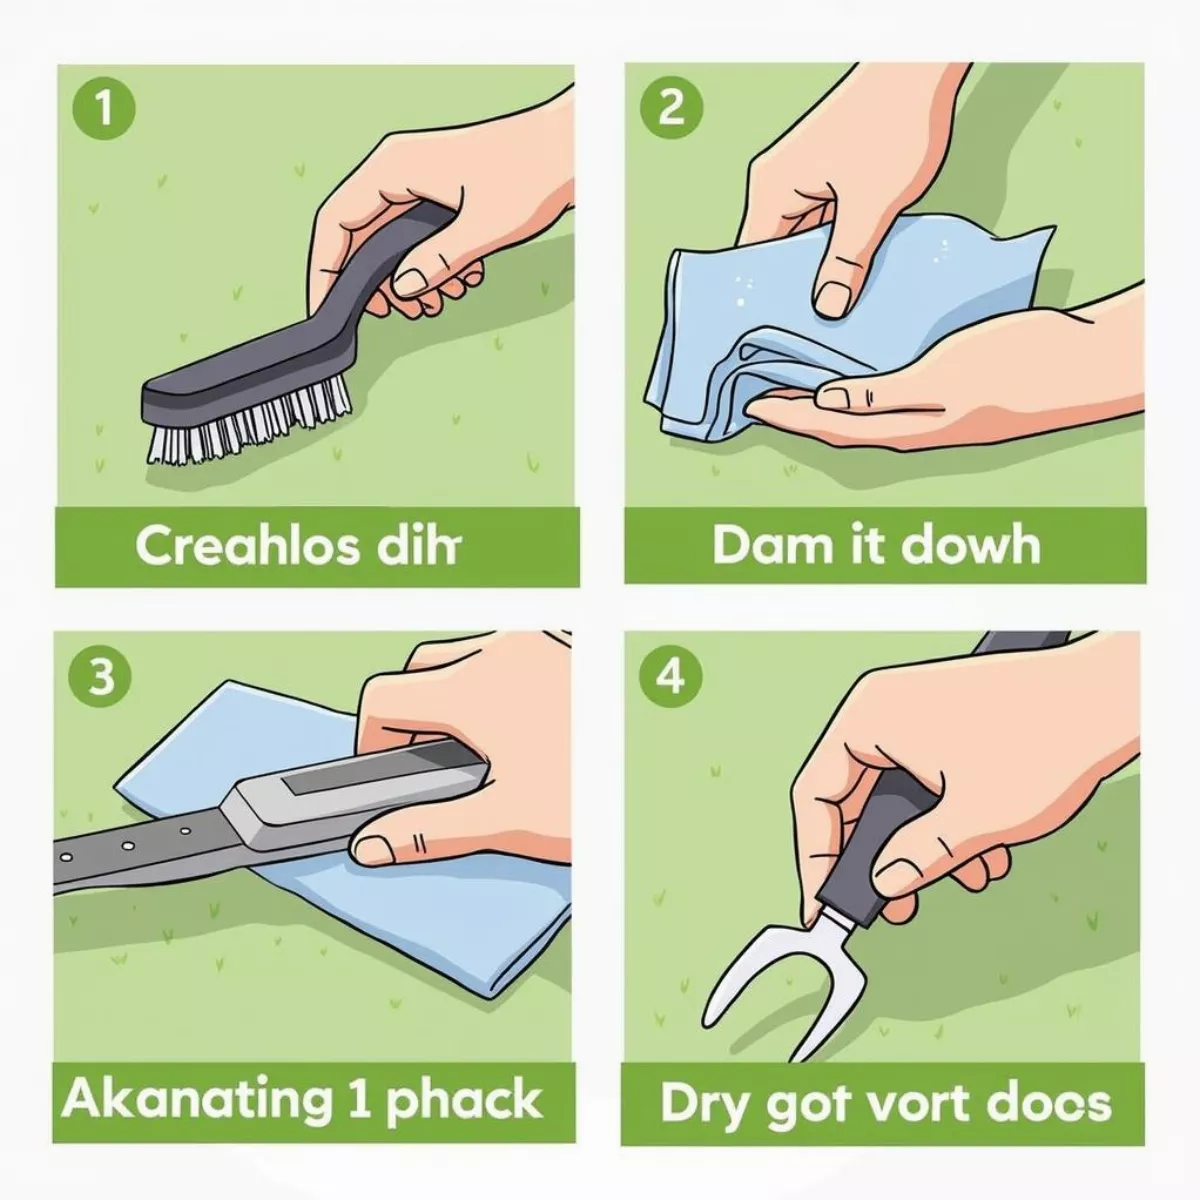
Just like any other golfing equipment, it’s important to keep your divot tool in good shape. Here are some maintenance tips:
- Clean Regularly: After each round, wipe your tool clean to remove any dirt or grass.
- Check for Damage: Inspect the prongs for any signs of bending or damage.
- Store Properly: Keep your divot tool in a dry area to prevent rust and degradation.
Using a divot tool not only requires knowing how to use it but also how to care for it.
 Cleaning a Golf Divot Tool
The Golf Etiquette of Repairing Divots
Etiquette is a crucial part of golf culture. Properly repairing divots is a sign of respect for fellow players and the game itself. Here are some etiquette tips:
- Always take care of your divots immediately after making a shot.
- If you notice a divot left by a previous player, repair it as well, even if it’s not yours.
- Avoid using your divot tool on areas of the course where repairing might violate course rules (e.g., hazards).
Key Takeaways
- Repair Immediately: Always fix your divots immediately after your shot.
- Technique Matters: Use a 45-degree angle and lift gently to avoid damaging roots.
- Show Respect: Maintain an etiquette-focused approach to using your divot tool, enhancing the playing experience for everyone.
- Practice Maintenance: Keep your tool clean and well-maintained to ensure optimal function.
Frequently Asked Questions (FAQs)
1. Does everyone need to use a divot tool?
While it’s not mandatory, all golfers benefit from keeping the course in good shape.
2. Can I use my divot tool on all types of grass?
Yes, a divot tool can be used on various grass types, though some may require different techniques.
 Golfer Repairing Divot on Green
3. What should I do if my divot tool breaks?
If your divot tool is damaged, replace it as soon as possible. Many hardware stores or online retailers sell divot tools.
4. How can I improve my technique?
Practice your technique by watching instructional videos or asking an experienced golfer for tips.
5. Are there specific brands of divot tools you recommend?
While many brands are great, a personalized or ergonomically designed tool often works best for comfort and usability.
6. How often should I clean my divot tool?
Clean your divot tool after every game to ensure it remains functional and hygienic.
7. Can divot tools be used for anything else?
Some golfers use divot tools as ball markers or even a substitute tee in a pinch.
8. Should I replace divots I see from others?
If it’s convenient, repairing divots made by others is a courteous way to contribute to course maintenance.
9. Is a divot tool essential for all types of golf courses?
While most golf courses (especially greens) benefit, using a divot tool is particularly crucial on well-manicured courses.
10. What else should I carry in my golf bag?
Standard items include tees, a ball marker, a scorecard, and a towel.
By following these guidelines, you’ll not only enhance your enjoyment of the game but also play a vital role in preserving the integrity of the golf course for everyone. Using a divot tool correctly is a small effort that has a big impact, so make it a priority on your next golf outing! Happy golfing!

