Category Archives: How to

How To Use Divot Tool

how to use divot tool

Whether you’re a novice golfer or a seasoned pro, you know that the greens and fairways you play on can greatly affect your game. One of the simplest yet often overlooked tools in a golfer’s arsenal is the divot tool. Understanding how to properly use this handy instrument not only helps you maintain the course but also shows respect for the game. In this guide, we’ll explore everything you need to know about using a divot tool, including tips for effective use, maintenance, and etiquette on the golf course.

What is a Divot Tool?

A divot tool is a small, fork-like device designed to repair the small holes or divots that occur on the green when a golfer takes a shot. These divots can disrupt the smooth surface of the green, affecting the ball’s roll and, ultimately, your score. By using a divot tool correctly, you contribute to the health of the course, ensuring that it remains in pristine condition for all players.

Why Is It Essential to Use a Divot Tool?

Using a divot tool is vital for several reasons:

  • Course Maintenance: Keeps greens and fairways in playable condition.
  • Fair Play: Treating the golf course well reflects your respect for the game.
  • Enhanced Gameplay: Smoother greens improve the overall playing experience for you and others.

Basic Components of a Divot Tool

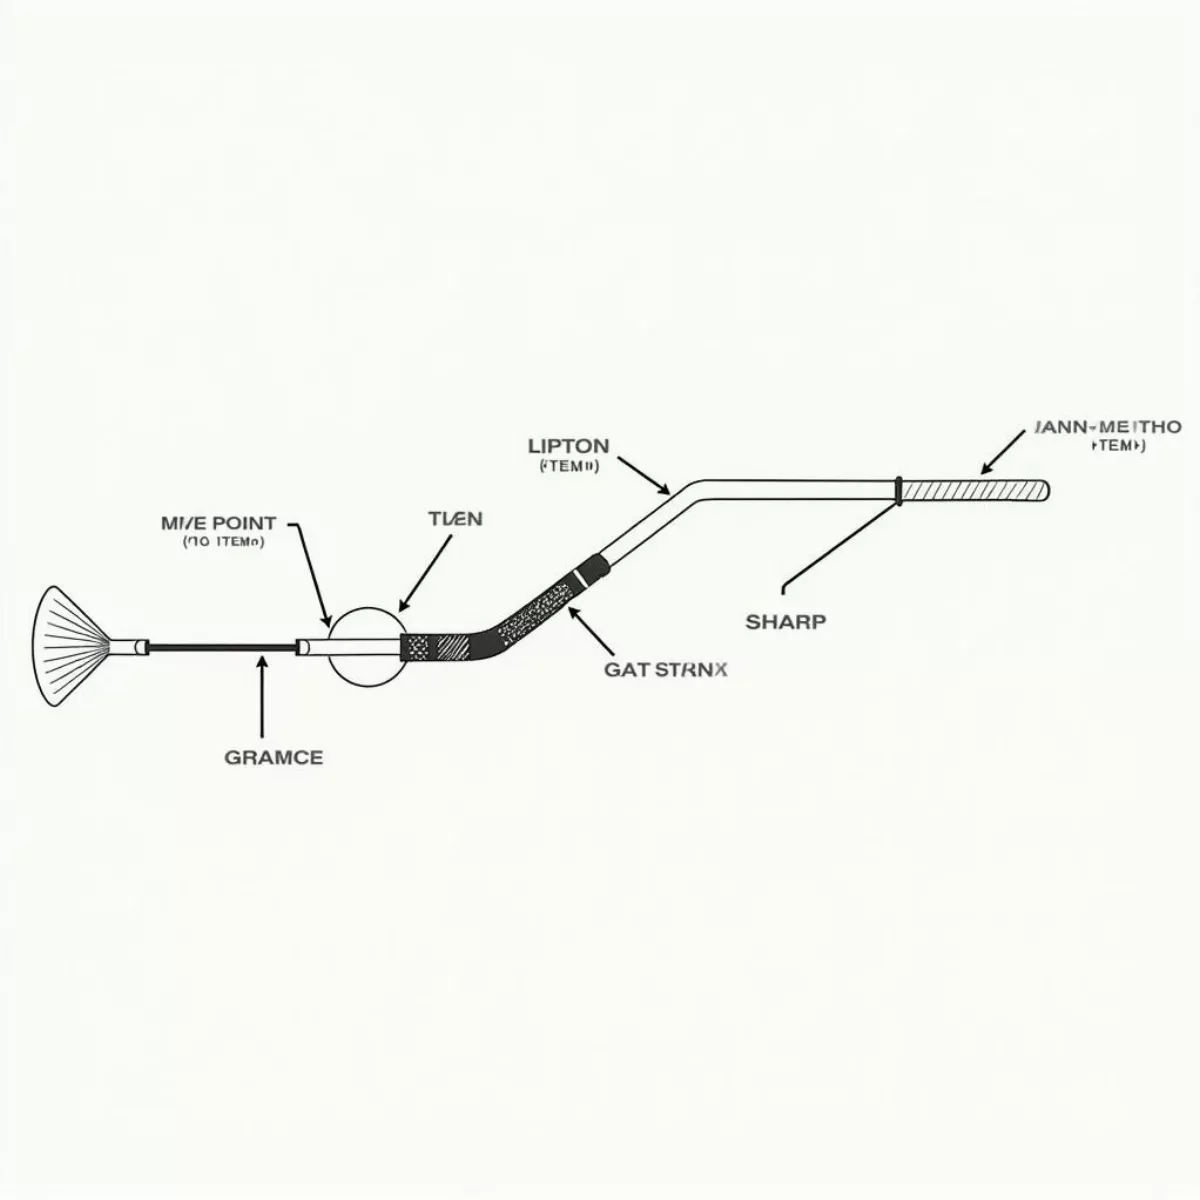
Before diving into usage techniques, it’s helpful to understand the different components of a divot tool:

  • Forked Prongs: For lifting the turf gently.
  • Lever: Used to flatten the repaired area.
  • Magnetic Ball Marker (in many tools): To aid in marking your ball’s position.

How to Properly Use a Divot Tool

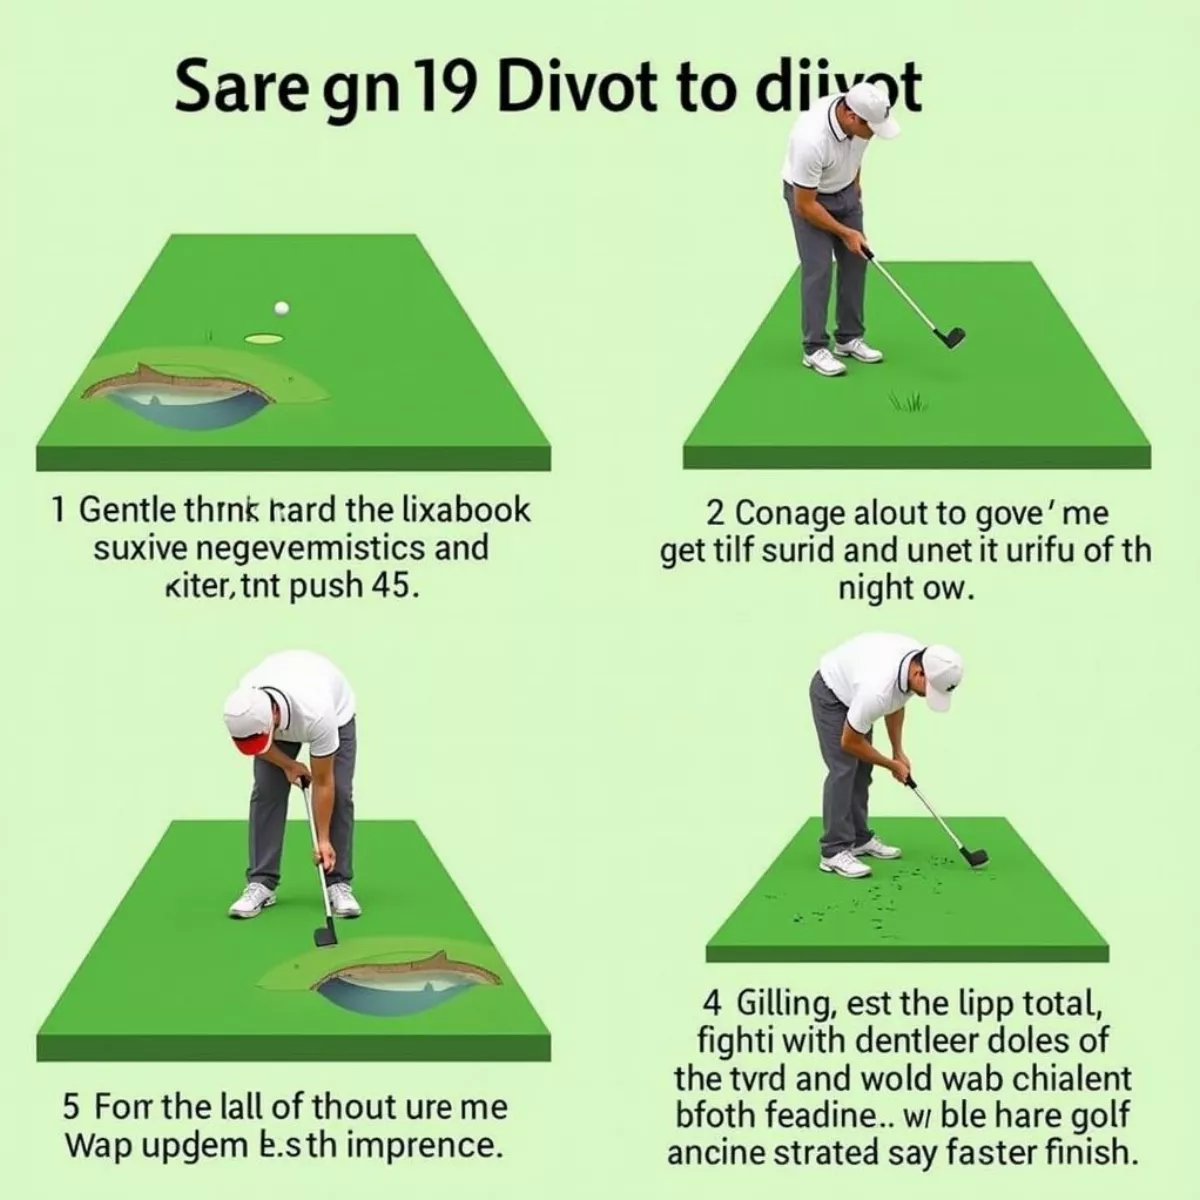
Using a divot tool is straightforward but requires technique for maximum efficiency. Here are the steps for effective usage:

  1. Identify the Divot:

    • Look for small depressions that have formed a hole, typically on the green.

  2. Insert the Tool Gently:

    • Insert one prong of the tool into the edge of the divot at a 45-degree angle.
    • Avoid pushing directly down, as this can harm the grass roots.

  3. Lift the Turf:

    • Gently pry the turf upwards. By lifting the grass, you can help restore it to its original position.

  4. Use the Lever:

    • Place the other prong in the ground next to the lifted area and use it as a lever to push the turf down.
    • This helps to secure the grass and encourages it to heal properly.

  5. Flatten the Area:

    • Once the divot is lifted and positioned correctly, use your foot or hand to ensure the area is flat and smooth.

  6. Inspect Your Work:
    • Ensure the repaired area is level with the surrounding turf.
Quick Tips for Divot Tool Use

    • Always carry your divot tool in your pocket or on your bag.

    • Be respectful of other players’ lines; don’t step on their putt line when repairing a divot.

    • If you’re unsure, look for divot repair signs on the course for guidance.

    • Follow up each round of golf by inspecting your divots and using your divot tool on any remaining marks.

Maintaining Your Divot Tool

Just like any other golfing equipment, it’s important to keep your divot tool in good shape. Here are some maintenance tips:

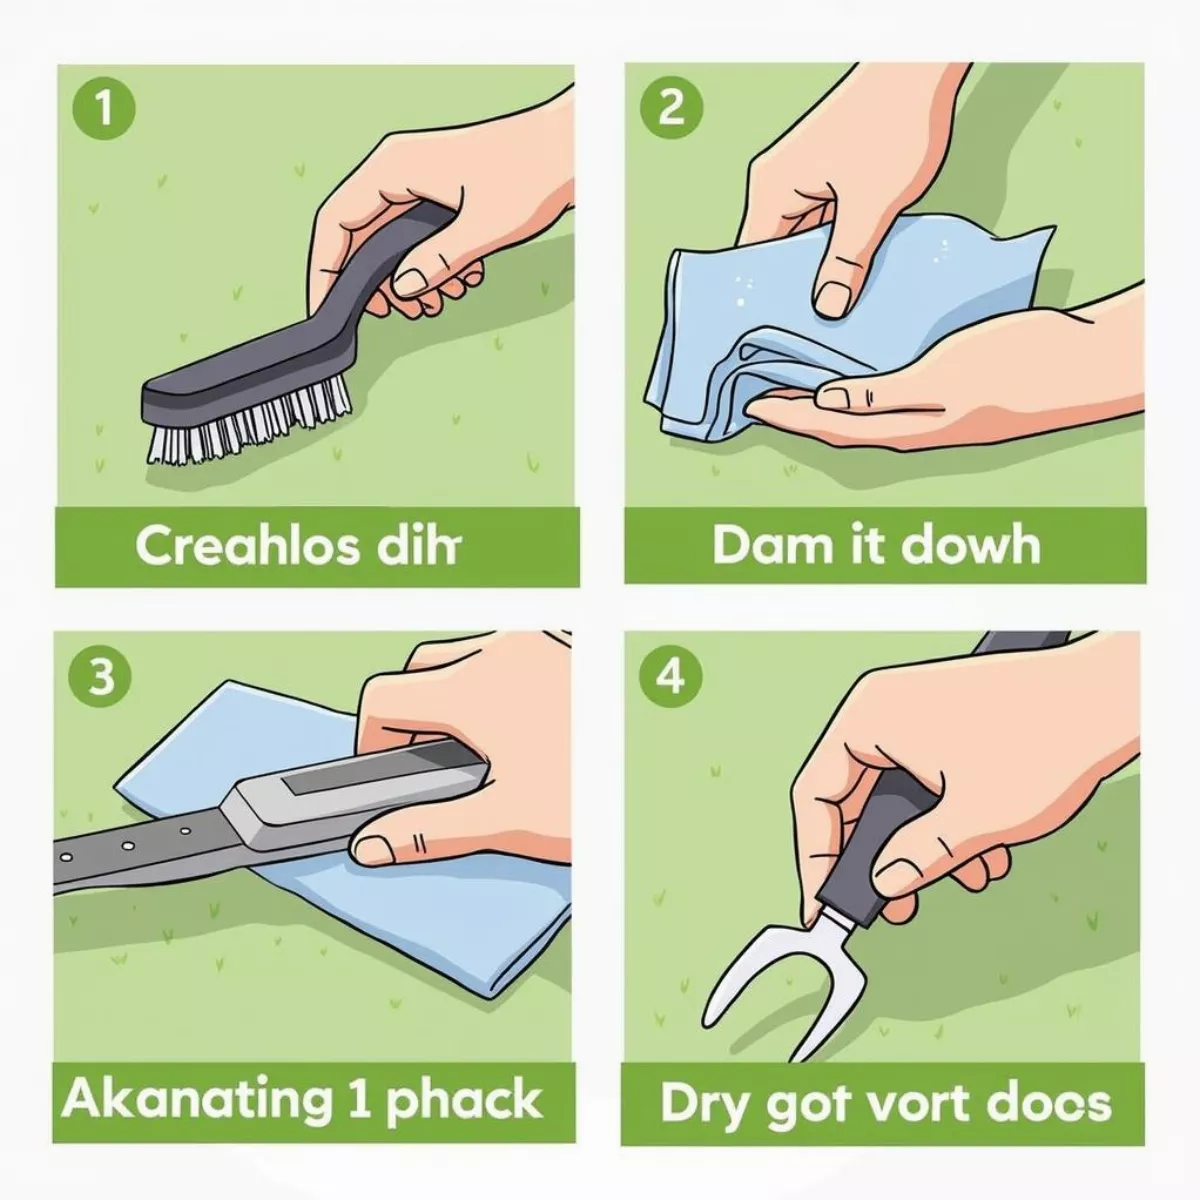
  • Clean Regularly: After each round, wipe your tool clean to remove any dirt or grass.
  • Check for Damage: Inspect the prongs for any signs of bending or damage.
  • Store Properly: Keep your divot tool in a dry area to prevent rust and degradation.

Using a divot tool not only requires knowing how to use it but also how to care for it.
The Golf Etiquette of Repairing Divots

Etiquette is a crucial part of golf culture. Properly repairing divots is a sign of respect for fellow players and the game itself. Here are some etiquette tips:

  • Always take care of your divots immediately after making a shot.
  • If you notice a divot left by a previous player, repair it as well, even if it’s not yours.
  • Avoid using your divot tool on areas of the course where repairing might violate course rules (e.g., hazards).

Key Takeaways

  • Repair Immediately: Always fix your divots immediately after your shot.
  • Technique Matters: Use a 45-degree angle and lift gently to avoid damaging roots.
  • Show Respect: Maintain an etiquette-focused approach to using your divot tool, enhancing the playing experience for everyone.
  • Practice Maintenance: Keep your tool clean and well-maintained to ensure optimal function.

Frequently Asked Questions (FAQs)

1. Does everyone need to use a divot tool?

While it’s not mandatory, all golfers benefit from keeping the course in good shape.

2. Can I use my divot tool on all types of grass?

Yes, a divot tool can be used on various grass types, though some may require different techniques.

3. What should I do if my divot tool breaks?

If your divot tool is damaged, replace it as soon as possible. Many hardware stores or online retailers sell divot tools.

4. How can I improve my technique?

Practice your technique by watching instructional videos or asking an experienced golfer for tips.

5. Are there specific brands of divot tools you recommend?

While many brands are great, a personalized or ergonomically designed tool often works best for comfort and usability.

6. How often should I clean my divot tool?

Clean your divot tool after every game to ensure it remains functional and hygienic.

7. Can divot tools be used for anything else?

Some golfers use divot tools as ball markers or even a substitute tee in a pinch.

8. Should I replace divots I see from others?

If it’s convenient, repairing divots made by others is a courteous way to contribute to course maintenance.

9. Is a divot tool essential for all types of golf courses?

While most golf courses (especially greens) benefit, using a divot tool is particularly crucial on well-manicured courses.

10. What else should I carry in my golf bag?

Standard items include tees, a ball marker, a scorecard, and a towel.


By following these guidelines, you’ll not only enhance your enjoyment of the game but also play a vital role in preserving the integrity of the golf course for everyone. Using a divot tool correctly is a small effort that has a big impact, so make it a priority on your next golf outing! Happy golfing!
how to resurface golf clubs

Golf clubs are a critical investment for any serious golfer. Over time, wear and tear can diminish their performance, making it essential to know how to properly resurface your clubs. This guide will walk you through everything you need to know in a friendly and informative style.


Why Resurfacing Golf Clubs Matters

Before diving into the steps for resurfacing, let’s first explore why it matters. The surface of your golf clubs affects how they interact with the ball—both in terms of spin and distance. Here’s why you should consider resurfacing:

  • Improved Performance: A smoother face can enhance control and spin rates.
  • Increased Longevity: Resurfacing can extend the life of your clubs, saving you money in the long run.
  • Enhanced Aesthetics: A revamped finish can give your clubs a new look and feel.

When to Resurface Your Golf Clubs

Knowing when to resurface is as important as understanding how to do it. Here are a few signs:

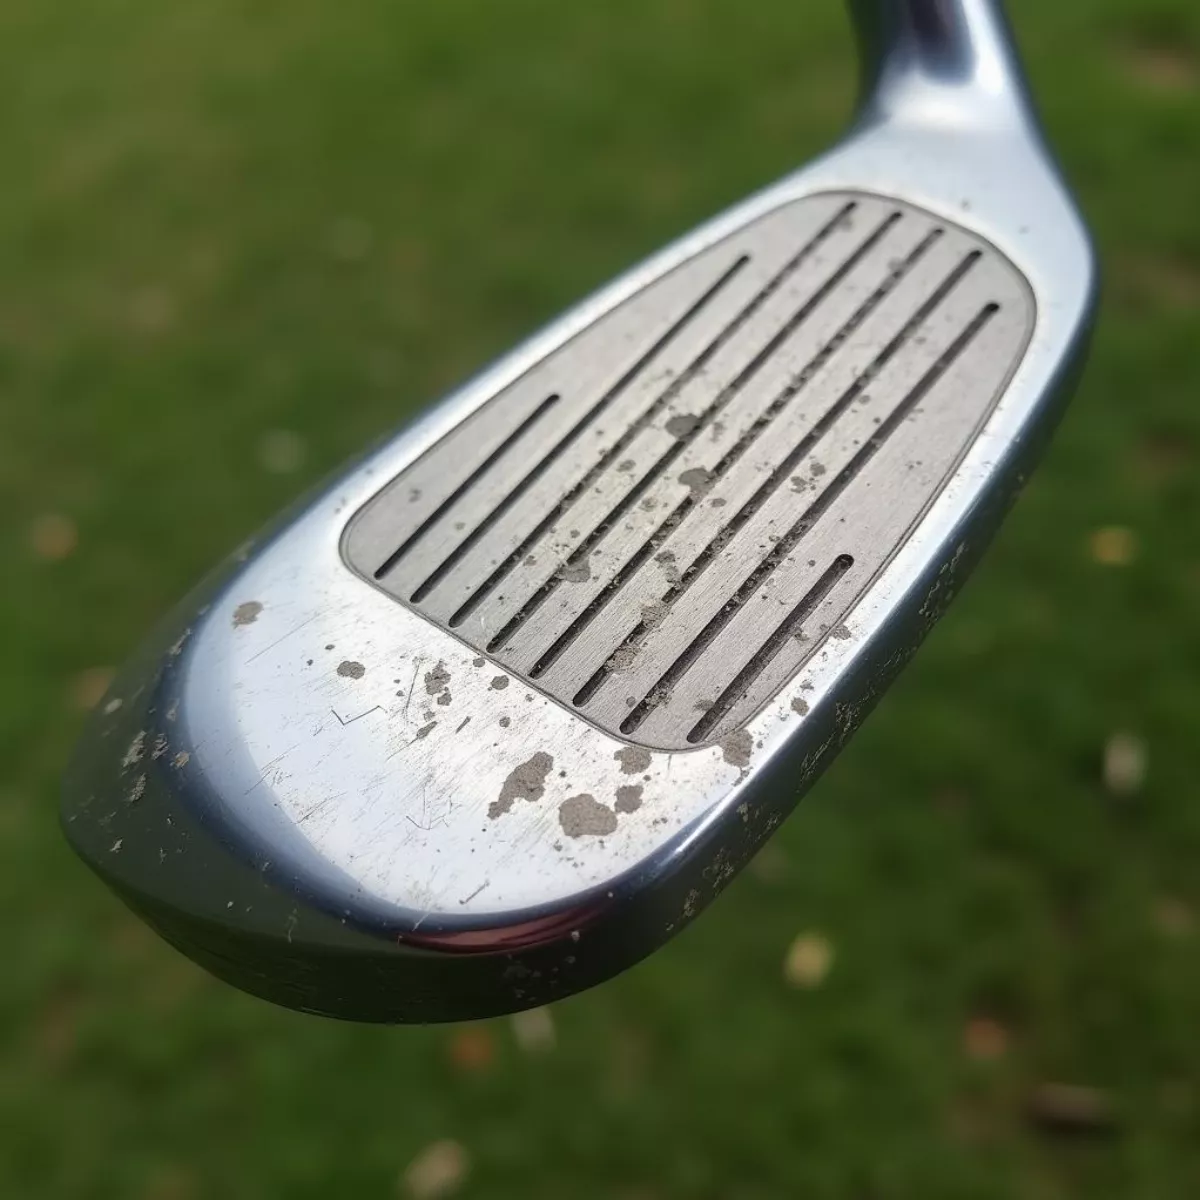
  • Visible Scratches or Dings: If you see significant damage on the face of your club, it’s time.
  • Loss of Spin: If you’ve noticed changes in ball spin, resurfacing may be needed.
  • Worn Grooves: When grooves become shallow, they affect shot control.

Tools You’ll Need

Preparations are vital. Here’s your essential toolkit for resurfacing:

  • Sandpaper: Use fine grit (1000 or 1500) for polishing.
  • Golf Club Resurfacing Tool: A special tool may help in achieving better results.
  • Metal Polish: This can help add shine post-resurfacing.
  • Ruler: For measuring groove depth.
  • Cloth: To wipe down your clubs.
  • Protective Gloves: Safety first!

How to Resurface Your Golf Clubs: Step-by-Step Guide

Follow these steps for a successful resurfacing process.

Step 1: Clean Your Clubs

Start with basic cleaning. Use warm soapy water and a cloth to remove dirt and grime.

Tip: Avoid using any harsh chemicals that may damage your club’s finish.

Step 2: Inspect the Grooves

Take a close look at the grooves on your clubs. Use a ruler or gauge to measure the depth and determine if resurfacing is indeed necessary.

Step 3: Sanding the Clubface

Sanding Techniques

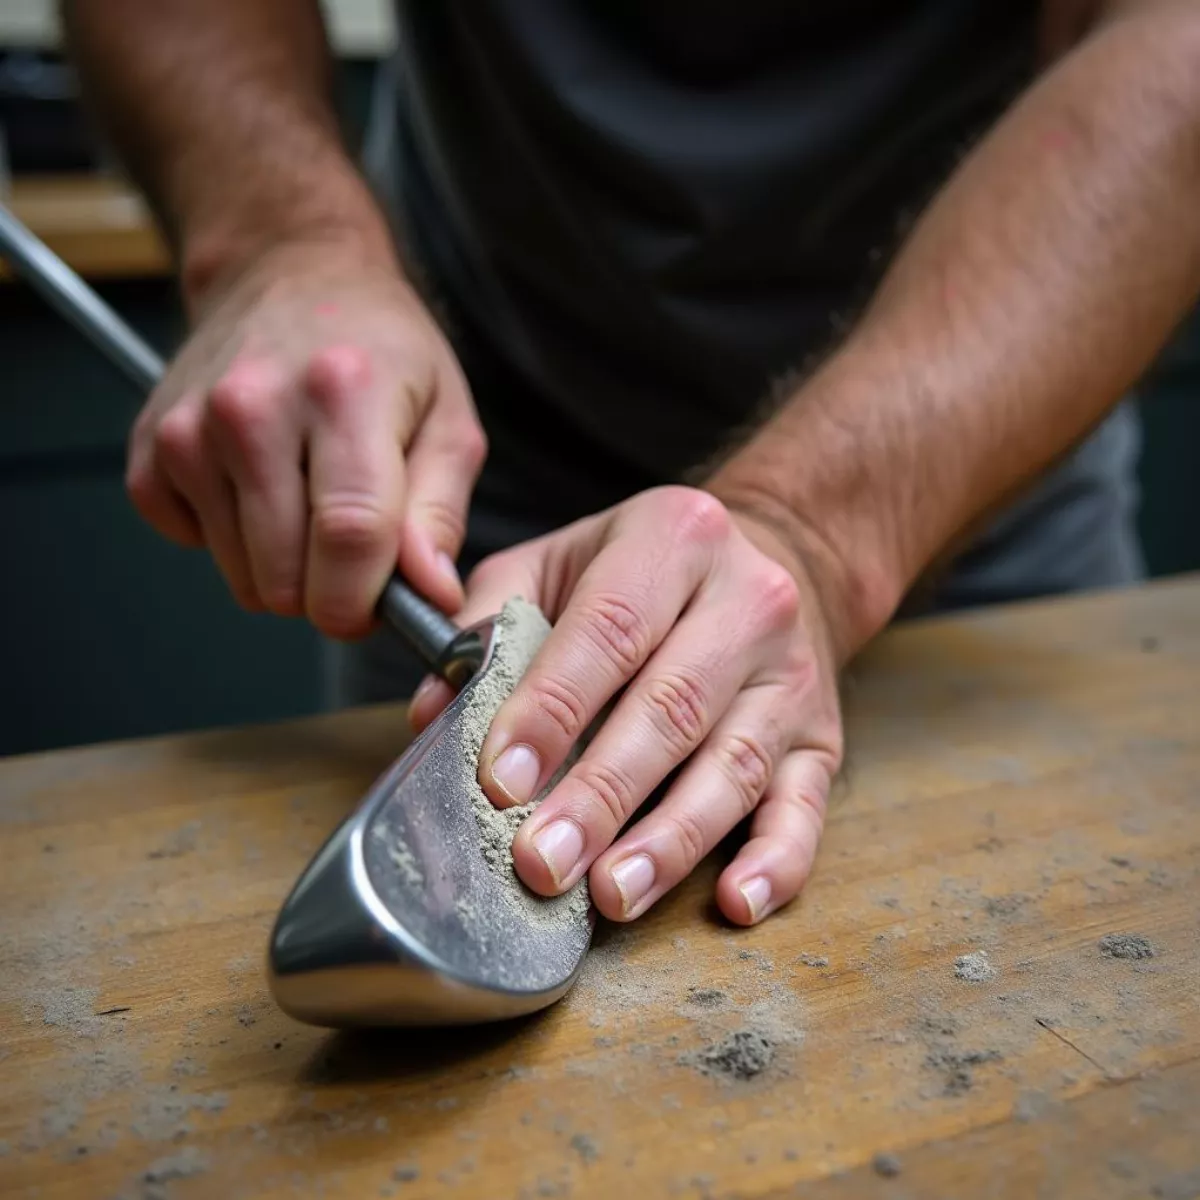
  • Dry Sanding: Use fine grit sandpaper to gently sand the area. Move in a circular motion to ensure an even finish.
  • Wet Sanding: Soak the sandpaper in water for smoother results. This technique minimizes scratch marks.

Remember: Be careful not to alter the club’s loft or lie angle.

Step 4: Polishing

After sanding, it’s time to polish.

  • Apply a small amount of metal polish to your cloth.
  • Rub the clubface gently to bring back its original shine.

Step 5: Clean Again

Rinse the club to remove any residual polish and dirt. Dry it thoroughly with a soft cloth.

Step 6: Final Inspection

Give your club a thorough once-over. Make sure that the grooves are clear and the surface is smooth.

Maintenance Tips for Resurfaced Clubs

To keep your resurfaced clubs in top shape, consider following these tips:

  • Regular Cleaning: Always clean your clubs after each round.
  • Cover: Use headcovers to protect the clubface.
  • Store Properly: Keep them in a cool, dry place to avoid rust.

Key Takeaways

  • Resurfacing golf clubs can enhance performance and longevity.
  • Common signs include visible scratches and loss of spin.
  • Use the right tools: sandpaper, polishing compounds, and cleaning materials.
  • Follow a careful step-by-step guide for best results, including cleaning, sanding, polishing, and re-inspecting.

FAQs on Resurfacing Golf Clubs

1. How often should I resurface my golf clubs?

  • It depends on usage; generally, every 1-2 years is sufficient for most golfers.

2. Can I resurface my clubs myself?

  • Yes! With the right tools and technique, resurfacing is achievable for most.

3. What happens if I sand too much?

  • Over-sanding can alter club characteristics like loft, which may affect performance significantly.

4. Is it safe to use sandpaper on my clubs?

  • Yes, as long as you use fine grit and are gentle, it won’t damage the clubs.

5. Why do I need to polish after sanding?

  • Polishing removes fine scratches and restores that initial shine.

6. How do I know if the grooves are still effective?

  • If you can’t see them clearly or they feel shallow, they likely need resurfacing.

7. Will resurfacing change the feel of my clubs?

  • It may slightly alter the feel due to improved conditions, but should enhance performance.

8. Can I use any household metal polish?

  • While it’s possible, using a product designed for golf clubs is recommended to avoid unwanted residue.

9. Does resurfacing affect my warranty?

  • Always check with the manufacturer, as altering the club may void warranties.

10. Where can I find professional resurfacing services?

  • Many pro shops and specialized golf retailers offer resurfacing services. Check locally for options.


Whether you’re a newbie to golf or an experienced player, knowing how to properly resurface your golf clubs can dramatically improve both their lifespan and your game. Don’t hesitate to add this skill to your golf maintenance toolkit. Happy golfing!

How To Pick A Driver Shaft

how to pick a driver shaft

Selecting the right driver shaft is a crucial element of your golf game that many players overlook. A well-chosen shaft can enhance your performance, giving you more distance and better accuracy. This guide will walk you through the essentials of picking the right driver shaft in a conversational and friendly tone, providing you with the educational insights you need to make an informed choice.

Understanding the Basics of Driver Shafts

Before diving into how to choose the perfect driver shaft, let’s clarify what a driver shaft is. The driver shaft is the long, cylindrical piece of the driver club that connects the club head to the grip. It plays a vital role in your swing dynamics and, ultimately, your ball flight.

Key Factors to Consider

  1. Flexibility: The flex of your driver shaft affects how much it bends during your swing and how much energy is transferred to the ball. Common flex categories include:

    • L (Ladies): For slower swing speeds
    • A (Amateur): For moderate swing speeds
    • R (Regular): For average swing speeds
    • S (Stiff): For faster swing speeds
    • X (Extra Stiff): For professional players with the fastest swing speeds

  2. Length: Most driver shafts range from 44 to 46 inches. Longer shafts can increase distance but may compromise control. A good compromise is to test several lengths to find what feels most comfortable for you.

  3. Weight: The weight of the shaft influences swing speed and control. Standard driver shafts weigh between 50 and 80 grams. Heavier shafts can provide better control, while lighter ones may generate more speed.

  4. Material: Driver shafts are generally made from either steel or graphite. Graphite shafts are more common because they are lighter and allow for greater swing speed. In contrast, steel shafts offer more control and durability.

  5. Torque: Torque refers to the amount a shaft twists during the swing. Lower torque shafts (2-3 degrees) offer more stability, while higher torque shafts (4-5 degrees) can help with forgiveness for off-center hits.

Fitting for Your Unique Style

Finding the perfect driver shaft isn’t just about understanding the specifications; it’s about assessing how each factor interacts with your unique swing. Here are some steps to help you with fitting:

  • Swing Analysis: Get your swing analyzed by a professional instructor or use a launch monitor. This analysis will give insights into your swing speed and angle of attack.

  • Test Different Options: Many golf shops allow you to demo different shafts. Testing allows you to feel the differences in flex, weight, and torque.

  • Consult with a Professional: Golf professionals often have tools and experience to help guide you toward the right shaft based on your game.

Step-by-Step Guide to Choosing the Right Driver Shaft

Here’s a straightforward approach to help you pick the right driver shaft:

1. Identify Your Swing Speed

Knowing your swing speed is foundational. You can use:

  • Radar Guns
  • Launch Monitors
  • Slo-Mo Cameras

Make sure to know your swing speed before any other consideration.

2. Define Your Playing Style

Are you a beginner, intermediate, or advanced player? Your experience level will affect your choice:

  • Beginners should lean towards more forgiving options.
  • Intermediate golfers might look for that balance between distance and control.
  • Advanced players are typically looking for specific performance tweaks.

3. Determine Your Desired Ball Flight

Consider how you want the ball to fly:

  • Higher Launch: Look for a more flexible shaft.
  • Lower Launch: Opt for a stiffer shaft with less torque.

4. Choose the Right Weight

Here’s a simple guide:

  • 50-60 grams: Good for average swing speeds, offering a blend of distance and control.
  • 60-70 grams: Better for stronger players who want more control.
  • >70 grams: For those with a very fast swing seeking maximum stability.

5. Assess Flex and Torque

Utilize the following guide for shaft flex based on swing speed:

Swing Speed Recommended Flex
< 75 mph Ladies / A
75-85 mph Regular
85-95 mph Stiff
> 95 mph Extra Stiff

For torque:

  • Low Torque (<3.0 degrees): For accuracy-focused players.
  • Moderate Torque (3.0-4.5 degrees): For balanced performance.
  • High Torque (>4.5 degrees): For those needing help with control.

6. Experiment With Different Heights and Weights

Don’t hesitate to play around and find what works best for you. Sometimes trial and error can lead to surprisingly good results!

Key Takeaways

  • Understand your swing speed to determine the right shaft flex and weight.
  • Test different shaft types and lengths to see which you prefer.
  • Consider your goals, whether it be distance, accuracy, or a combination.
  • Consult professionals for customized fitting.

FAQs About Choosing a Driver Shaft

1. How important is driver shaft flex?

Flex is crucial as it affects how the shaft bends during your swing, impacting both distance and control. Choosing the right flex for your swing speed can enhance performance significantly.

2. Can I just use any shaft with my driver?

While you can technically fit any shaft, using the correct shaft designed for your playing style and swing speed is vital for optimal performance.

3. What is the standard length of a driver shaft?

The typical driver shaft length falls between 44-46 inches, chosen based on what feels comfortable and delivers the best results.

4. How does weight affect my swing?

Weight influences swing speed and control; lighter shafts can increase speed, while heavier shafts often provide better stability and accuracy.

5. Is it better to have a stiff or flexible shaft?

It depends on your swing speed; fast swings typically benefit from a stiff shaft for better control, while slower swings usually do better with a more flexible shaft.

6. Should I get fitted for a driver shaft?

Yes! Getting fitted can ensure that your driver shaft aligns with your swing mechanics and helps in optimizing your overall swing performance.

7. What type of material is better: graphite or steel?

Graphite is generally preferred for drivers due to its lightweight nature, which can increase swing speed. Steel shafts usually offer greater control but are less common in driver applications.

8. How can I test a driver shaft?

Most local golf stores allow you to demo various driver shafts. You may also check for simulators or check with your golf pro about trying different shafts during practice.

9. Can the wrong driver shaft hinder my game?

Absolutely! Using the wrong driver shaft can negatively impact your swing and reduce your effectiveness on the course.

10. How do I know if my shaft is the correct length?

If you find it challenging to strike the ball consistently or feel discomfort during your swing, it might be time to re-evaluate the shaft length.

In summary, picking the right driver shaft involves a mix of understanding your swing mechanics, experimenting with options, and consulting experts. As you embark on this journey, keep in mind that the right shaft can enhance your golf experience dramatically.


By following these guidelines, you’re well on your way to selecting a driver shaft that perfectly complements your game! Happy golfing!

How To Become A Club Fitter

how to become a club fitter

Do you have a passion for golf and a knack for helping others improve their game? If so, becoming a club fitter could be the perfect career for you. Not only does it allow you to work closely with golfers of all skill levels, but it also provides the opportunity to make a significant impact on their performance. In this guide, we will walk you through the steps to become a successful club fitter, sharing tips, resources, and key information along the way.

Understanding the Role of a Club Fitter

A club fitter specializes in assessing golfers’ needs and recommending the right equipment tailored specifically to their playing style and physical attributes. This involves:

  • Evaluating a golfer’s swing mechanics and body type
  • Understanding the importance of loft, lie angle, shaft flex, and grip size
  • Analyzing swing speed and launch angles
  • Offering recommendations on club brands and models

Step-by-Step Guide to Becoming a Club Fitter

1. Gain Extensive Knowledge of Golf Equipment

Before you start fitting clubs, you need a solid understanding of golf equipment. Familiarize yourself with:

  • The different types of clubs (woods, irons, putters, etc.)
  • Key specifications (length, weight, loft, lie)
  • The technology behind modern golf clubs

Tip: Visit reputable golf equipment websites, attend manufacturer workshops, or read books on golf club technology to build your knowledge.

2. Obtain Relevant Certifications

Many golfers seek the expertise of certified fitters. Obtaining certifications can boost your credibility. Some notable certifications include:

Certification Provider Length of Training
PGA Professional Professional Golfers’ Association Varies; extensive training
TrackMan Certified TrackMan Golf 2-3 days of hands-on training
Callaway Certified Callaway Golf 1-2 days of training

Research which certifications are most respected in your area, and pursue those.

3. Practice Club Fitting Techniques

The best way to become proficient as a club fitter is to practice. Here are ways to gain hands-on experience:

  • Work in a golf shop: Get involved with club sales, repairs, or fittings.
  • Shadow experienced fitters: Learn the ropes from seasoned professionals.
  • Offer free fittings: Start by fitting friends or family to build your portfolio.

4. Invest in Fitting Tools and Technology

A well-equipped fitting area is essential. Some tools and technologies you may need include:

  • Launch monitors (e.g., TrackMan, Foresight Sports)
  • Club measuring tools
  • Adjustable hosel wrenches
  • Various club heads and shafts for testing

Investing in quality equipment enhances your fitting capabilities and allows you to provide accurate data to your clients.

5. Develop Excellent Communication Skills

As a club fitter, you will interact with golfers frequently. Strong communication skills are crucial for:

  • Explaining fitting processes clearly
  • Listening to clients’ concerns and preferences
  • Providing constructive feedback

Engage with golfers in a friendly, supportive manner to build rapport and trust.

6. Stay Updated on Industry Trends

The golf equipment industry is continually evolving. To remain relevant as a club fitter, it’s important to:

  • Follow industry publications and blogs (e.g., Golf Digest, Golf.com)
  • Attend trade shows and product launches
  • Network with other fitters and industry professionals

7. Market Your Club Fitting Services

Once you’re ready to start your fitting business, it’s time to attract clients. Here are some tips:

  • Create a website: Outline your services, credentials, and customer testimonials.
  • Utilize social media: Share fitting tips, videos, and success stories.
  • Partner with local golf courses: Offer your services through golf pro shops or during tournaments.

8. Build a Referral Network

Establish a network with golf coaches and local pros. Often, they can refer players who might benefit from club fitting. Strengthening these relationships can lead to a steady influx of clients.

9. Continue Learning and Evolving

Even as a club fitter, the learning never stops! Consider:

  • Taking advanced fitting courses
  • Seeking feedback from clients to improve your techniques
  • Trying new technologies as they emerge

Key Takeaways

  • Gain knowledge: Understand golf equipment and its specifications.
  • Obtain certifications: Enhance your credibility with respected industry certifications.
  • Practice: Get hands-on experience to hone your skills.
  • Invest in tools: Quality equipment will improve your fitting capabilities.
  • Communicate well: Build rapport with clients through effective communication.
  • Stay updated: Keep an eye on industry trends and innovations.
  • Market yourself: Utilize digital platforms to promote your services.
  • Network: Build a referral network with local golf professionals.
  • Commit to continuous learning: Evolve your skills and services over time.

FAQ Section

1. What qualifications do I need to become a club fitter?

While formal qualifications are not always necessary, certifications from recognized organizations can greatly enhance your credibility and marketability.

2. How long does it take to become a club fitter?

It can vary widely! Gaining experience and certifications can take anywhere from a few months to several years, depending on your dedication and the level of expertise you wish to achieve.

3. Do I need to work for a specific brand or can I be independent?

You can choose either path. Working for a brand offers more training and support, while being independent allows for flexibility and the possibility to work with multiple brands.

4. What equipment do I need to start fitting clubs?

Basic equipment includes launch monitors, club measuring tools, wrenches for adjustments, and a selection of different club heads and shafts for testing.

5. Is club fitting only for professional players?

No! Club fitting is beneficial for golfers of all skill levels. Whether a beginner or a seasoned pro, every golfer can improve their game with personalized equipment.

6. How much can a club fitter earn?

Earnings can vary widely based on experience, location, and clientele. Entry-level club fitters may earn between $30,000 to $50,000 annually, while experienced professionals can earn $70,000 or more.

7. Can I operate a fitting business from home?

Yes, as long as you have the necessary tools and space to fit clubs, running a fitting business from home can be viable.

8. What is the most important attribute for a club fitter?

Excellent communication skills are crucial. Being able to understand and address client needs is key to successful fittings.

9. Are there online courses available for club fitting?

Yes, many organizations offer online courses, allowing you to learn at your own pace.

10. Should I invest in advanced technology?

Yes, using cutting-edge technology can improve your fitting accuracy and enhance your overall services.


Becoming a club fitter is a rewarding journey that allows you to combine your love for golf with helping others enhance their game. By following these steps, obtaining key knowledge, and continually improving your skills, you can forge a successful career as a club fitter. Remember—the best fit leads to the best game!

how to protect golf clubs when flying

Traveling with golf clubs can be a daunting task. While the anticipation of hitting the golf course in a new destination is thrilling, the fear of damaging your clubs during the journey can put a damper on the excitement. In this guide, we’ll help you protect your golf clubs when flying, provide tips on the best travel options, and make sure you can enjoy your game without worry.

Understanding the Risks of Traveling with Golf Clubs

Before we dive into the how-to’s of protecting your golf clubs, let’s first understand why these clubs require special attention during travel. Aircraft baggage handlers can be rough, and your precious golf clubs can easily fall victim to bumps, drops, and general wear and tear.

Common Risks:

  • Dents and scratches on clubheads.
  • Broken shafts due to impact.
  • Damaged grips from moisture or pressure.
  • Lost or misplaced golf bags.

Essential Tips for Safeguarding Your Clubs

To ensure your clubs arrive at your destination in pristine condition, follow these essential tips:

1. Invest in a High-Quality Golf Travel Bag

Consider using a golf travel bag designed specifically for flying. These bags often feature:

  • Thick padding for additional protection.
  • Locks to secure your clubs.
  • Wheels for easy maneuvering.

Look for bags that offer water-resistant materials and check the reviews to gauge durability.

2. Use Headcovers

Whether you’re using a travel bag or not, utilizing headcovers for your driver and woods is a proactive way to prevent dings and scratches. These protective covers add an extra layer of cushioning while traveling.

3. Remove Loose Items

Before checking your clubs, remove all loose items, including:

  • Balls (they can roll around and create pressure).
  • Tees and other accessories that could get lost.
  • Any personal items inside the bag that may shift during travel.

4. Consider the Temperature

Extreme temperatures can affect your clubs, especially in the case of graphite shafts. If you’re traveling to a location with a significantly different climate, consider:

  • Storing your clubs in climate-controlled environments when possible.
  • Ensuring the travel bag is insulated if delays occur.

5. Secure Your Clubs

When placing your clubs in the travel bag, arrange them properly:

  • Place the longer clubs (driver and woods) in the bag first.
  • Use padding or clothing to fill gaps between clubs to prevent movement.
  • Ensure the bag is tightly zipped to avoid anything falling out.

6. Check Your Airline’s Baggage Policy

Before you fly, familiarize yourself with your airline’s baggage policy regarding golf bags:

  • Weight limits and potential fees for oversized baggage.
  • Whether they have specific instructions for transporting sports equipment.
  • Insurance options available for lost or damaged items.

7. Consider Purchasing Travel Insurance

While this may seem like an extra step, investing in travel insurance that covers sports equipment can save you money in the long run. This is particularly useful if you are traveling frequently or carrying high-end clubs.

8. Label Your Bag

Make sure your name, phone number, and address are clearly labeled on your golf bag. This reduces the risk of losing it and makes it easier for the airline to contact you if it does get misplaced.

9. Check Your Clubs Before and After Travel

Inspect your equipment before leaving home. Check for:

  • Signs of wear or damage.
  • Secure grips and headcovers.
  • Potential issues that may worsen during travel.

After your journey, inspect them again for any potential damage.

10. Create a Checklist

Lastly, create a checklist for packing your clubs, making it less likely that you’ll forget crucial items or steps:

  • Check club condition.
  • Pack headcovers.
  • Remove loose items.
  • Label travel bag.
  • Inspect after travel.

Example Packing Checklist

Task Done
Inspect club condition ✔️
Pack headcovers ✔️
Remove loose items ✔️
Label travel bag ✔️
Inspect after travel ✔️

Key Takeaways

  • Choose a high-quality golf travel bag with ample padding.
  • Use headcovers on all clubs for added protection.
  • Keep your clubs organized to prevent movement during travel.
  • Know airline policies to avoid unexpected fees or issues.
  • Consider travel insurance for peace of mind.

FAQ: Protecting Golf Clubs When Flying

1. How much does a good travel bag cost?

A high-quality travel bag can range from $100 to $300, depending on the brand and features.

2. Can I carry my golf clubs onto the plane?

Most airlines require golf clubs to be checked in as luggage. Always check the specific airline’s policy beforehand.

3. What should I do if my clubs are damaged?

Report the damage to the airline immediately. Fill out a claim form and document the damage with photos.

4. Do I need to take my clubs out of the bag for security checks?

Typically, you do not need to remove them, but be prepared for extra screening.

5. Are there restrictions on the types of bags I can use?

Most airlines allow standard golf travel bags, but it’s best to confirm with your airline.

6. What can I use as padding in my travel bag?

You can use clothes, towels, or specialized golf bag padding inserts to secure your clubs.

7. Should I insure my clubs?

If your clubs are expensive or you’re a frequent traveler, getting travel insurance is advisable.

8. Can I pack golf shoes in the travel bag?

Yes, as long as there is room, you can pack your golf shoes, but make sure they are clean and free of mud.

9. What is the best way to travel with premium clubs?

Using a hard case travel bag is ideal as it provides the best protection against impacts.

10. Is it necessary to clean my clubs after travel?

Yes, clean your clubs after traveling to remove dirt, moisture, and debris that may have accumulated during transit.

Conclusion

Traveling with your golf clubs can be easy and worry-free by taking a few practical steps to protect them. By investing in the right gear, knowing airline policies, and performing regular inspections, you can ensure that your beloved equipment arrives safely at your dream golf destination. Remember, the joy of playing golf in a new location is worth the effort!

With these tips in hand, you’ll be prepared to face your next golf excursion with confidence. Happy golfing!

how to size youth golf clubs

When it comes to the game of golf, one crucial factor that often gets overlooked is proper equipment sizing. For young players, having the right-sized golf clubs is especially important. Using clubs that fit can significantly improve performance, comfort, and most importantly, enjoyment of the game. In this comprehensive guide, we will dive into how to size youth golf clubs effectively, ensuring that your budding golf star gets the best possible start.

Why Proper Sizing Matters

Using clubs that are too long or too short can lead to bad habits that are hard to break. Properly sized clubs can lead to:

  • Better swings: Youth golfers can maintain a proper stance and posture.
  • Increased confidence: Clubs that fit well can boost a child’s self-esteem on the course.
  • Improved skill development: Young players can focus on their technique rather than adjusting to clubs that don’t fit.

The Basics of Sizing Youth Golf Clubs

Before diving into specifics, it’s essential to understand the basic dimensions related to sizing:

  • Height: The primary factor in determining club length.
  • Age: While not definitive, it can provide a rough guideline.
  • Grip size: Hand size plays a role in how comfortably a child can hold the club.

Measuring for Youth Golf Clubs

To ensure your child gets the perfect fit, follow these steps:

Step 1: Measure Their Height

Use a standard measuring tape to measure your child’s height in inches. Round up to the nearest whole number for precise sizing.

Step 2: Determine Their Wrist-to-Floor Measurement

This measurement gives a better indication of club length. Here’s how to do it:

  1. Have your child stand straight with their arms relaxed at their sides.
  2. Measure from the wrist bone (where the wrist meets the hand) down to the floor.

Step 3: Consult a Golf Club Sizing Chart

Once you’ve got the height and wrist-to-floor measurements, consult a golf club sizing chart specifically for youth clubs. Here’s a basic sizing chart for reference:

Height (inches) Wrist to Floor (inches) Club Length (inches)
36 – 42 18 – 21 32
42 – 48 21 – 24 34
48 – 54 24 – 28 36
54 – 60 28 – 32 38
60 – 66 32 – 36 40

Tip: It’s better to choose a club that is slightly shorter than one that is too long, as this allows for better control.

Oversized or Junior Clubs?

When it comes to youth golf clubs, you’ll typically find two categories: oversized and junior clubs. Here’s a quick breakdown:

  • Oversized Clubs: Better for taller kids, offering a larger club head that can make it easier to hit the ball.
  • Junior Clubs: Designed to be lighter and shorter for younger, smaller players.

Characteristics of Gravity in Club Sizing

The swing weight and balance are critical too. A lighter club may seem easier to swing, but if it’s too light for a child’s strength, it can lead to poor swing mechanics. Always consider the weight of the club in relation to its length.

Grip Size Matters!

The grip on a golf club is equally as important as the length. A grip that’s too thick or too thin can lead to:

  • Poor grip control.
  • Increased risk of injury.
  • Difficulty in making consistent shots.

How to Choose the Right Grip Size

  • Measure Hand Size: Width is crucial. Have your child measure from the tip of the longest finger to the crease in the palm.
  • Grip Size Chart:

Hand Size (inches) Grip Size
6.5 – 7 Junior
7 – 7.5 Standard
Over 7.5 Larger

Testing the Clubs

Once you have the right size clubs, it’s vital for your child to test them out. Here are some actionable tips:

  1. Swing the Clubs: Ensure your child feels comfortable. They should be able to swing their arms without restriction.
  2. Check Stance and Posture: Their arms should be relaxed, with elbows slightly bent.
  3. Watch for Consistency: If they struggle with a specific club, it may not be the right size.

Purchasing Tips

When buying youth golf clubs, keep the following in mind:

  • Try Before You Buy: If possible, visit a store where clubs can be tested.
  • Consider Adjustable Clubs: Adjustable clubs can grow with your child.
  • Check Reviews: Always look at reviews for brands and models favored by other parents.

Brands to Consider

Here are several trusted brands that specialize in youth golf clubs:

  • Callaway
  • TaylorMade
  • Cleveland
  • US Kids Golf
  • Cobra

Key Takeaways

  • Measure Height and Wrist-to-Floor: Accurate measurements lead to better club fittings.
  • Consult Sizing Charts: Use reliable options to select the right club length.
  • Consider Grip Size: Proper grip affects overall performance.
  • Test Clubs: Ensure comfort and confidence when swinging.
  • Choose Reputable Brands: Make informed choices based on quality.

FAQ Section

1. How do I know if my child needs new clubs?

If your child has outgrown their current clubs or consistently struggles with their swing, it may be time for new clubs.

2. Can I adjust regular clubs for youth?

Some adult clubs can be adjusted, but it’s often better to invest in clubs designed specifically for children.

3. What if my child plays inconsistently?

Consider looking at their club size and fit; improper sizing can affect swing and confidence.

4. Are lightweight clubs essential?

Yes! Lightweight clubs help young players make more successful swings and develop skills.

5. Should I buy new or used clubs?

Both options can work, but ensure that used clubs are still in good condition and appropriately sized.

6. Is it worth investing in premium brands?

Premium brands often provide better construction and technology, which can benefit a child’s development.

7. How often should we check club size?

As kids grow quickly, re-evaluate club size every season or at least once a year.

8. Can I customize golf clubs for my child?

Yes, many brands offer customization, allowing you to fit clubs to your child’s specific needs.

9. How can I encourage my child in golf?

Attend games together, practice together, and create a supportive environment to build confidence and skill.

10. What should be my budget for youth clubs?

It varies; expect to pay anywhere from $150 to $600 for a full set, but assess local offerings for specific pricing.

By following this guide, you’ll ensure that your child gets started on the right foot—or should we say, the right swing! Golf can be challenging, but with the right equipment, it can also be a lot of fun. Happy golfing!

How To Rust A Golf Wedge

how to rust a golf wedge

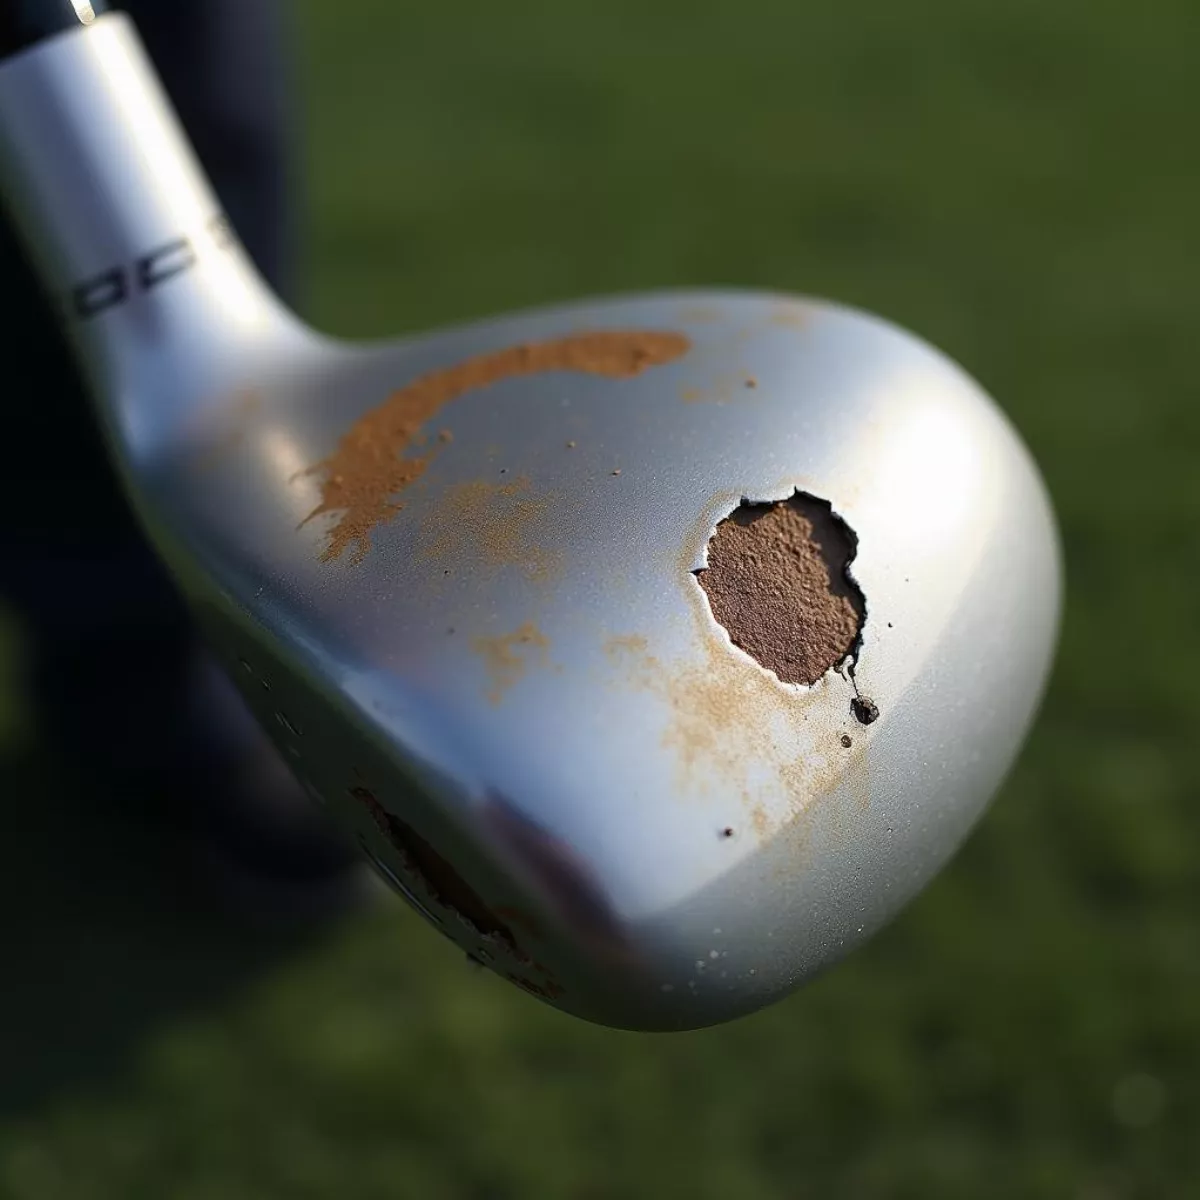
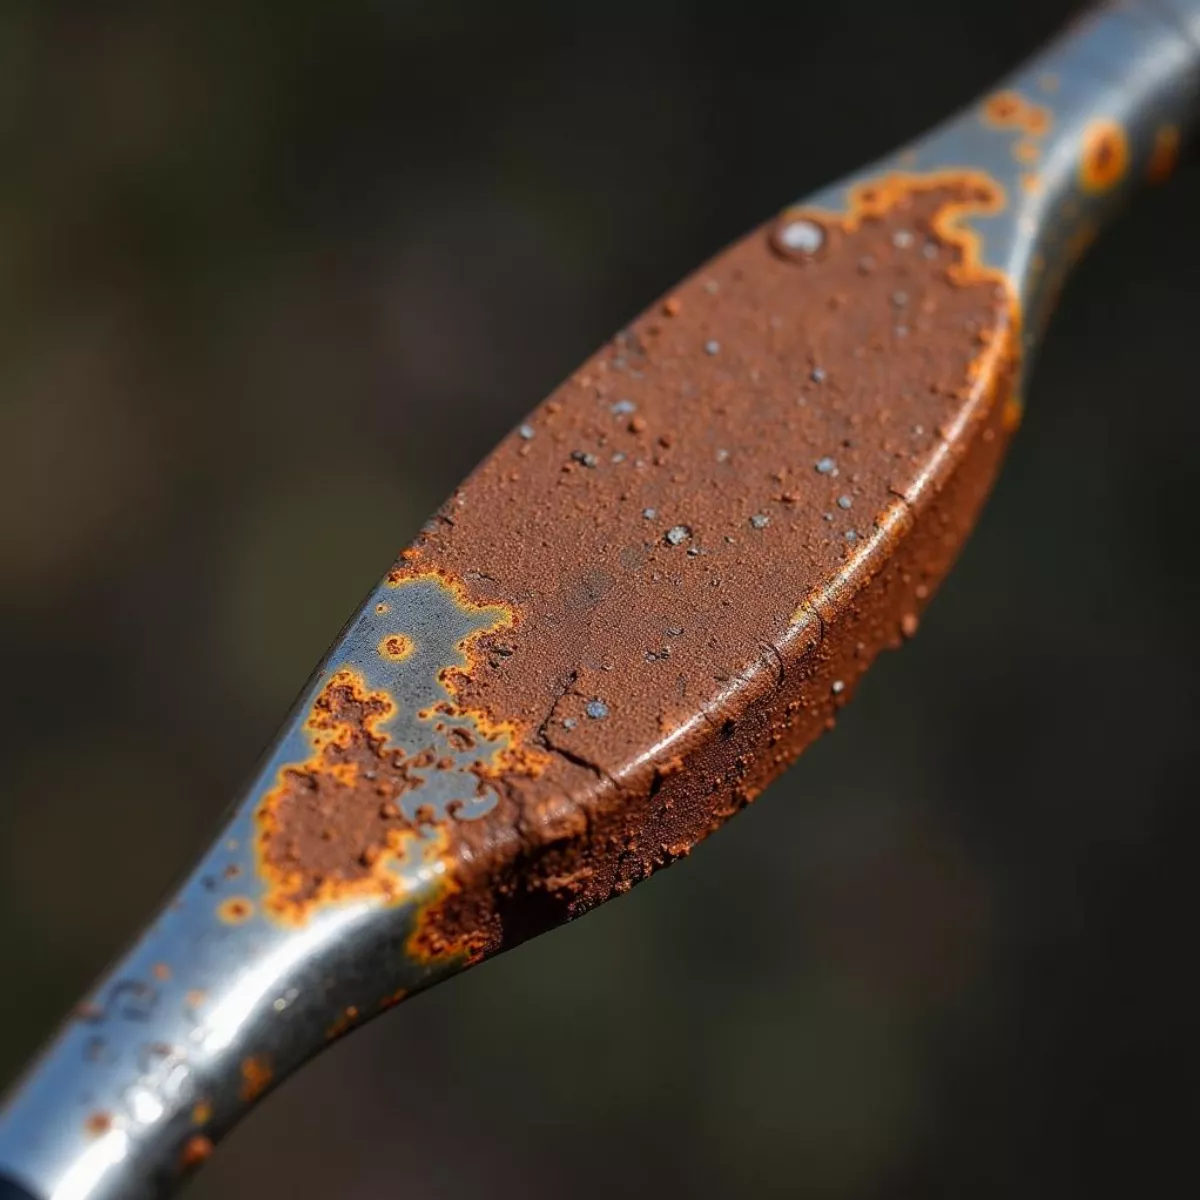
Golfers know that the right equipment can elevate their game. One often-overlooked tool is the golf wedge. Many players swear by rusting their wedges for improved performance. But how do you actually rust a golf wedge? In this guide, we’ll explore the methods to rust your golf wedge, the benefits of doing so, and how to care for your equipment afterward.

Why Rust a Golf Wedge?

Before diving into the details, let’s clarify why you might want to rust your wedge. The primary reasons include:

  • Increased Friction: Rusted wedges can provide better grip on the ball, resulting in enhanced spin and control.
  • Aesthetic Appeal: Some golfers prefer the vintage look of a rusted club, adding character to their bag.
  • Personal Preference: Every golfer has their own style; rusting a wedge can make a statement on the green.

How to Get Started

Now that you know why you might want to rust your golf wedge let’s go through the steps to achieve this.

Materials Needed

  • A brand new or slightly used wedge (preferably made from softer steel like carbon steel).
  • Sandpaper (medium grit, around 80-120).
  • Salt (table salt works fine).
  • Vinegar (white vinegar is most common).
  • Plastic container.
  • Old towels or cloth.
  • Rust-proof spray (optional, for protection).
  • Water.

Step-by-step Process

  1. Prepare Your Workspace: Ensure you have a clean, well-ventilated area. Lay down old towels to catch any drips.

  2. Sand the Wedge: Begin by using medium-grit sandpaper to gently sand the surface of the golf wedge. Focus on areas where you want to encourage rusting. The more you sand, the more surface area will be exposed for rust to develop.

    • Tip: Don’t overdo it; aim for a light sanding that removes the shiny finish but doesn’t create deep scratches.

  3. Make a Rusting Solution:

    • In your plastic container, combine water, salt, and vinegar.
    • The ideal ratio is:
      • 1 cup of vinegar
      • 1 tablespoon of salt
    • Stir until the salt dissolves.

  4. Soak the Wedge: Submerge your wedge in the solution. Let it soak for 24 to 48 hours, depending on how quickly you want rust to form. If you need a faster process, feel free to check the wedge every few hours for signs of rust.

  5. Check for Rust: After soaking, remove the wedge and dry it off with an old towel or cloth. If rust has formed, that’s great! If not, you might want to repeat the soaking process.

  6. Final Rust Development (Optional): If you want a deeper rust color, you can periodically mist the wedge with the rust solution each day and leave it in a warm, humid environment until you reach your desired effect.

  7. Wash and Dry: Once you achieve the desired level of rust, rinse the wedge with fresh water to stop the rusting process. Dry the wedge thoroughly; you don’t want it to rust any further.

  8. Protect the Wedge (Optional): If you wish to prevent further rusting while preserving the current look, apply a rust-proof spray. Follow the instructions on the product for the best results.

Maintenance Tips for Rusted Wedges

Rusting your golf wedge can enhance performance but requires some care. Here are some maintenance tips:

  • Wipe After Use: Always wipe down your wedge after a round of golf. This prevents buildup of dirt and moisture, which can lead to unwanted rust.
  • Store in a Dry Place: Keep your wedge in a dry environment to avoid excessive rusting.
  • Regular Cleanings: Clean with mild soap and water every few rounds to remove debris.

Key Takeaways

  • Rusting a golf wedge can enhance spin and control.
  • Use materials like vinegar, salt, and sandpaper to rust your club.
  • Allow your wedge to soak for 24 to 48 hours for optimal rusting.
  • Regular maintenance will help preserve the rust for the best performance.

FAQs

  1. Can any golf wedge be rusted?

    • Yes, but it’s best to use carbon steel wedges as they rust more easily and provide better performance.

  2. How long does it take to rust a golf wedge?

    • It typically takes 24 to 48 hours, depending on the method used and the conditions.

  3. Will rusting my wedge affect its lifespan?

    • With proper care, rusting shouldn’t significantly affect the lifespan; however, excessive rust can weaken the club over time.

  4. Can I rust my wedge at home?

    • Absolutely! All you need are simple materials like vinegar and salt.

  5. Will a rusted wedge perform better than a shiny one?

    • Many players find that a rusted wedge provides better grip and spin due to the increased friction.

  6. Should I apply a rust-proof spray?

    • It’s optional but can help protect the wedge from unwanted rust once you’ve achieved your desired look.

  7. Why do some golfers prefer rusted clubs?

    • Rusted clubs can offer better performance and a classic look, which many golfers appreciate.

  8. Do I need to reapply the rust process?

    • Depending on your playing conditions and maintenance practices, you may need to repeat the rusting process periodically.

  9. What other benefits do rusted wedges have?

    • Beyond improved spin, rusting can help with control and provide a unique look that stands out on the course.

  10. Can rust affect my shots?
    • Yes, if the rust is too severe, it can eventually affect the structural integrity of the club, so maintain it well.

With these insights, tips, and techniques, you’re all set to rust your golf wedge with confidence. Enjoy the process and happy golfing!

how to pick a golf grip

Choosing the right golf grip is a crucial step in improving your overall performance on the course. While it might seem like a minor detail, the golf grip is among the most important aspects determining your swing and accuracy. In this guide, we’ll walk you through everything you need to know about selecting the perfect grip for your golf clubs.

Why the Right Golf Grip Matters

Before we dive into the nitty-gritty of how to choose a grip, let’s quickly discuss why it matters. The golf grip affects:

  • Control: A proper grip ensures better control of your club, leading to improved accuracy.
  • Consistency: The right feel can minimize tension in your hands and arms, promoting a smoother swing.
  • Comfort: A grip that fits well can reduce fatigue and help prevent injuries over time.

Now, let’s explore how to select the best golf grip for your game.

Factors to Consider When Choosing a Golf Grip

1. Grip Size

Grip size is crucial. If the grip is too small, you’ll have a tendency to grip tightly, which can cause a loss of control. Conversely, if it’s too large, you might struggle to maintain a good feel for the club.

How to Measure Grip Size

  • Standard Size: For most golfers, a standard grip works well.
  • Medium Size: Generally suited for golfers with larger hands.
  • Oversized: Ideal for those with very large hands or for individuals seeking added cushioning.

To find your perfect fit, measure the length from the tip of your ring finger to the second line in your palm. Use the following chart as a guideline:

Hand Size Grip Size
Small (<8”) Undersize (Baby)
Medium (8”-9”) Standard
Large (9”-10”) Midsize
X-Large (>10”) Oversized

2. Material

The material of the grip can significantly affect your performance, feel, and durability.

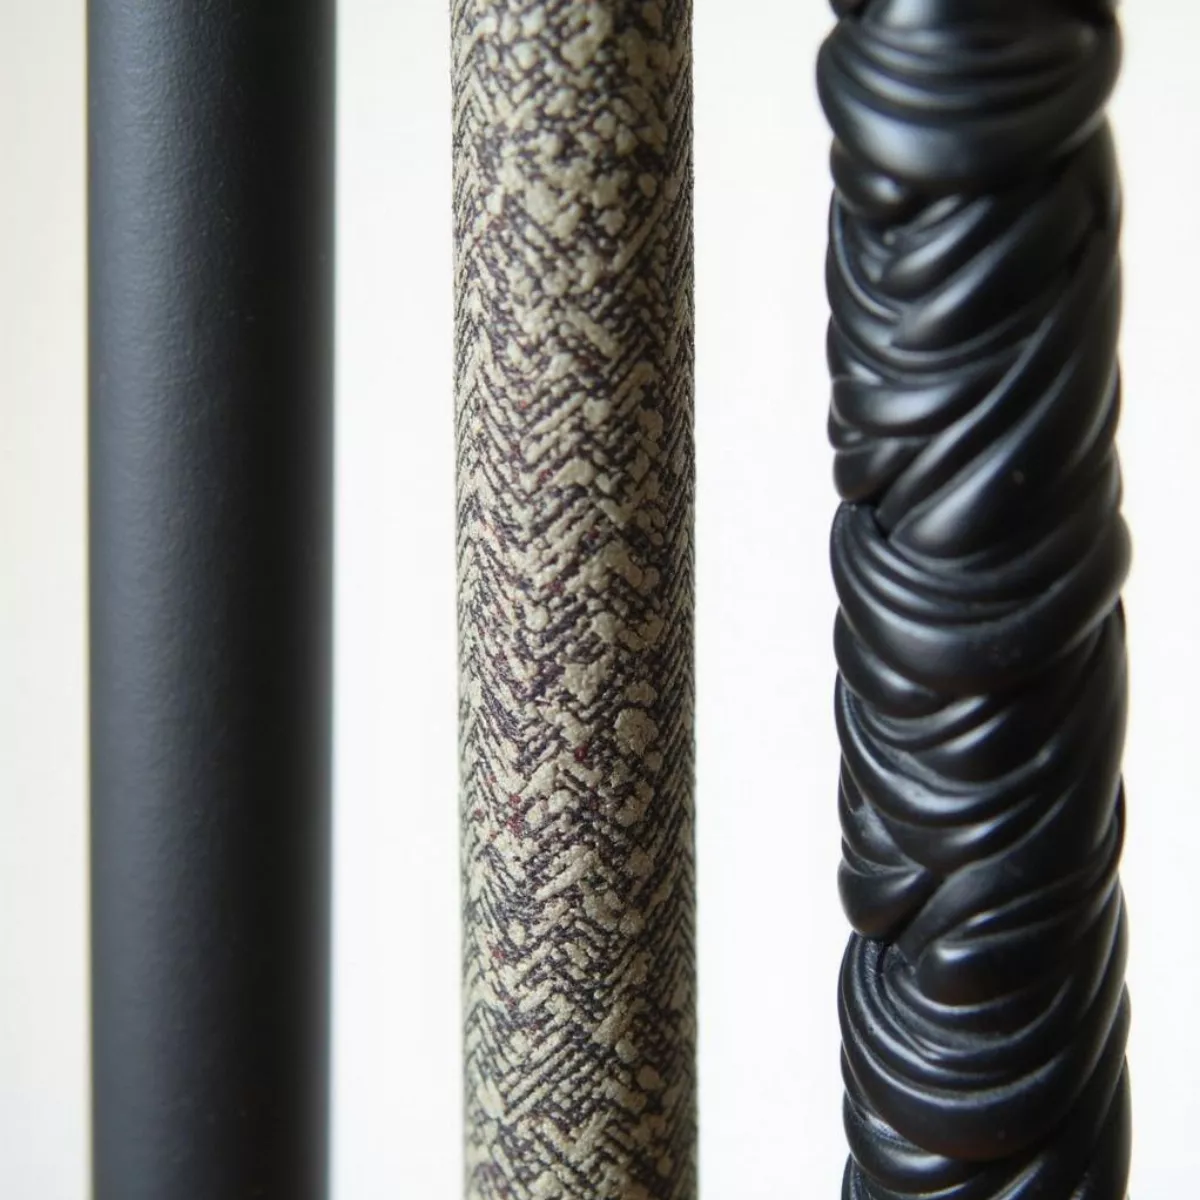
  • Rubber: Offers excellent flexibility and comfort, great for all-weather use.
  • Corded: Provides enhanced traction but can feel rough on the hands; ideal for wet conditions.
  • Polymer: Often softer, offering better shock absorption.

3. Texture

If you play in humid conditions or prefer a firmer grip, consider the texture of your grip:

  • Smooth grips are comfortable but may slip in wet conditions.
  • Textured grips provide better control, especially in inclement weather.

4. Shape

The shape of your grip can impact how your hands interact with the club:

  • Round grips: Good for most golfers and allow for a natural hand position.
  • Flat grips: Help promote a specific wrist angle or are beneficial for players with particular swing styles.

5. Weight

The weight of your grip can influence swing mechanics. Heavy grips can stabilize your swing, while lighter grips offer more feedback and control.

6. Alignment Aids

Some grips come with alignment aids, which can be helpful for newer golfers or those struggling with alignment. Look for grips that have markings or patterns to assist in maintaining the correct hand position.

Trying Before You Buy: The Importance of Testing

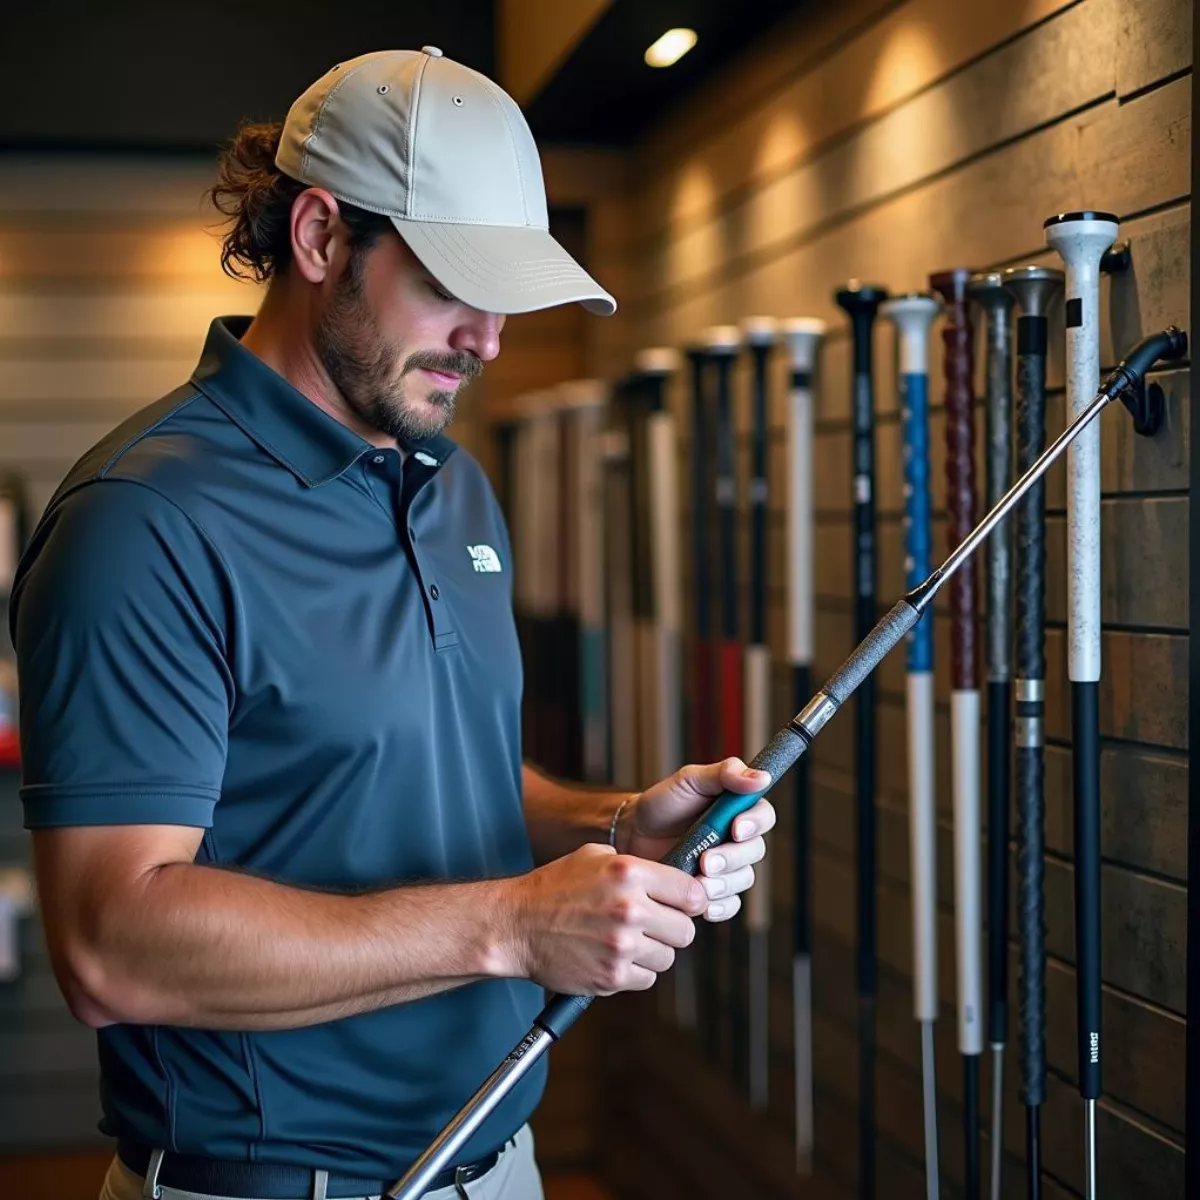
While all the factors mentioned are essential, the best way to ensure you select the proper golf grip is to try them out. Many golf stores have demo grips you can test. Pay attention to how each grip feels in your hands and how it affects your swing.

Here’s a simple checklist for your fitting session:

  • Feel how the grip aligns with your fingers.
  • Check for comfort after a few swings.
  • Note if you feel in control during your swing.

The Installation Process

Once you’ve selected your perfect grip, it’s time to install it yourself or take it to a professional. If doing it yourself, follow these steps:

Tools Needed

  • Golf grip tape
  • Grip solvent
  • Utility knife
  • Vise with golf club attachment or clamp

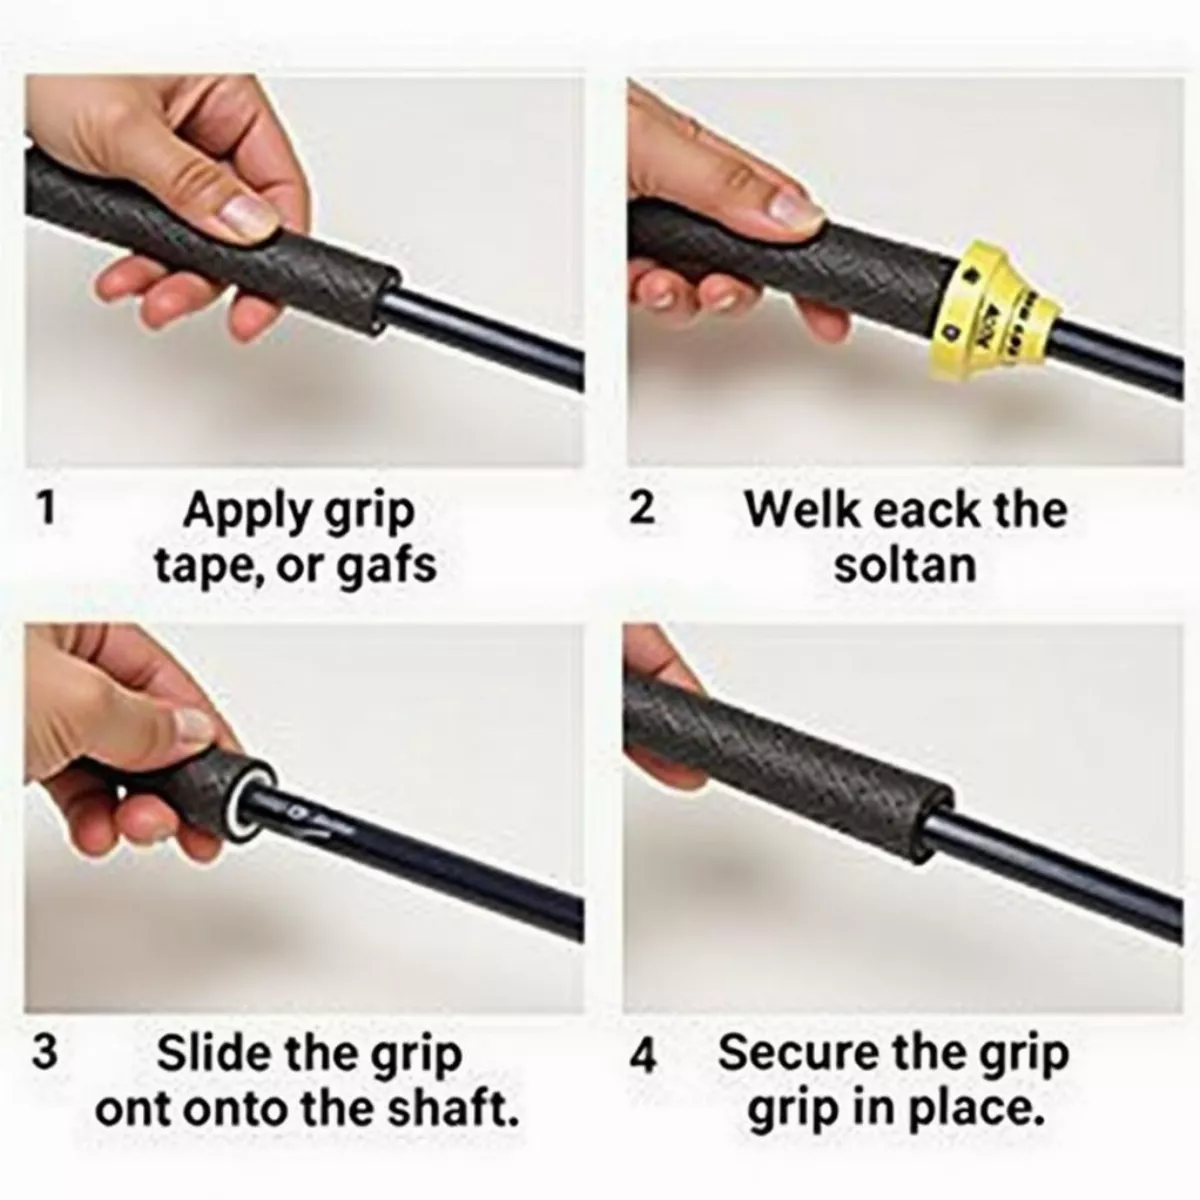
Installation Steps

  1. Remove the Old Grip: Cut it off with a utility knife.
  2. Clean the Shaft: Remove any leftover tape and dirt.
  3. Apply Grip Tape: Wrap the grip tape around the shaft, leaving a small portion exposed at the bottom.
  4. Soak the New Grip: Use solvent to soak it, ensuring it slides easily onto the shaft.
  5. Position the Grip: Align it and push it onto the shaft.
  6. Let it Dry: Allow for sufficient drying time, usually overnight.

Maintaining Your Golf Grips

To extend the life of your golf grips:

  • Clean them regularly: Use warm, soapy water to remove debris and dirt.
  • Inspect frequently: Check for wear and tear; grips should be replaced every 40 rounds or so.
  • Store properly: Keep your clubs in a cool, dry place to prevent damage.

Key Takeaways

  • Grip Size, Material, and Texture Matter: Choose the right size, and consider materials and textures based on your playing conditions.
  • Shape Matters: Round grips fit most players, while flat grips support specific swing styles.
  • Test Before You Buy: Always try grips out before purchasing.
  • Proper Installation is Key: Follow steps for correct installation or seek professional help.
  • Regular Maintenance is Vital: Clean regularly and replace worn grips as needed.

FAQ Section

1. How do I know what grip size I need?

Measure from the tip of your ring finger to the second line in your palm, then refer to the grip size chart above.

2. Can I use the same grip for all my clubs?

While you can, golfers often benefit from different grips tailored for specific clubs (e.g., softer grips for wedges).

3. How often should I change my golf grips?

Golf grips should be replaced approximately every 40 rounds or if they become slick or damaged.

4. What are the benefits of corded grips?

Corded grips provide enhanced traction, especially useful in wet conditions, but may feel rougher compared to smooth grips.

5. Do I really need to consider the material of the grip?

Yes! The material can impact your feel and performance, so choose based on your preferences and weather conditions.

6. How do I clean my golf grips?

Use warm water with mild soap and a cloth or brush to remove dirt and oils from your grips.

7. Are oversized grips beneficial?

Oversized grips can help prevent tension in your hands and offer more comfort but may reduce control for some golfers.

8. Can I easily install my own golf grips?

Yes, with the right tools and following installation steps, you can install grips yourself or opt for professional help.

9. What grips do the pros use?

Professional golfers often use custom grips tailored to their preferences. Grip choice varies widely among players.

10. How do I align my hands correctly on the grip?

Use grips with alignment aids, or practice feeling for the correct hand position through repetition and drills.

By considering all these factors and testing different golf grips, you’re well on your way to finding the perfect grip for elevating your game. Happy golfing!

How To Change Grip On Putter

how to change grip on putter

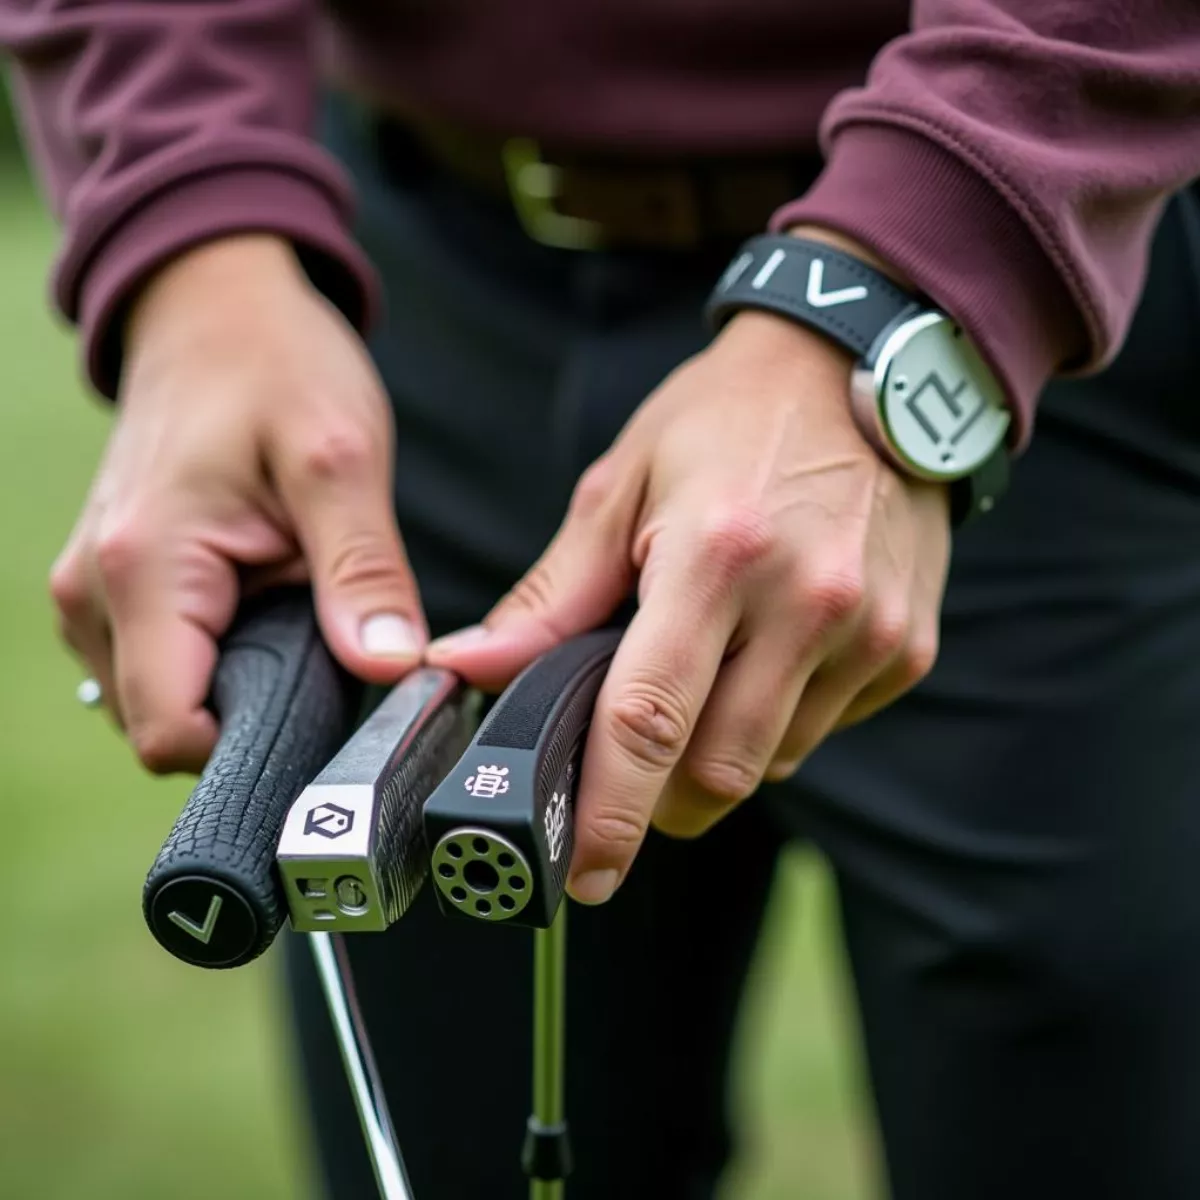
Changing your grip on the putter can significantly impact your performance on the greens. Whether you’re struggling with distance control or accuracy, a well-adjusted grip might be the solution. In this guide, we’ll walk you through the steps to change your grip, explain different grip styles, and provide tips to help you master this essential skill.

Why Change Your Putter Grip?

Many golfers overlook the importance of their grip. Changing your grip can help with:

  • Consistency
  • Feel
  • Alignment
  • Stroke mechanics

By experimenting with your grip, you may just find the secret to better putting performance.

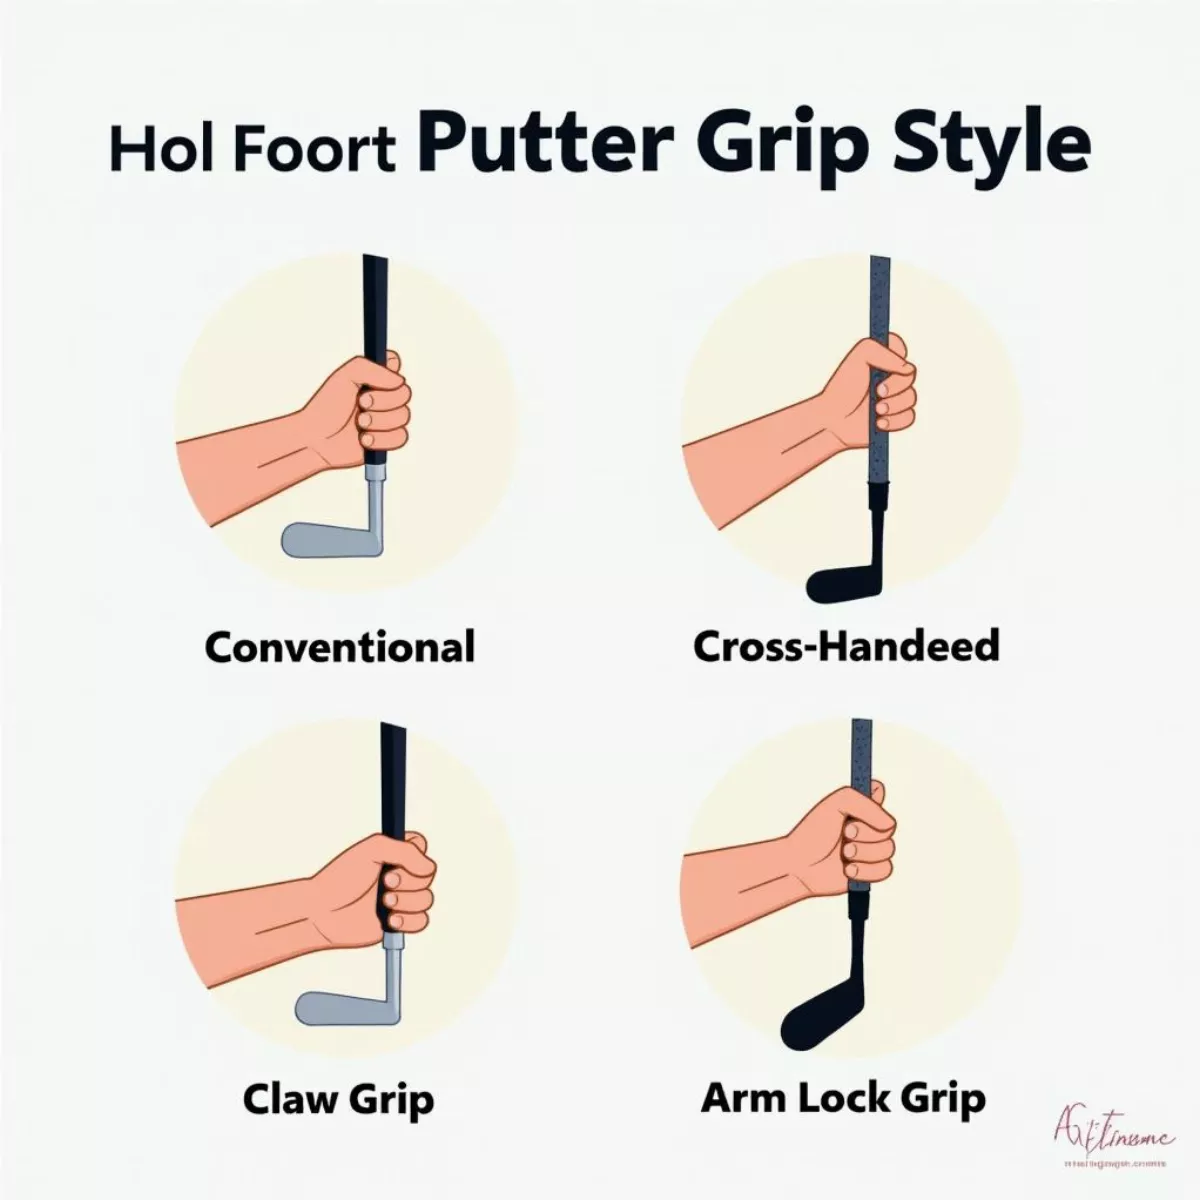
Common Putter Grip Styles

Before changing your grip, it’s essential to understand the various styles available. Each has its advantages and disadvantages.

Grip Style Description Pros Cons
Conventional Fingers wrap around the handle; palms face each other. Simple, straightforward grip. Lacks stability for some players.
Cross-Handed Left hand leads, right hand sits lower. Helps with alignment and pressure. Might feel unnatural for many golfers.
Claw Grip Fingers are spread apart; thumb rests on the shaft. Provides better control and stability. Can take time to adjust if you’re not used to it.
Arm Lock Grip Longer putter rests against the forearm. Great for stability and minimizing wrist action. Requires a specific putter length.

Steps to Change Your Putter Grip

Changing your grip can seem daunting, but it doesn’t have to be. Follow these steps to make the transition smoothly.

1. Evaluate Your Current Grip

Before making changes, take a moment to evaluate your current grip.

  • How does it feel?
  • Are you comfortable?
  • Do you feel you have control?

Quote: "The grip is the only connection you have to the club; make it count."

2. Choose Your New Grip Style

After evaluating your current grip, it’s time to choose a new one. Here are some tips on picking the right style:

  • Try Before You Buy: If possible, experiment with different grips at your local pro shop.
  • Consider Your Comfort: Choose a style that feels natural in your hands.
  • Watch Professional Golfers: Observe how professionals grip the putter during tournaments.

3. Make the Change

It’s time to put your chosen grip into practice.

  • Start with a Dry Run: Hold the putter as you would with your new grip without making any putts.
  • Practice in Designated Areas: Use a putting green or your backyard to try out your new grip without the pressure of a round.
  • Record Your Progress: Take notes on how the new grip feels and your putting results.

4. Mind Your Setup

Once you’ve transitioned to your new grip, don’t forget about your setup:

  • Posture: Stand tall and adopt a slight bend at the waist.
  • Eyes Over the Ball: Ensure your eyes are aligned properly.
  • Feet Position: Keep your feet shoulder-width apart for balance.

5. Get Feedback

Ask for feedback from fellow golfers or coaches:

  • Video Yourself: Record your stroke to analyze your grip’s effect on performance.
  • Seek Coaching: Sometimes, a coach can provide valuable insights that you might overlook.

Tips for Mastering Your New Grip

  • Patience is Key: Give yourself time to adjust to the new grip before judging its effectiveness.
  • Focus on Your Routine: Develop a consistent routine that includes your grip, stance, and stroke.
  • Stay Positive: Changing habits can be challenging; maintain a positive mindset throughout the process.

Key Takeaways

  • Changing your grip on the putter can enhance your putting performance in consistency, feel, and alignment.
  • Common grip styles include Conventional, Cross-Handed, Claw, and Arm Lock.
  • Evaluate your current grip, choose a new style that feels comfortable, and practice without pressure.
  • Remember to maintain proper setup and get feedback from others to improve.

FAQ

1. How long does it take to get used to a new grip?

It can take anywhere from a few days to a few weeks, depending on your muscle memory and consistency in practicing.

2. Can I modify my grip style mid-round?

It’s usually best to stick to your chosen grip during a round, but if you’re struggling, subtle adjustments can be made.

3. Should I use a padded grip?

A padded grip can help alleviate hand tension and promote a relaxed grip, making it easier to control the putter.

4. How do I know if I need to change my grip?

If you find you’re consistently missing short putts or lacking feel, it may be time to reconsider your grip.

5. Is it necessary to change grips as I improve my game?

As your skills develop, you might discover different styles that enhance your game further, so don’t hesitate to experiment.

6. Can my grip influence my distance control?

Absolutely! A proper grip allows better touch and feel, which is crucial for controlling distance.

7. Should I adjust my grip based on my putting style?

Yes, different styles can require different grips; find what works best for your unique stroke.

8. Do professional golfers change grips frequently?

Professional golfers often experiment with grips to find what best suits their game, especially when they’re struggling.

9. Is there a recommended grip size?

Grip size often depends on hand size and personal comfort; getting fitted by a pro can help find the right size.

10. How important is grip thickness?

Grip thickness can affect feel and control. A thicker grip may help relieve tension, while a thinner grip can improve sensitivity.

By changing your putter grip thoughtfully and intentionally, you can improve your performance on the course. Remember to remain patient, and soon enough, you’ll find your new grip leading to lower scores and outstanding putting skills! Happy putting!

How To Pick The Right Putter

how to pick the right putter

Selecting the right putter can significantly enhance your performance on the greens. With a wide variety of options available, it’s crucial to understand the different types of putters, features to consider, and how they can affect your game. This guide will walk you through everything you need to know to make an informed decision tailored to your style of play.


Understanding the Basics of Putters

Before diving into the specifics, let’s get familiar with what putters are and why they are essential for any golfer. A putter is a club designed for use on the green. It’s primarily used to roll the ball into the hole with precision. The right putter helps improve accuracy and lowers your score.

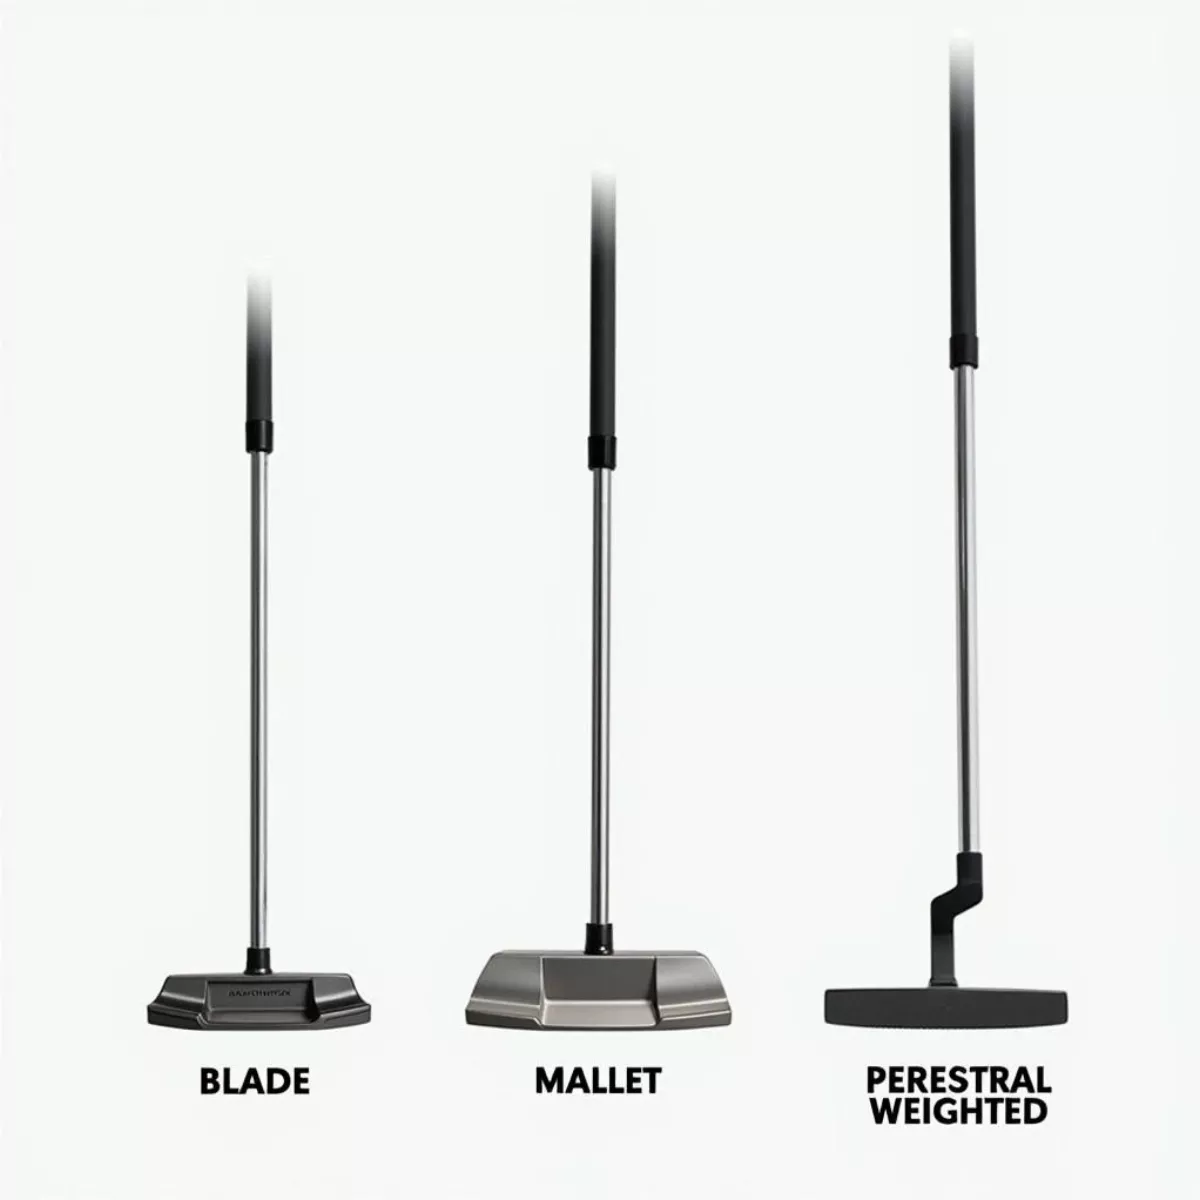
Types of Putters

When choosing a putter, it’s crucial to understand the various types available:

  1. Blade Putters

    • Description: Slim and flat, blade putters offer a traditional look.
    • Best For: Players who prefer a classic feel and have a straight putting stroke.

  2. Mallet Putters

    • Description: Heavier and typically larger than blade putters, mallet putters provide more stability.
    • Best For: Golfers who need help with alignment and require a higher moment of inertia (MOI).

  3. Peripheral Weighted Putters
    • Description: These putters distribute weight around the edges for added stability.
    • Best For: Everyone, as they combine the benefits of both blade and mallet options.

Key Features to Consider

When selecting the perfect putter, pay attention to the following features:

  • Length: Standard putters range from 32 to 36 inches. It’s essential to find one that suits your posture when addressing the ball.
  • Grip Size: The right grip can impact your comfort and control. Standard, midsize, and oversized grips are available.
  • Face Material: Materials like aluminum and steel offer different feels and roll characteristics.
  • Balance: Face-balanced putters are great for straight strokes, while toe-balanced putters suit players with an arc in their stroke.

Finding Your Ideal Putter

1. Assess Your Putting Style

Your putting style significantly influences your choice of putter. Identify whether you have a straight-back-and-through stroke or an arcing stroke. This assessment will inform your selection of blade or mallet putters.

2. Trial and Error

Don’t hesitate to try several putters before making a decision. Golf shops often have practice greens where you can test different models. Consider factors like:

  • Feel: Does it feel balanced and comfortable?
  • Alignment: Does it help you line up your shots?
  • Roll: How well does the ball respond off the face?

3. Consult with Professionals

If you’re uncertain about which putter suits you best, consider booking a fitting session with a golf professional or a club fitter. They can provide insights tailored to your specific needs.

The Importance of Proper Fitting

Fitting a putter is essential for optimum performance. A poorly fitted putter can lead to inconsistencies, missed putts, and, ultimately, frustration.

  • Length Adjustment: Ensure the putter length aligns with your height and stance.
  • Lie Angle: A putter’s lie angle is critical; incorrectly fitting angles can cause pull or push shots.
  • Weight Distribution: The distribution of weight can greatly affect your control and technique.

Common Putter Fitting Terminology

Term Description
Lie Angle Angle between the center of the shaft and the ground
Loft Angle that affects the launch of the ball
Offset Forward lean of the shaft relative to the face

Maintenance and Care

To ensure your putter remains in optimal condition:

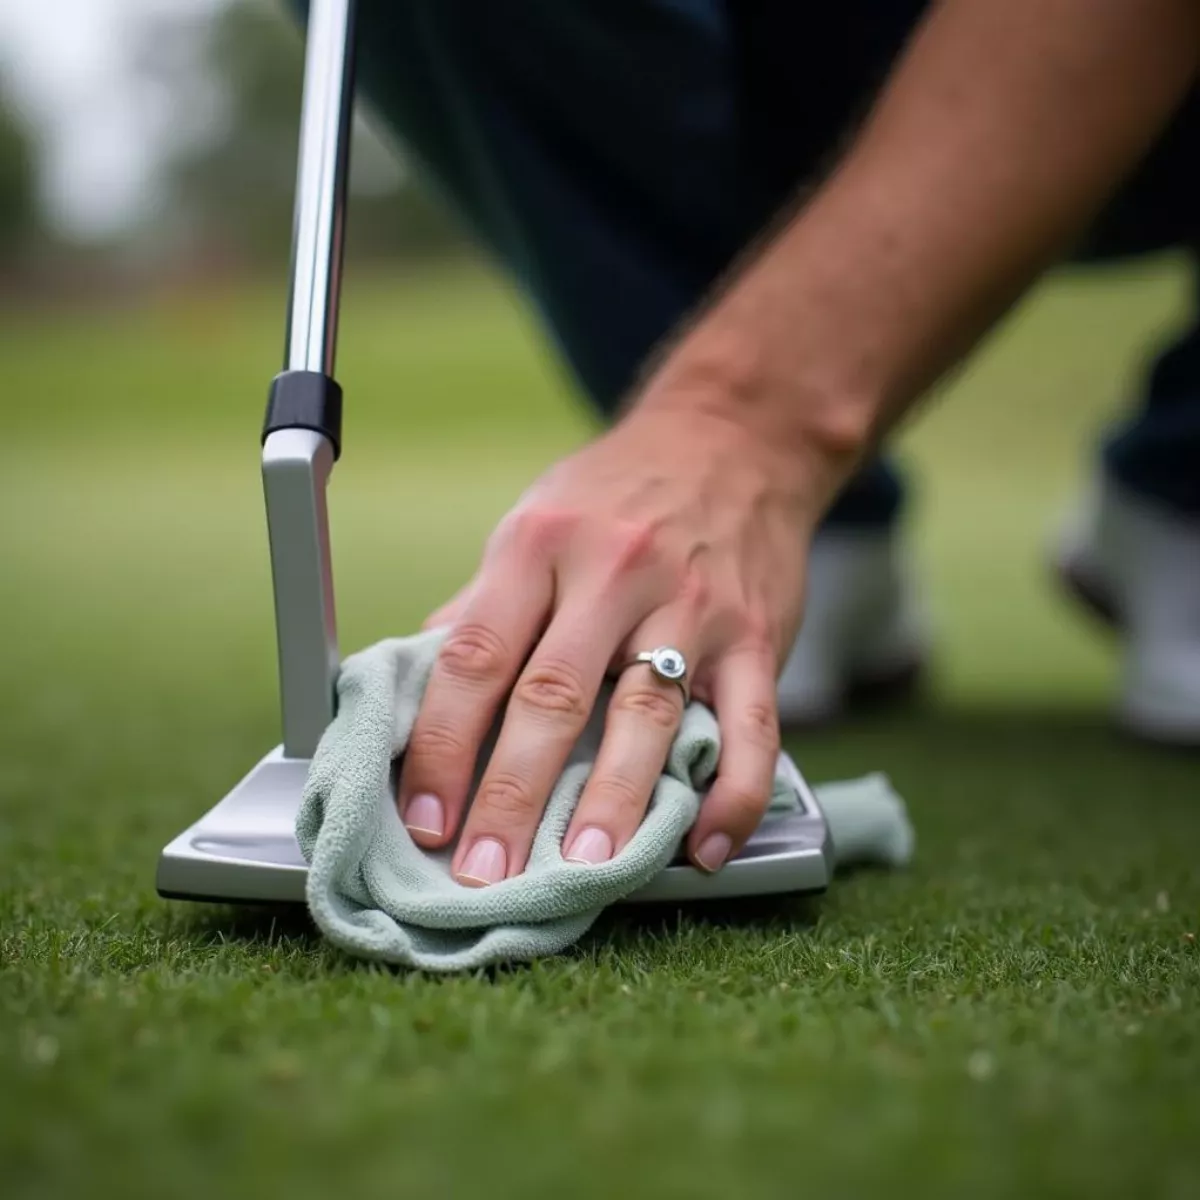
  • Clean Regularly: Use a soft cloth and mild cleaner to remove dirt.
  • Check the Face: Inspect for any damage or wear that can affect performance.
  • Store Properly: Keep in a protective cover when not in use.

Key Takeaways

  • Understand the types of putters (blade, mallet, peripheral weighted) and their best-suited players.
  • Assess your putting style to determine which putter fits you.
  • Trial several options to find the right feel and roll.
  • Consider professional fitting for optimal performance.
  • Maintain your putter to ensure longevity and quality performance.


FAQ Section

1. How do I know what putter length is right for me?

The right putter length typically depends on your height and posture when addressing the ball. Standing comfortably with a slight bend in your knees, your wrists should hinge slightly above the grip.

2. What is the difference between a blade and mallet putter?

Blade putters are designed for players with a straight putting stroke, while mallet putters are heavier, providing more stability and are better suited for those with an arcing stroke.

3. How often should I get my putter fitted?

It’s a good practice to get fitted every couple of years or whenever you notice a significant change in your game or physical condition.

4. Can I adjust the lie angle of my putter?

Yes, most putters can be adjusted for lie angle. Consult with a professional to ensure it’s done correctly.

5. What maintenance should I perform on my putter?

Clean your putter regularly, check for wear, and store it in a protective cover.

6. Should I buy a new putter or modify my current one?

If your current putter sometimes feels uncomfortable or inconsistent, a fitting can help determine if modifications are necessary or if purchasing a new one is the better option.

7. What’s the best putter brand?

Several brands are highly regarded, including Scotty Cameron, Ping, TaylorMade, and Cleveland. The "best" brand often depends on personal preference and feel.

8. How much should I spend on a putter?

Putter prices can vary widely. You can find decent options for under $100 and premium models exceeding $400. Invest based on your budget and how serious you are about improving your game.

9. Are more expensive putters better?

Not necessarily. While higher-priced putters often use better materials and advanced technology, comfort and fit are what truly improve your performance.

10. What makes a putter "game improvement"?

"Game improvement" putters are designed to help less experienced golfers make more consistent contact and better control their distance and direction.


Choosing the right putter can profoundly impact your game, leading to lower scores and more enjoyment on the course. By understanding your unique needs and preferences, you’ll be well on your way to finding the perfect match for your putting style. Happy putting!