Category Archives: How to

How To Measure Loft Of Golf Club

how to measure loft of golf club

When it comes to golf clubs, understanding the loft can make a significant difference in your game. Whether you’re a seasoned pro or just starting, measuring the loft of your clubs can help you choose the right one for your swing style and playing conditions. In this guide, we will walk you through everything you need to know about measuring loft, why it matters, and how it can improve your game.

Understanding Loft

In golf terms, loft refers to the angle of the clubface relative to the ground. The loft affects the trajectory and distance of your golf shot. A higher loft means the ball will fly higher but will travel shorter distances, while a lower loft results in a lower flight path with more distance.

Why Loft Matters

  • Control: Proper loft helps you control the ball’s trajectory, allowing for precision shots.
  • Approach Shots: Understanding loft aids in executing approach shots with the appropriate angle.
  • Distance Management: Knowing how loft affects distance can help you make better club selections.

How to Measure Loft of a Golf Club

Measuring the loft of a golf club can be done using various methods. Below are the most common techniques:

1. Using a Loft and Lie Machine

A loft and lie machine is the most accurate method to measure the loft of any golf club.

  • Step 1: Secure the club in the machine.
  • Step 2: Ensure the club is positioned correctly by lying flat against the platform.
  • Step 3: Read the loft measurement from the machine’s display.

Tip: You can find loft and lie machines at most golf fitting centers.

2. Using a Digital Angle Finder

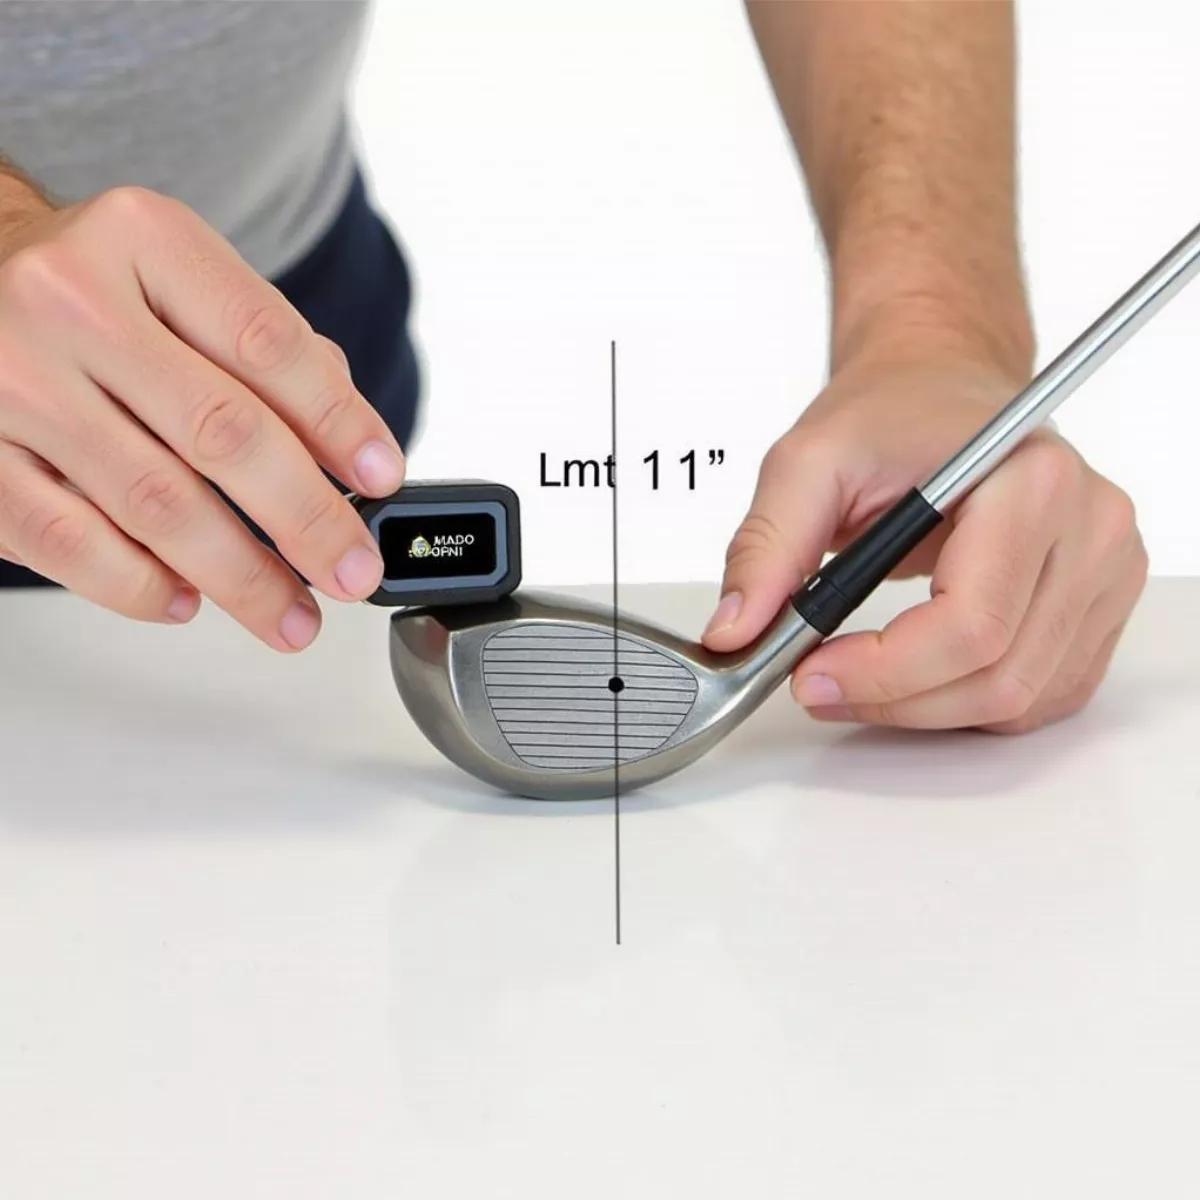
Another option is to use a digital angle finder. This method is handy for DIY measurements.

  • Step 1: Place the club on a flat surface.
  • Step 2: Position the angle finder on the clubface.
  • Step 3: Adjust until it’s level, and then read the angle displayed.
3. Manual Measurement with a Protractor

If you don’t have access to the above tools, measuring with a simple protractor will work, although it may not be as accurate.

  • Step 1: Position the club so that its shaft is vertical.
  • Step 2: Hold the protractor against the clubface.
  • Step 3: Read the measurement where the clubface meets the protractor.

4. Measuring Against a Wall

This is more of a rough estimate, but it can be done easily at home.

  • Step 1: Place the club’s face against a flat wall or board.
  • Step 2: Mark the point where the top of the clubhead meets the wall.
  • Step 3: Measure the angle with a protractor from the wall to the mark you made.

5. Compare with Club Specifications

Finally, you can always refer to the club specification provided by the manufacturer. Many reputable brands publish detailed specifications for their clubs.

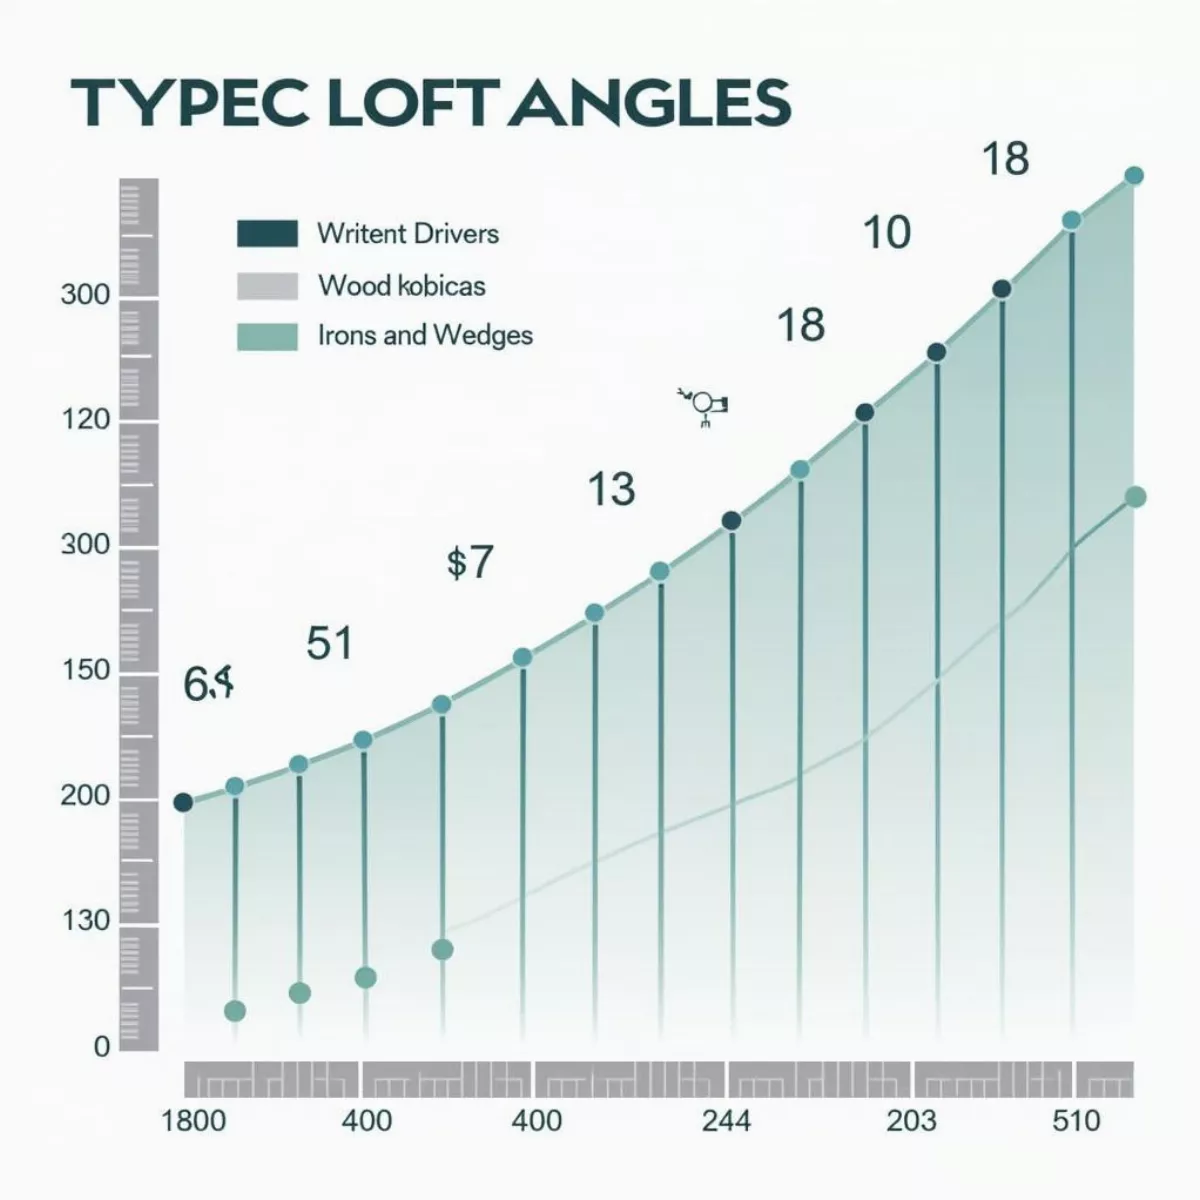
Golf Club Type Typical Loft Angle
Driver 8° – 15°
3 Wood 15° – 20°
5 Wood 20° – 25°
3 Iron 20° – 23°
4 Iron 23° – 26°
5 Iron 26° – 29°
6 Iron 29° – 32°
7 Iron 32° – 35°
8 Iron 35° – 38°
9 Iron 38° – 42°
Pitching Wedge 44° – 48°
Sand Wedge 54° – 58°
Lob Wedge 58° – 64°

Tips for Measuring Loft Accurately

  • Use Consistent Methods: Always measure using the same method for comparison.
  • Take Multiple Measurements: To ensure accuracy, measure each club several times and average the readings.
  • Check Regularly: As clubs can wear over time, regular checks can help maintain performance.

Common Loft Measurements Explained

The Loft of Different Clubs

  • Drivers: Generally have the lowest loft of all clubs (8°-15°) to help achieve maximum distance.
  • Woods: Ranging from 15°-25°, these clubs are designed to hit the ball high and far.
  • Irons: These clubs have increasing loft angles from 20° for the 3 iron up to about 42° for the 9 iron.
  • Wedges: Feature the most loft, usually between 44° to 64° depending on the type of wedge.
Key Takeaways

  • Understand the Importance of Loft: It impacts control, distance, and shot trajectory.
  • Use Different Techniques: Whether it’s a loft and lie machine or a manual protractor, different methods can serve your needs.
  • Regular Measurements: Consistent loft measurements can help maintain your skill and improve your game.

Frequently Asked Questions (FAQ)

1. What is the ideal loft for a driver?

The ideal loft for a driver usually ranges from 9° to 11°, but this can vary based on a player’s swing speed.

2. Does a higher loft mean more distance?

Not necessarily. While higher loft can help achieve a higher launch angle, it may not always translate to longer distances depending on swing mechanics.

3. How often should I check my club loft?

It’s a good idea to check your club loft at least once a year or whenever you notice significant wear and tear.

4. Can I measure loft at home?

Yes! You can measure loft using a protractor or an angle finder, but accuracy might vary compared to professional equipment.

5. Why do manufacturers list different lofts for the same club type?

Different manufacturers have varying design philosophies, aiming for different performance characteristics, leading to discrepancies.

6. Can I adjust the loft of my driver?

Many modern drivers come with adjustable loft settings, allowing players to customize their clubs for improved performance.

7. Will changing loft affect my swing?

Yes, altering the loft can change how the ball behaves in the air, which in turn can affect your overall swing and approach.

8. What should I do if my loft measurements are inconsistent?

If you’re getting inconsistent measurements, consider professional fitting to ensure your clubs are set up correctly.

9. Do all golfers need to measure loft?

While it’s essential for serious players, even casual golfers can benefit from knowing loft for better shot selection.

10. Can beginners benefit from understanding loft?

Absolutely! Understanding loft helps beginners make informed choices about club selection, which can enhance their learning experience.

By learning how to measure the loft of your golf clubs, you’re investing in your golfing skills. The right loft can dramatically influence your game, making it easier to achieve those coveted birdies. So, grab your tools, follow this guide, and hit the course with renewed confidence!
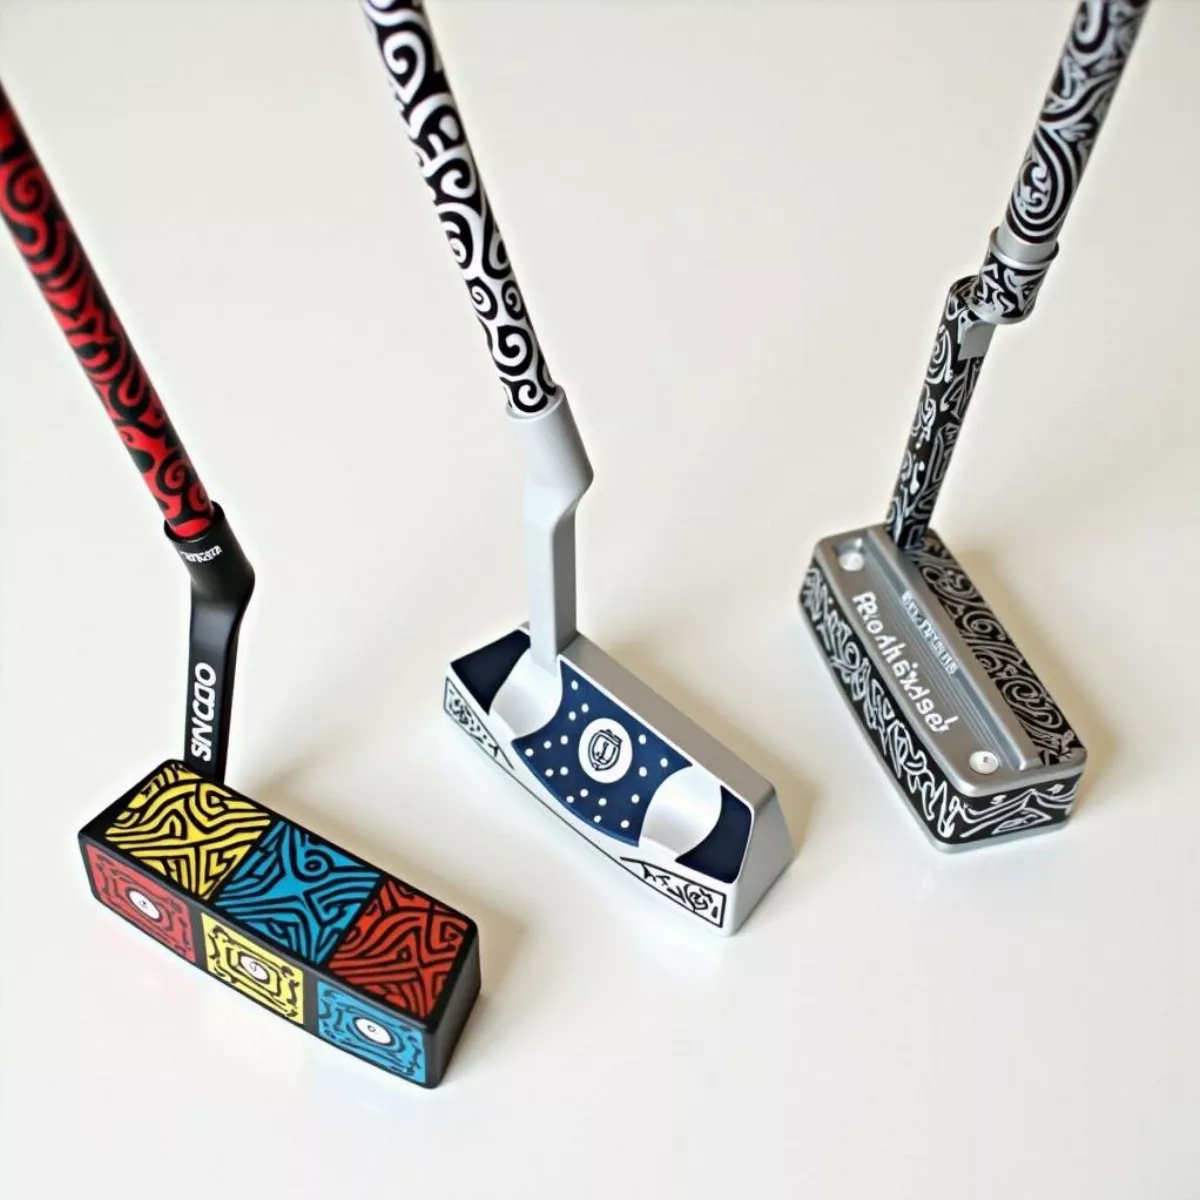
How To Paint A Putter

how to paint a putter

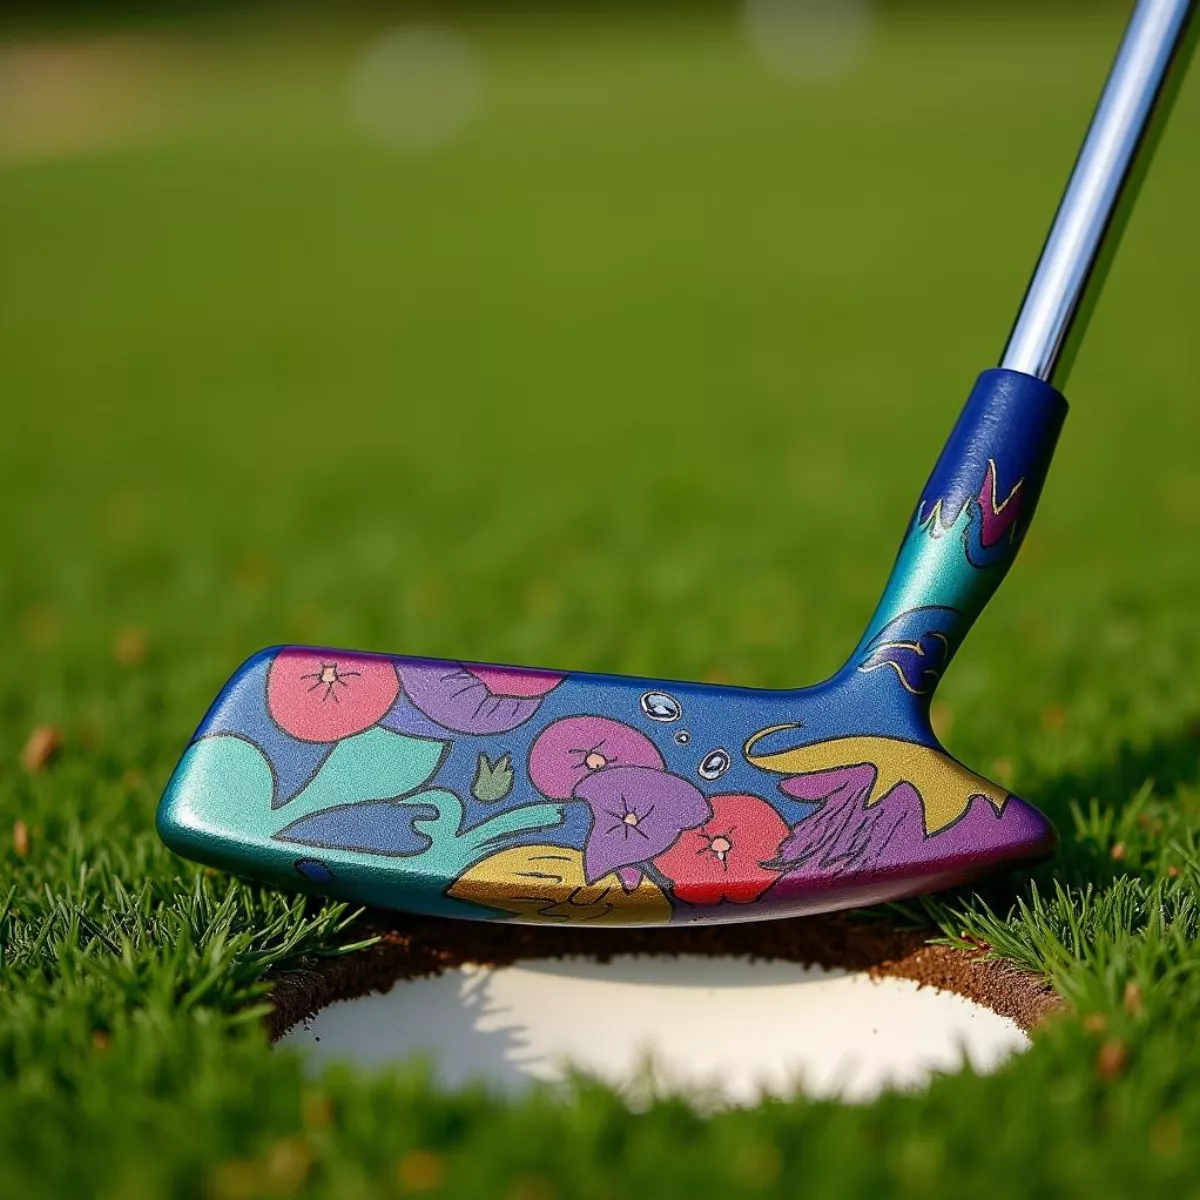
Are you looking to breathe new life into your trusty putter? Painting it can not only enhance its appearance but also reflect your personal style on the golf course! In this comprehensive guide, we will walk you through the steps to successfully paint your putter, share helpful tips, and answer common questions to ensure your DIY project is successful. Whether you want to change the color or add some stylish designs, painting a putter can be a fun and rewarding process.

Why Paint Your Putter?

Before we dive into the process, let’s discuss why you might want to paint your putter. Here are a few reasons:

  • Personalization: Stand out on the course with a unique design that showcases your personality.
  • Durability: A good paint job can protect your putter from wear and tear.
  • Improved Alignment: Certain colors can enhance your focus on alignment marks, helping you sink more putts.

Materials Needed

To get started, gather the following materials:

Item Purpose
Paint (enamel acrylic) For coloring your putter
Primer For better paint adhesion
Clear coat To protect the final finish
Sandpaper To prep the surface
Painter’s tape To create sharp lines and protect non-painted areas
Brush or airbrush For applying paint
Rags or paper towels For cleaning and drying
Small container To mix paint and primer
Gloves To keep your hands clean

Tip: Use high-quality acrylic paint formulated for metal surfaces for the best results!

Step-by-Step Guide to Painting a Putter

1. Prepare Your Workspace

To ensure a successful painting experience:

  • Choose a well-ventilated area to avoid inhaling fumes.
  • Lay down a drop cloth or newspaper to protect your workspace from paint drips.
  • Keep all your materials organized and within reach.

2. Disassemble Your Putter

Carefully disassemble your putter, removing any detachable parts like the grip or weight. This ensures a clean painting surface.

3. Clean the Putter

Start by cleaning your putter with soap and water to remove dirt and oils. Then, dry it thoroughly. A clean surface is crucial for paint adhesion!

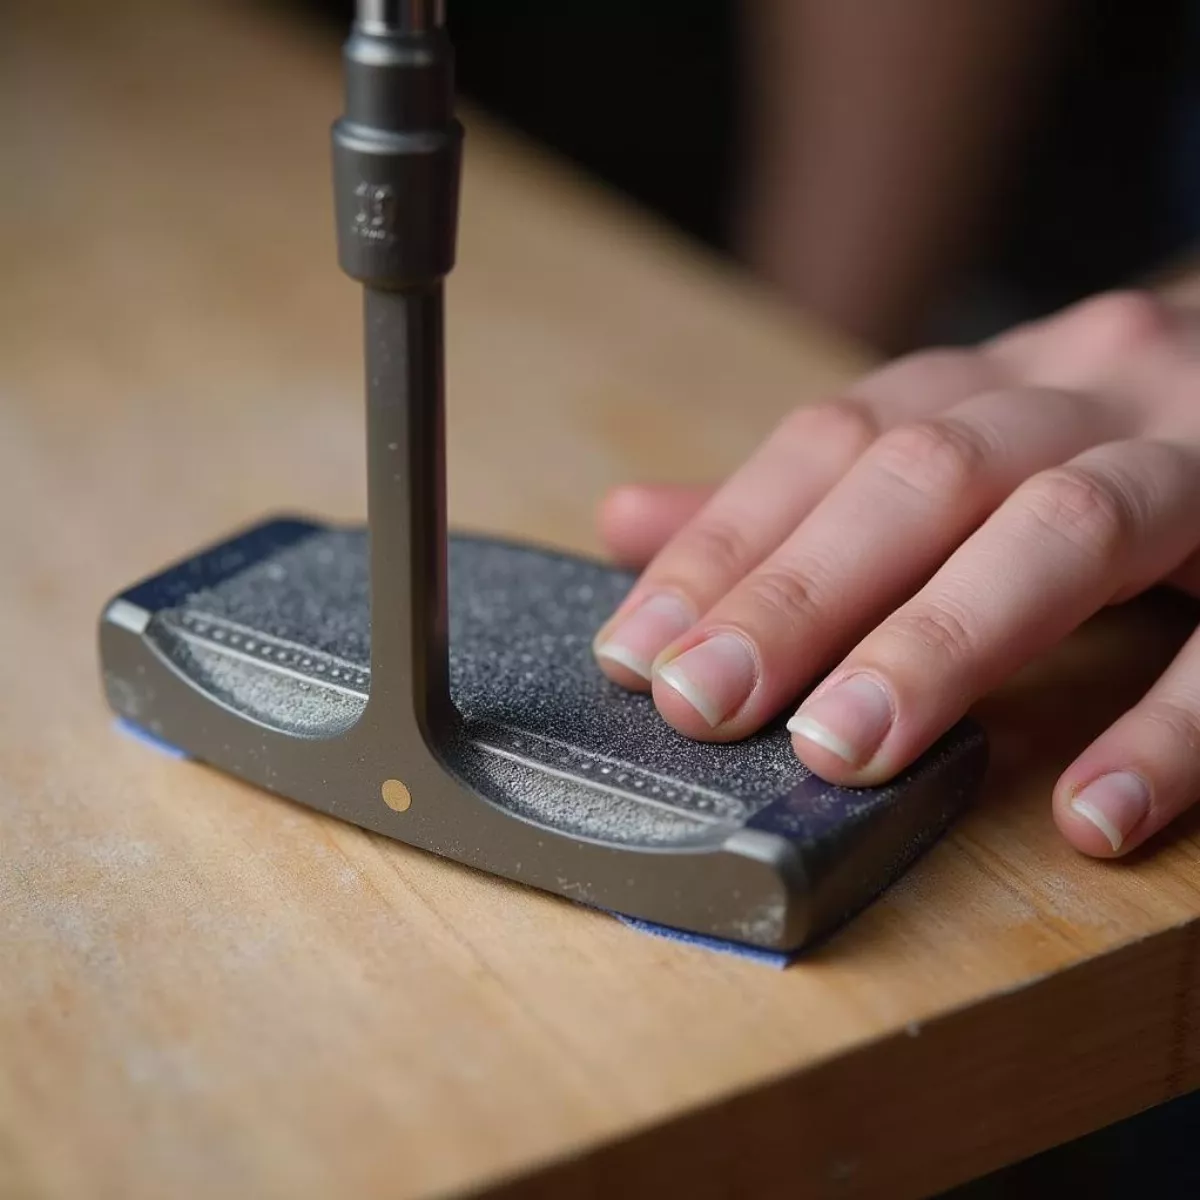
4. Sand the Surface

Using a fine-grit sandpaper (220-grit recommended), gently sand the putter’s surface. This will create a slightly rough texture for better paint adherence. Be sure to sand evenly and carefully around any logos or engravings you want to preserve.

5. Apply Primer

  • Choose a good quality primer designed for metal surfaces. This step is essential for better paint adherence and longevity.
  • Apply the primer evenly with a brush or spray can. Allow it to dry as per the manufacturer’s instructions—usually between 1 to 2 hours.

6. Paint Your Putter

Once the primer is dry, it’s time to add color!

  • Choose your desired paint color—be bold or stick to classic shades!
  • Apply paint in thin layers, allowing each layer to dry completely before applying the next. This helps avoid runs and sags in the paint.
  • Use painter’s tape to mask off any areas you don’t want to paint, ensuring clean lines.

7. Add Design Elements (Optional)

If you’re feeling artistic, now is the time to add designs:

  • Stencils: Use stencils to create patterns or logos. Simply place the stencil over the painted area and gently sponge paint over it.
  • Freehand: Get creative! Use a fine brush for detailed work.

8. Seal the Paint with Clear Coat

Once all the paint is dry:

  • Apply a clear coat for added protection against scratches and wear.
  • Allow it to cure completely according to the instructions, typically for 24 hours.

9. Reassemble Your Putter

After everything has dried, carefully reassemble your putter. Double-check that everything is tight and secure.

10. Enjoy Your Custom Putter!

Take your newly painted putter to the course and show it off! It’s not only a conversation starter but also a reflection of your personal style.

Key Tips for Successful Putter Painting

  • Take Your Time: Quality work requires patience. Don’t rush the painting or drying process.
  • Test Paint Colors: Before committing, test your colors on a scrap piece of metal to ensure you like the shade.
  • Use Quality Materials: Invest in good-quality paints and tools. They may cost more initially but will yield better results.

Key Takeaways

  • Preparation is critical for a successful paint job.
  • Choose high-quality enamel acrylic paint and primer for lasting results.
  • Use painter’s tape and apply paint in thin layers to avoid drips.
  • Don’t forget the clear coat for durability.
  • Showcase your personal style by experimenting with colors and designs!

FAQ Section

1. Can I paint a putter with regular spray paint?

No, it’s best to use acrylic enamel paint specifically designed for metal surfaces to ensure durability and adhesion.

2. How long does it take for paint to dry on a putter?

Generally, paint should dry for at least 1-2 hours between coats. A full curing time of 24-48 hours is recommended before putting your putter to use.

3. Do I need to sand my putter before painting?

Yes, sanding helps to create a roughed-up surface for the paint to adhere better. A fine-grit sandpaper (like 220-grit) works well.

4. Will painting my putter affect its performance?

If done correctly, painting shouldn’t affect performance. However, avoid adding excessive paint to the striking surface of the putter.

5. Can I use nail polish to paint my putter?

While nail polish can be used for small details, it’s not recommended for larger areas as it may not adhere well or last over time.

6. How can I remove paint from my putter?

To remove paint, soak the putter in a paint stripper suitable for metal surfaces, then scrub with fine steel wool. Ensure all paint is removed before repainting.

7. Is it worth painting an expensive putter?

While you should protect the value of high-end putters, if you think a personal touch will improve your enjoyment and connection to the club, painting can be a worthwhile choice.

8. Can I add designs to my putter with stickers?

Yes! Just make sure to seal with a clear coat over the stickers for durability.

9. What’s the best way to clean my putter after painting?

Use a soft cloth dampened with water and mild soap. Avoid abrasive cleaners that may damage the paint.

10. Is painting a putter a difficult task?

With the right materials and preparation, painting a putter can be a rewarding DIY project suitable for most skill levels!

By following this comprehensive guide, you’re well on your way to transforming your putter into a stunning piece of art that reflects your personality. Happy painting, and may your new look help you sink more putts!

How To Measure Golf Grip Size

how to measure golf grip size

Whether you’re a seasoned player or just getting started, the grip size of your golf clubs can make a huge difference in your game. A properly fitting grip can improve your swing, control, and overall performance on the course. But how do you know which grip size is right for you? In this guide, we’ll explore how to measure your golf grip size, why it matters, and what you need to consider to find your perfect fit.

Importance of Golf Grip Size

The golf grip size directly affects how you hold the club, which in turn influences your swing mechanics. Here’s why it matters:

  • Improved Control: A grip that’s too big or too small can lead to poor control, making it difficult to produce consistent shots.
  • Enhanced Comfort: A good grip size enhances comfort and reduces tension in your hands during swings.
  • Injury Prevention: Using the wrong grip size can result in discomfort and even injuries, such as tendonitis or carpal tunnel syndrome.

Before diving into how to measure grip size, let’s go over a few key terms and concepts.

Key Terminology

  • Grip Size: The circumference of the grip measured in inches.
  • Standard Grip: Commonly used sizes that cater to most golfers.
  • Oversize Grip: Larger than standard grips for golfers with bigger hands or those seeking extra cushioning.
  • Undersize Grip: Smaller than standard grips for individuals with smaller hands.

How to Measure Golf Grip Size

Measuring your golf grip size is relatively straightforward. Here’s a step-by-step guide to ensure you find the right size:

Step 1: Gather Your Materials

You will need the following items:

  • A solid ruler or measuring tape
  • A pen and paper for notes
  • A string (optional)

Step 2: The Measure Method

  1. Hold a Club: Take one of your golf clubs and hold it in your normal grip.
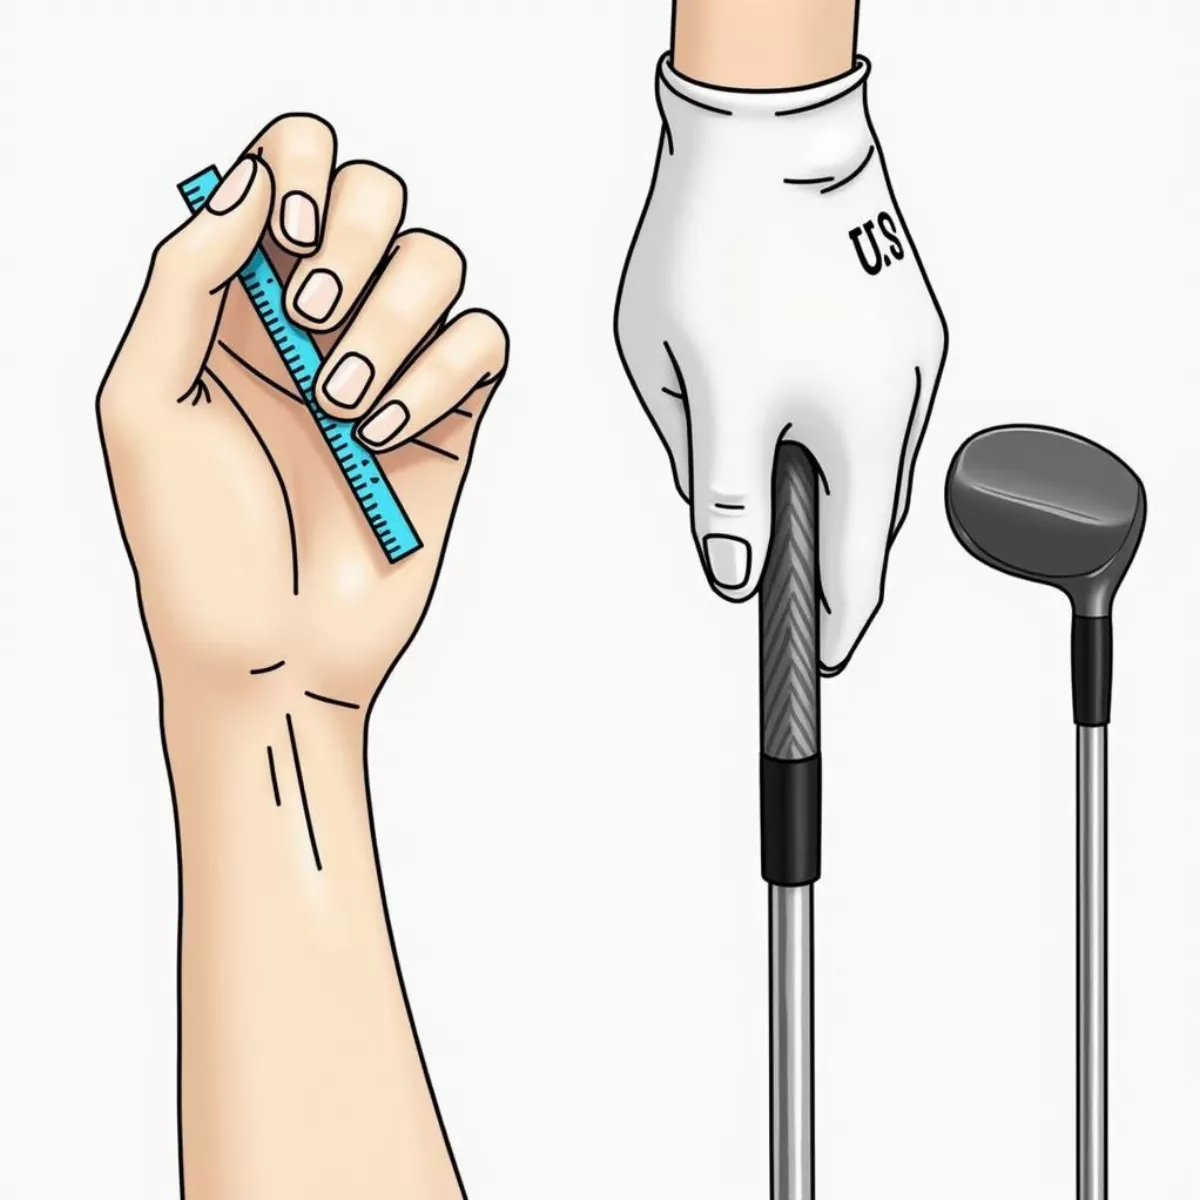
  2. Three-Finger Method: With the club in your hands, take a measuring tape and measure the distance from the tip of your index finger to the first crease on your palm (where the fingers meet the palm).

    This distance will help you determine your grip size based on the following table:

Grip Size (inches) Hand Size (inches)
0.54 7 or smaller
0.60 7 – 8
0.62 8 – 9
0.64 9 or larger

Step 3: Other Measurement Methods

The Pencil Test

Another popular method is the pencil test:

  • Grip a pencil with the same tension you’d use while holding a golf club.
  • If your fingers wrap around the pencil without any gaps, that’s an indication of the right grip size.

The Finger Test

For a more tactile approach, try the Palm Test:

  • Hold the club and take note of the gap between your fingers and palm.
  • If your fingers touch your palm comfortably, your grip size is likely correct. If they wrap around too tightly or there’s a large gap, you may need to adjust.

Step 4: Trial and Error

Don’t be afraid to experiment. Many golfers find their ideal size through trial and error. Trying different grips can help you determine what feels best during practice swings and on the course.

Considerations When Choosing Golf Grip Size

There are a few key points to consider when selecting a grip size:

  • Playing Style: Your playing style can influence grip size preference. Players who prefer a more aggressive grip might opt for a smaller size.
  • Climate: Hot weather can cause your hands to swell. A slightly larger grip may feel more comfortable in these conditions.
  • Type of Clubs: Different clubs can require different grip sizes. For example, a driver may need a different size than your putter.

Choosing the Right Material

Grips come in various materials that affect feel and performance. Here are the most common options:

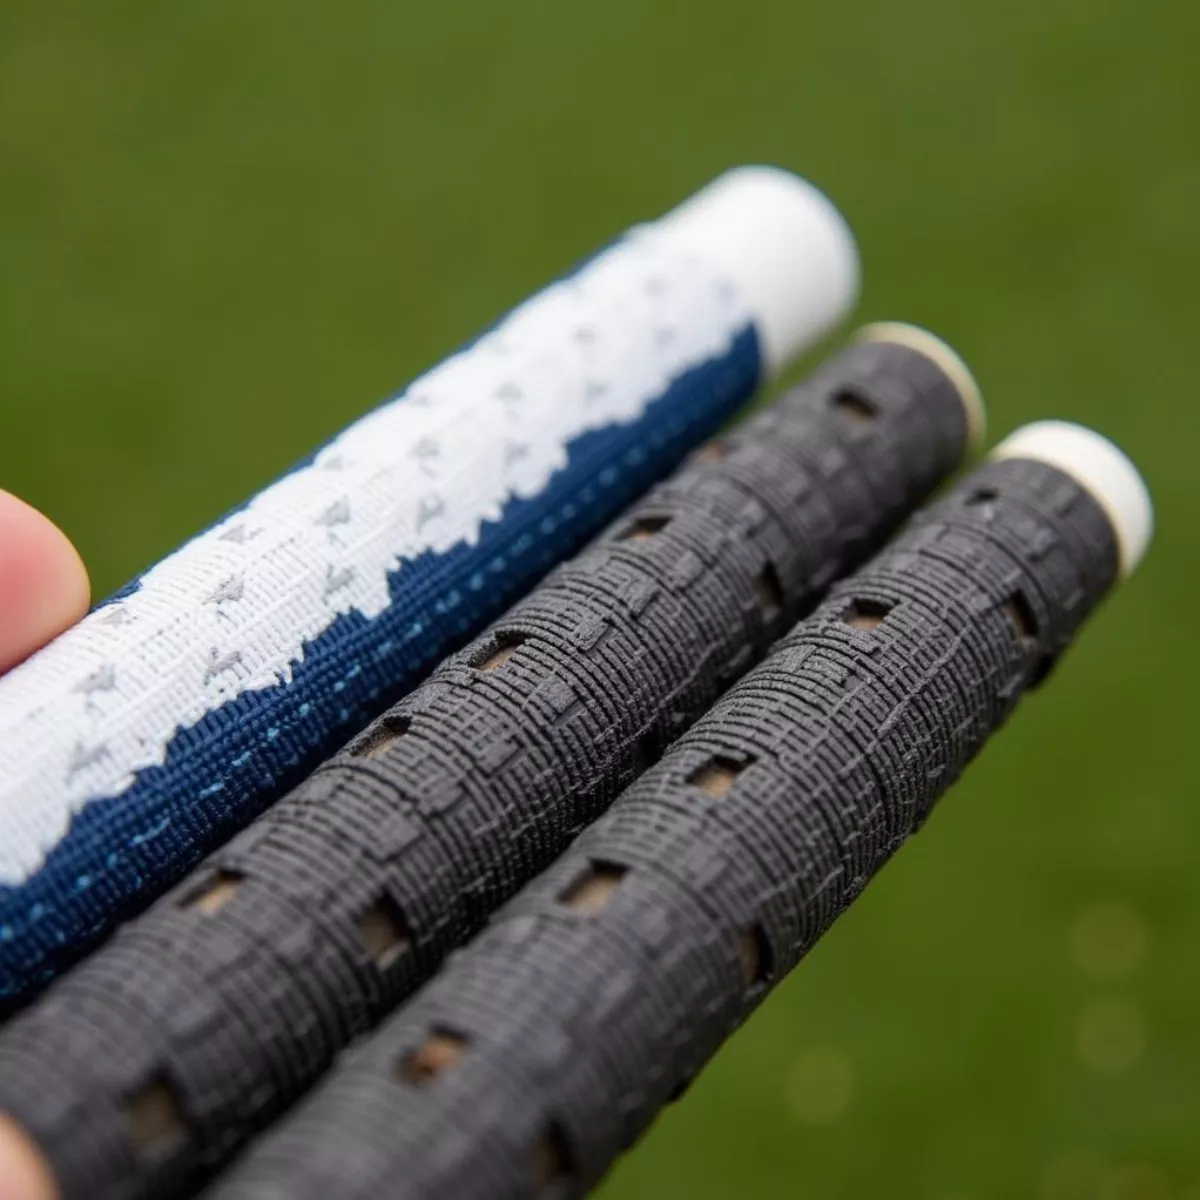
  • Rubber Grips: Most common for their durability and provide a good balance of feel and control.
  • Cord Grips: Include strands of cotton that offer extra traction and control, especially in wet conditions.
  • Multi-Compound Grips: Combine rubber and cord to provide a blend of comfort and grip.

Keeping Your Grips Fresh

Proper maintenance can extend the life of your grips. Follow these simple steps:

  • Clean Regularly: Wipe grips down with a damp cloth after each round.
  • Replace When Worn: If grips feel slick or hard, it’s time to replace them.

Key Takeaways

  • Measure your grip size using the three-finger method or pencil test to find the right fit.
  • Pay attention to your playing style and environmental factors when choosing grip size.
  • Experimentation is key; don’t hesitate to try different grips before making a decision.
  • Regularly maintain your grips to ensure optimal performance.

FAQ Section

1. What is the standard golf grip size for average players?

The standard grip size for most male golfers is typically 0.60 inches, whereas for women it may range around 0.54 inches.

2. How do I know if I need a larger or smaller grip?

If you experience discomfort, your fingers wrap too tightly, or you have difficulty controlling the club, you may need a larger grip. Conversely, if your fingers don’t touch your palm, you may need a smaller grip.

3. Can grip size affect my swing?

Yes! The right grip size ensures optimal control and reduces tension, which can lead to a smoother and more effective swing.

4. Should I get my clubs re-gripped every year?

It depends on usage. If you play frequently (more than once a week), you might consider re-gripping once a year.

5. What grip size do professional golfers use?

Professional golfers use a variety of grip sizes, often customized to their preferences. Many prefer larger grips for better control.

6. What are the signs that my grips need replacing?

Signs include wear, slickness, loss of traction, and noticeable discomfort during play.

7. Can I mix grip sizes on my clubs?

It’s best to maintain consistent grip size across all clubs for overall performance and feel.

8. Are there special grip considerations for beginners?

Beginners should focus on comfort and control, opting for a size that allows ease of movement and reduces tension in the hands.

9. How can I find out my finger length for grip size?

Measure from the tip of your index finger to your palm crease while holding a club.

10. How often should I clean my grips?

It’s advisable to clean grips after each round to maintain their tackiness and reduce wear.


With this comprehensive understanding and practical approach to measuring golf grip size, you’re now ready to optimize your game! Remember, finding the perfect grip takes some experimentation, so have fun trying out different grips until you find the one that feels just right. Happy golfing!

how to interpret golf scores shown on television screens

Golf can often seem like a foreign language, especially when you’re watching it on TV. If you’ve ever found yourself watching a tournament and wondering what the scores really mean, you’re not alone. The scores displayed on those big screens can be confusing, even for seasoned spectators. In this comprehensive guide, we’ll decode golf scores for you, making it easy to understand the numbers flashing before your eyes.

What Does Each Score Mean?

When you watch golf on television, you’ll typically see a leaderboard showing players’ scores. Here are some common terms you need to know:

  • Par: This is the number of strokes an expert player is expected to need to complete a hole or the entire course. Each hole will have a par, which can be 3, 4, or 5.
  • Birdie: A score of one stroke under par on a hole.
  • Eagle: Two strokes under par on a hole.
  • Bogey: A score of one stroke over par on a hole.
  • Double Bogey: Two strokes over par on a hole.
  • Score relative to par: This is how scores are usually reported, like "3-under" or "1-over."

Sample Score Interpretation

To illustrate, let’s consider a scenario:

  • Player A: 68 (-4)
  • Player B: 72 (E)
  • Player C: 74 (+2)

In this context:

  • Player A completed the course in 68 strokes, which is 4 strokes under par.
  • Player B completed it in 72 strokes, which is exactly even with par.
  • Player C took 74 strokes, which is 2 strokes over par.

Understanding Leaderboards

Leaderboards can look daunting at first glance, but they follow a standard format. Here’s a breakdown of what to look for:

Column Description
Rank Indicates each player’s position in the tournament.
Player Name Full name of the golfer.
Score How many strokes the player has taken so far.
Total Total number of strokes played.
Par The par score for the course.

Example of a Leaderboard:

Rank Player Name Score Total Par
1 Player A -4 68 72
2 Player B E 72 72
3 Player C +2 74 72

Additional Indicators

To further assist you in interpreting golf scores, networks may use color-coding and symbols:

  • Green Background: Indicates under par (birdie, eagle).
  • Yellow Background: Indicates even par.
  • Red Background: Indicates over par (bogey, double bogey).

Scoring Formats in Golf Tournaments

This is where things can get a little tricky. Scoring can differ based on the type of golf tournament:

  • Stroke Play: The player with the lowest total strokes wins.
  • Match Play: Players compete on a hole-by-hole basis. The player who wins the most holes wins, even if they had a higher total score.
  • Stableford: Points are awarded based on the score relative to par.

How to Interpret Different Formats

  • In match play, if Player A has a score of 3 up against Player B after 12 holes, it means Player A is ahead by three holes.
  • In stroke play, the cumulative score is paramount. For instance, if Player A finishes with 70 and Player B with 74, Player A wins regardless of how many holes they might have led by.

Why Understanding Golf Scores Matters

Understanding golf scores enhances your viewing experience. It deepens your appreciation for strategy, skill, and the stakes involved. Here are a few reasons why it’s beneficial:

  • Appreciation: Recognize the significance of each stroke.
  • Engagement: You’ll be able to engage more deeply in discussions about strategies, player performances, and potential outcomes.
  • Confidence: Armed with this knowledge, you can enjoy the game without constantly needing to seek explanations.

Tips for Watching Golf Scores

  • Familiarize Yourself with the Course: Knowing the par for each hole can help you interpret scores more readily.
  • Follow a Player: Stick with one or two golfers throughout the tournament. Track how their scores change.
  • Watch Commentaries: Golf commentators often provide insights into how scores relate to strategy, so pay close attention.

Key Takeaways

  • Understand the Fundamentals: Familiarize yourself with terms like par, birdie, and bogey.
  • Become Aware of Scoring Formats: Different formats mean different rules, so know the type of tournament being played.
  • Read the Leaderboards: Pay attention to how scores are presented, including symbols and colors.
  • Engage with the Game: Understanding scores will enrich your overall enjoyment of golf.

FAQ

1. What is a “par 72” golf course?

A par 72 course means that an expert golfer is expected to complete the course in 72 strokes. This usually consists of several holes with varying par values of 3, 4, or 5.

2. How do I know if a player is doing well?

If a player’s score is below par, such as -1 or -5, they are performing well. A score above par (e.g., +1) indicates they are having a harder time.

3. What does "score relative to par" mean?

"Score relative to par" indicates how a player’s score compares to the expected par. For example, -3 means three under par, and +2 means two over par.

4. What is the difference between stroke play and match play?

In stroke play, the total strokes taken determine the winner, while in match play, players compete for the most holes won, regardless of total strokes.

5. What does “on the clock” mean in golf?

Being “on the clock” means a player is being timed and must complete their shot within a specific time frame to avoid penalties.

6. How can I become more knowledgeable about golf?

Watch tournaments regularly, read golf-related articles, and participate in discussions with fellow golf fans to gain insights.

7. Why do golfers take different scores on the same course?

Each player has unique skill levels and synergies with various aspects of their game, leading to varying scores on the same course.

8. What happens in the event of a tie?

In the event of a tie, playoff holes or sudden death situations may occur to determine the winner.

9. Does weather affect golf scores?

Yes, weather significantly affects playability and can lead to higher scores. Wind, rain, and temperature changes can impact player performance.

10. What is the significance of birdies and eagles?

Birdies and eagles are critical indicators of a player’s ability to outperform the expected par and are key for successful tournament play.

Hopefully, this guide has clarified how to interpret golf scores shown on television screens. With a deeper understanding of these scores, you’ll appreciate tournaments more fully and engage confidently in discussions about this captivating sport. Happy viewing!

how to start a golf cart without a key

Golf carts are not just for the golf course anymore—they’ve become essential for easy transportation in resorts, gated communities, and farms. But what happens when you lose your keys or find yourself locked out? In this article, we’ll guide you through how to start a golf cart without a key, offering safe and reliable methods so that you can get mobile again.

Why Might You Need to Start a Golf Cart Without a Key?

Losing your golf cart key can be a major inconvenience. It might leave you stranded right when you need to run errands, enjoy a day on the course, or even transport guests around your property. Before you resort to drastic measures like calling a locksmith or a towing service, consider these common reasons people end up needing to start a golf cart without a key:

  • Lost keys: The most common scenario; keys can easily get misplaced.
  • Stolen keys: Unfortunately, theft does happen.
  • Misplaced spare keys: If you have a spare but just can’t find it.
  • Old or damaged keys: Wear and tear can make keys unusable.

Safety First: Know Your Golf Cart

Before attempting to start your golf cart without its key, it’s vital to familiarize yourself with the model you’re dealing with. Different manufacturers may employ unique mechanisms. Let’s look at some general aspects you need to know:

Golf Cart Model Key Type Method to Start Without Key
Club Car Standard Key Bypass ignition switch
Yamaha Transponder Key Use a screwdriver
EZGO Standard Key Jumping the starter

Methods to Start a Golf Cart Without a Key

Now, let’s dive into the step-by-step methods to start your golf cart without a key. Please note, these methods are meant for personal use only and should not be employed wrongly or unethically.

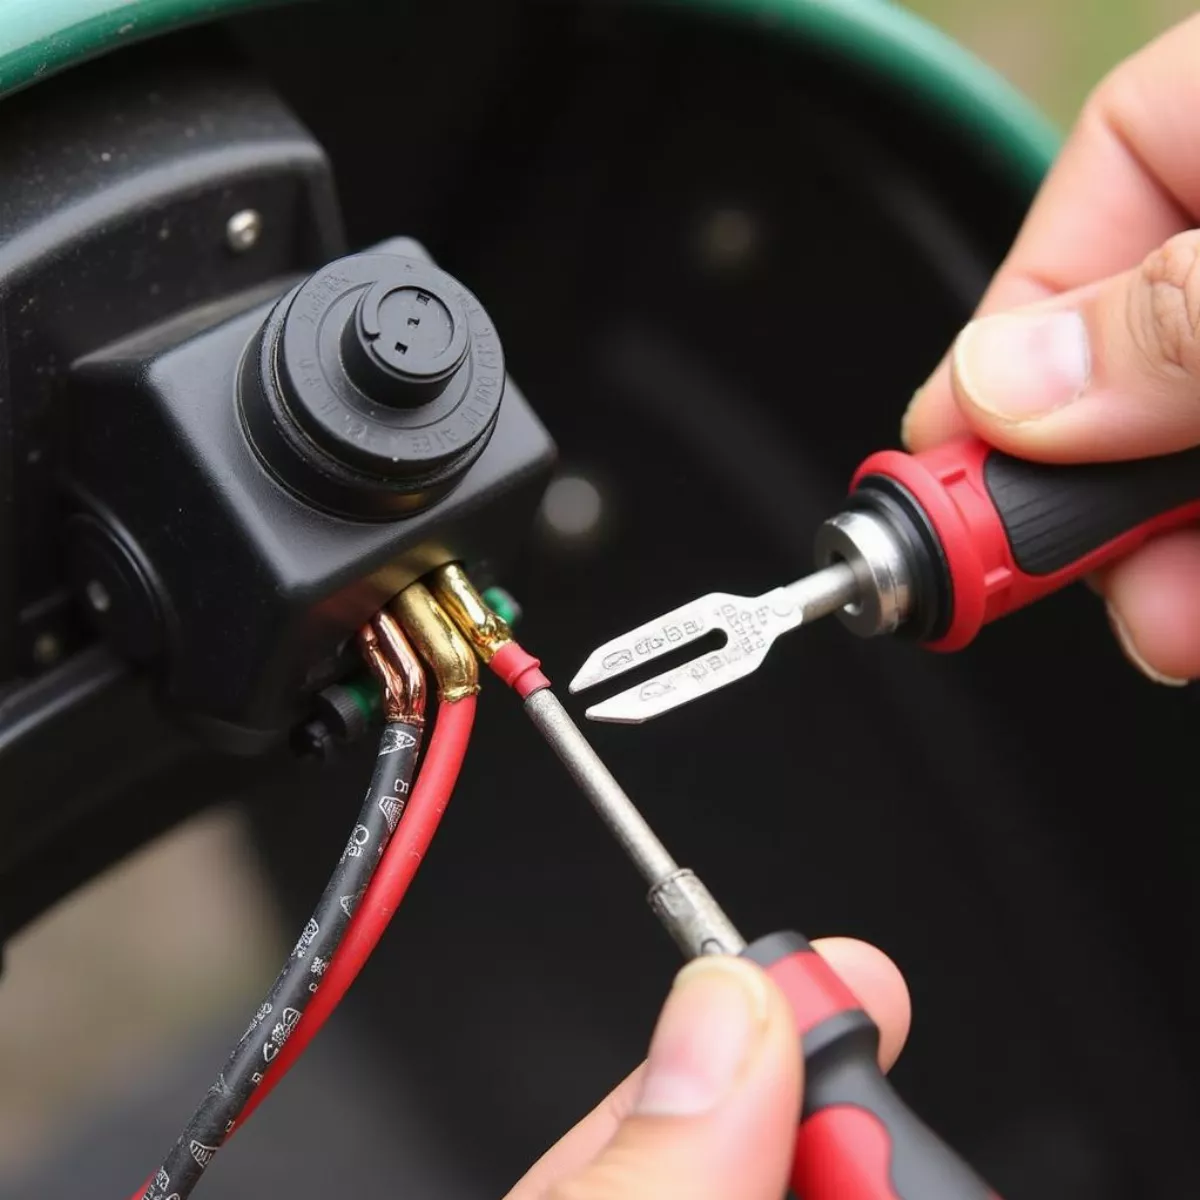
1. Bypass the Ignition Switch

Tools Needed: Wire stripper, screwdriver

Steps:

  • Open the golf cart’s seat to access the wiring.
  • Locate the ignition switch and determine the wires connected to it.
  • Strip the insulation from the wires (usually red and yellow) or find the corresponding wires for your model.
  • Twist the ends of these wires together to create an electrical connection.
  • This should start the golf cart. Remember to be gentle; you don’t want to damage the wires.

2. Use a Screwdriver Method

Tools Needed: Screwdriver (flathead or Phillips)

Steps:

  • Insert the flathead screwdriver into the ignition lock.
  • Turn slightly to imitate the motion of twisting a key.
  • If you feel resistance, don’t force it; this could break the ignition. Instead, ensure you’re using the right screwdriver size.

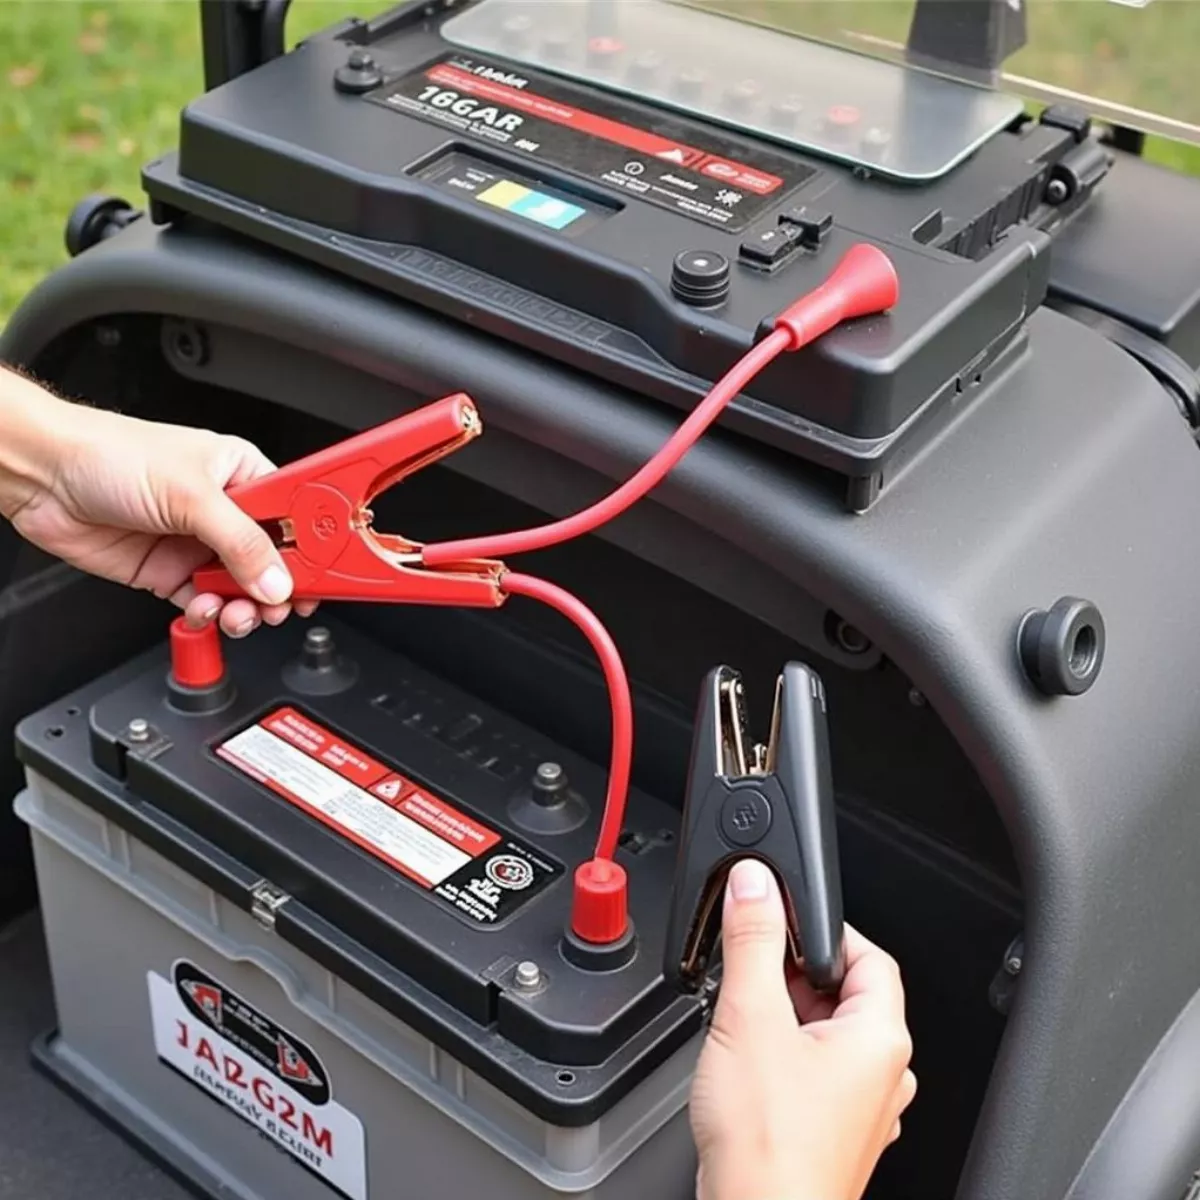
3. The Jump Start Method

Tools Needed: Jumper cables, another vehicle or battery

Steps:

  • Connect the jumper cables to the golf cart battery and the donor vehicle or battery.
  • As you apply power from the second battery, engage the starter on the cart.
  • This can sometimes bypass electronic systems, but use caution to avoid damaging components.

4. Hotwire Your Golf Cart

Tools Needed: Wire stripper or knife

Steps:

  • Open the rear seat to access the wiring system.
  • Locate the battery and ignition wires. Most often, these will either be red (positive) or colored wires specific to the manufacturer.
  • Strip the ends and then connect them directly. This may take some patience, and be careful of short-circuiting.

Warning: Ethical Implications

It’s essential to reiterate that hotwiring or bypassing ignition systems should only be done on your property and with your vehicle. Misusing these techniques can have legal implications.

Advanced Techniques

If you’re familiar with mechanics, here are a couple of additional avenues to explore:

Relay Method: If your golf cart uses a relay system, you might be able to temporarily engage the relay to start the cart.

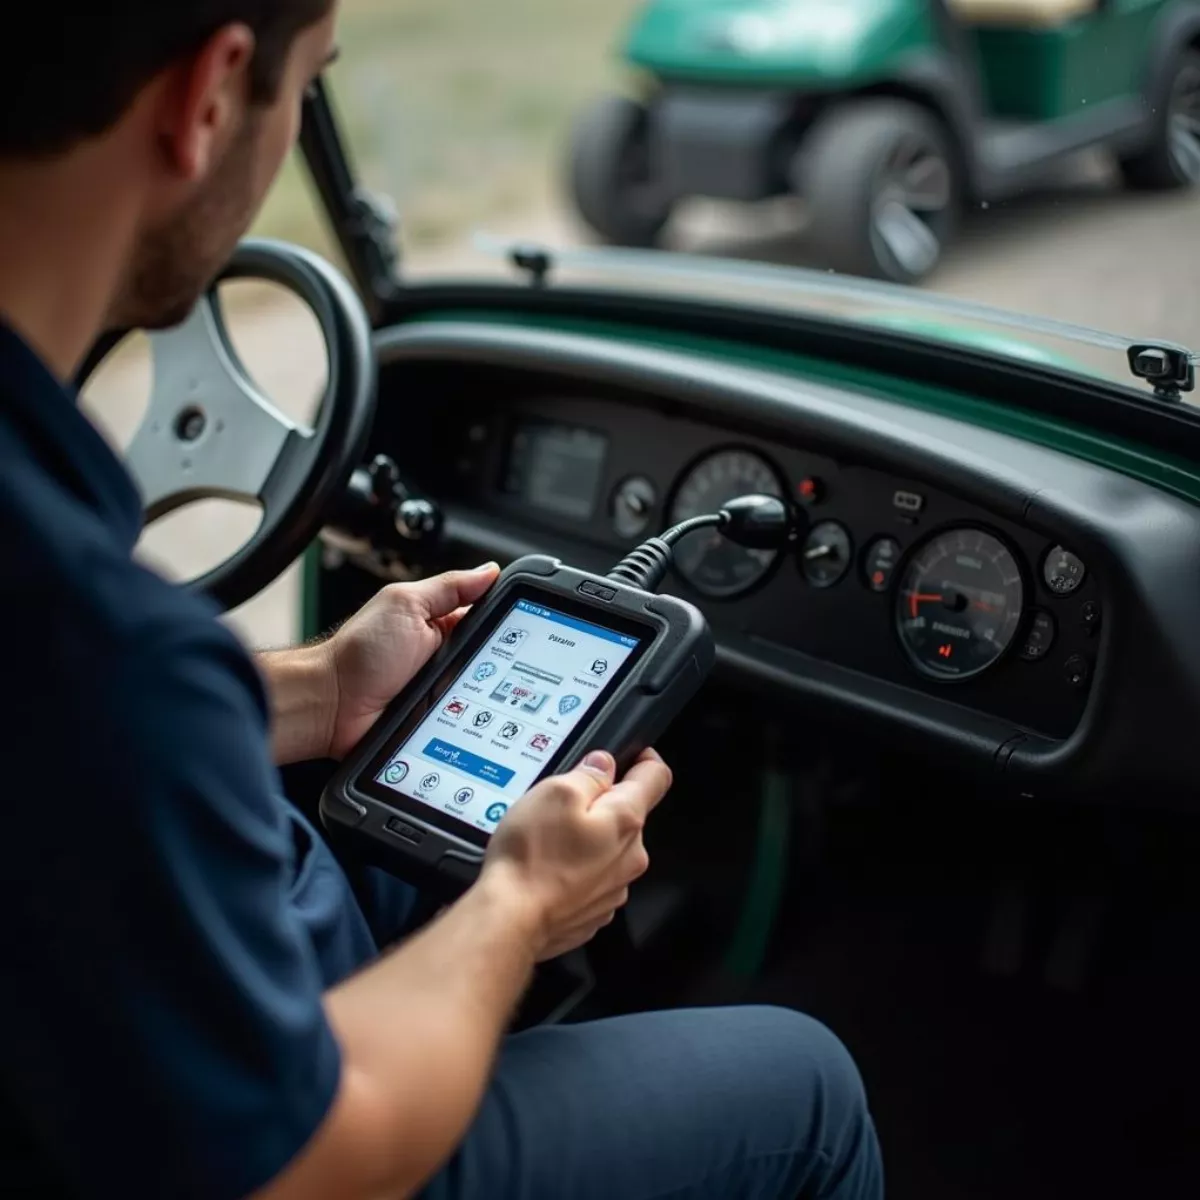
Diagnostic Tool: If you have access to a diagnostic tool compatible with your golf cart, software might help you override the security system if your model has one.

When to Call in the Professionals

If you’ve tried everything and still can’t start the cart, it’s time to call a professional locksmith or a golf cart dealer. They have specialized tools and knowledge that can save you time and money in the long run.

Key Takeaways

  • Preparation is key: Familiarize yourself with your specific golf cart model.
  • Use caution: Hotwiring and bypass methods should be used responsibly.
  • Professional help is available: Don’t hesitate to call for help when necessary.

FAQs

1. Is it illegal to start a golf cart without a key?

While hotwiring a golf cart you own typically isn’t illegal, it may be illegal under certain circumstances, such as if the vehicle is stolen or belongs to someone else.

2. Can I replace a broken key?

Yes, you can often replace a broken key through a dealership or by using a locksmith specializing in automotive keys.

3. Will starting without a key damage my golf cart?

It’s possible. Methods like hotwiring can potentially damage electronic systems or other components of the golf cart.

4. Are there any risks involved in hotwiring?

Yes. Besides legal implications, you may risk electrical shock or unintentionally damaging the cart.

5. How can I prevent losing my golf cart keys in the future?

Consider using a key finder device or a dedicated hook/trophy area for your keys.

6. Can I have a duplicate key made?

Absolutely! Visit a local locksmith who specializes in automotive keys to get a duplicate made.

7. What if my golf cart has a security system?

You may need to check with the manufacturer or a professional to know how to bypass your specific model’s security system.

8. Are there special golf cart keys?

Some manufacturers use transponder keys that require programming. Check with your dealer for details.

Remember, trying to start a golf cart without a key can be a tricky situation. Use the methods discussed here responsibly, and if you’re unsure, always consider involving a professional.

With this comprehensive guide, you should now feel equipped to handle a scenario where you’re locked out of your golf cart without a key. Schmoozing with your friends on the course is now just a step away!

How To Use Bushnell Rangefinder

how to use bushnell rangefinder

If you’re aiming for precision and accuracy in your golfing or hunting adventures, a Bushnell rangefinder is your new best friend. With a friendly, conversational tone, let’s dive into how to get the most out of your trusty device. Whether you’re a seasoned pro or a curious beginner, this guide will provide invaluable insights to enhance your skills.

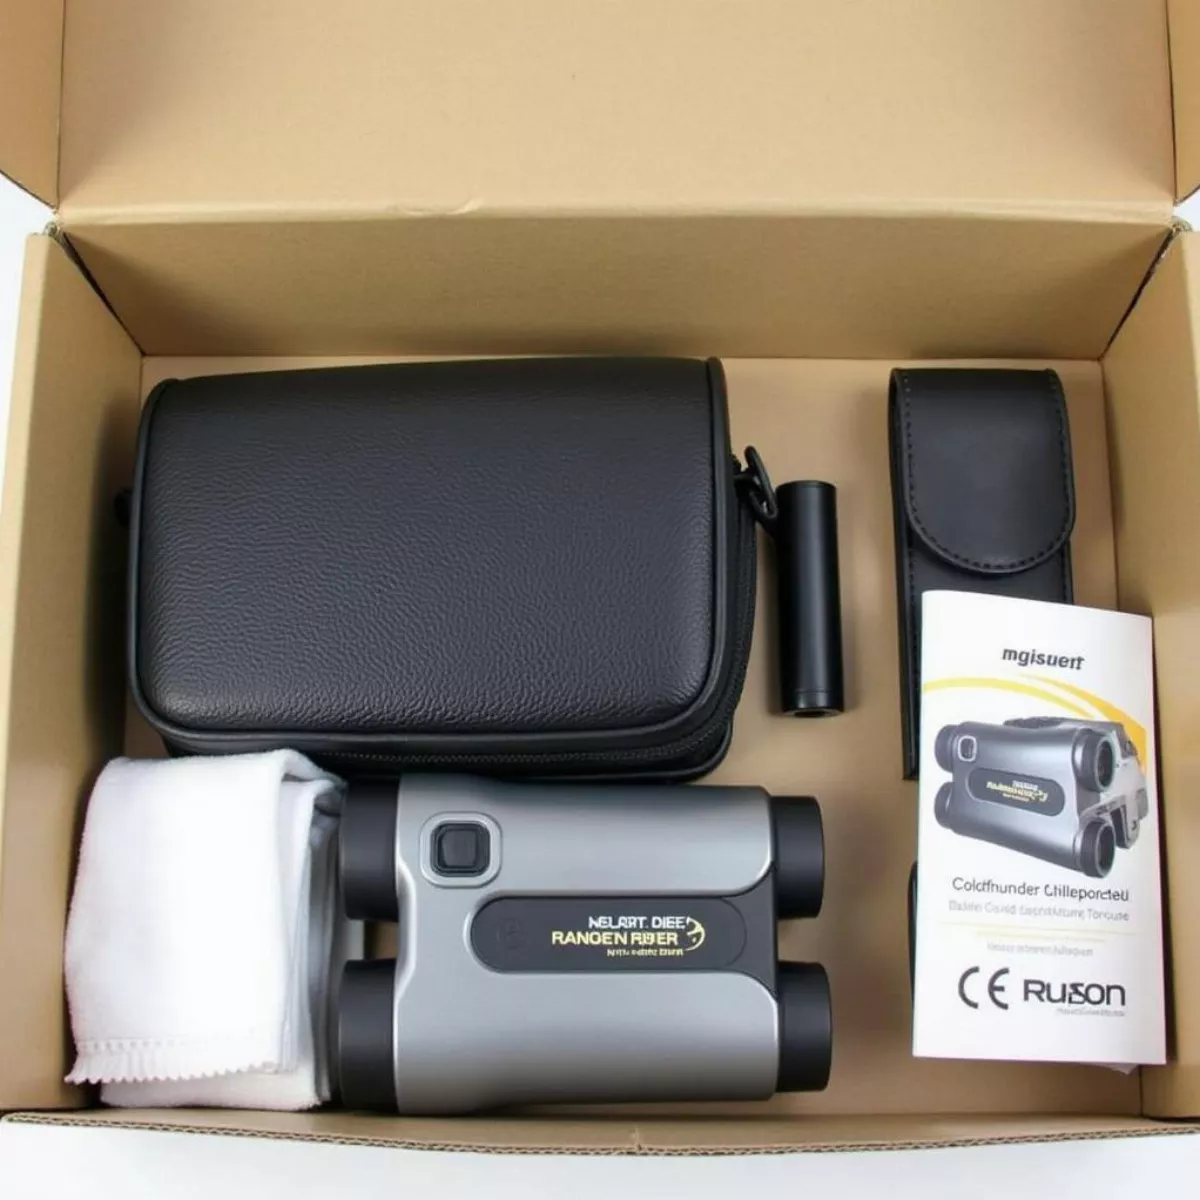
Unboxing Your Bushnell Rangefinder

First things first, let’s get acquainted with your rangefinder. Bushnell offers a variety of models, but all come with similar components:

  • Rangefinder Device
  • Carrying Case
  • Cleaning Cloth
  • Battery

Initial Setup

  1. Install the Battery: Most Bushnell rangefinders use a CR2 battery. Open the battery compartment, place the battery correctly, and close it securely.
  2. Lens Cleaning: Use the cleaning cloth to wipe the lens. This ensures clear readings.
  3. Familiarize Yourself with the Buttons: Typically, there are two buttons – one for Power/Measure and another for Mode Settings.

Using Your Bushnell Rangefinder

Step-by-Step Guide

1. Powering Up

  • Press the Power button. The display will activate, showing metrics like distance and battery life.

2. Selecting the Appropriate Mode

  • Use the Mode button to toggle between various settings. For instance, golfing rangefinders may offer modes such as PinSeeker and Slope Compensation, while hunting rangefinders may feature a Scan Mode for continuously updated distances.

3. Aiming and Measuring

  • Targeting: Look through the eyepiece and align the crosshairs with your target.
  • Measuring: Press the Power/Measure button to display the distance.

Advanced Tips

  1. Understand Your Environment:

    • Familiarize yourself with common obstacles like fog or tree branches that may affect readings.

  2. Practice Proper Maintenance:
    • Regularly clean the lens and store the device in its carrying case to protect it from dust and damages.

Practical Use Cases

For Golfers

  1. Measuring Distance to Flagstick

    • Activate the PinSeeker mode for heightened accuracy.
    • Align the target on the flagstick, and press the Measure button.

  2. Considering Elevation
    • Use Slope Compensation mode to account for elevation changes, providing a more accurate reading.

For Hunters

  1. Tracking Multiple Targets

    • Use Scan Mode to get continuous distance updates as you move across the terrain.

  2. Calculating Bullet Drop
    • Some advanced models offer ballistic data for more accurate long-range shots.

Key Takeaways

  • Always Clean the Lens: Dust and debris can affect accuracy.
  • Leverage Specialized Modes: Whether for golf or hunting, make the most of the available modes.
  • Practice Regularly: Familiarize yourself with the device’s functions through regular use.
  • Store Properly: Use the carrying case to extend the device’s lifespan.
  • Understand Environmental Factors: Conditions like fog can affect ranging accuracy.

FAQs

Q1: Can I use a Bushnell rangefinder in both golfing and hunting?
A1: While it’s possible, it’s better to use a model specific to your activity for optimal features and accuracy.

Q2: How do I know when the battery is low?
A2: Most Bushnell rangefinders display a battery icon. A low battery indicator will flash when it’s time for a replacement.

Q3: What is the range of a typical Bushnell rangefinder?
A3: This can vary. For golf, most models cover up to 1,000 yards. Hunting models often offer similar ranges, sometimes more.

Q4: How accurate is the Slope Compensation feature?
A4: It’s highly accurate, providing you take readings while considering environment and weather conditions.

Q5: Can I use my rangefinder in the rain?
A5: Many Bushnell models are water-resistant. Still, it’s best to check your specific model’s manual.

Q6: How do I clean the lens without scratching it?
A6: Use the provided microfiber cloth and gently wipe the lens. Avoid abrasive materials.

Q7: What’s the difference between PinSeeker and Jolt technology?
A7: PinSeeker helps isolate the flagstick from background objects. Jolt provides vibration feedback once the flagstick is locked in.

Q8: What should I do if my rangefinder isn’t working?
A8: Check the battery and ensure it’s properly installed. If issues persist, consult the user manual or contact customer support.

Conclusion

Mastering a Bushnell rangefinder requires practice and familiarization. By following this guide, you can leverage the device’s full potential, whether on the golf course or in the field. Remember to use the modes, maintain proper care, and practice regularly. Happy ranging!

References

  • Bushnell Official Website
  • "How [Rangefinders Work](LINK TO ARTICLE)" – Explore our in-depth article on the mechanics of rangefinders.
  • "Best Practices for [Golf Rangefinders](LINK TO GOLF ARTICLE)" – Enhance your game with targeted tips.

Internal Links

Stay focused, range accurately, and enjoy the benefits of using a Bushnell rangefinder!