Maintaining your golf clubs is crucial for optimal performance on the course. One of the most overlooked aspects of club care is regripping. If your golf club grips feel worn, slick, or offer less traction, it’s time to consider regripping. Not only can this enhance your performance, but it can also reduce the risk of injury caused by slipping clubs. In this guide, we’ll explore the essential tools you need for regripping golf clubs, including step-by-step instructions, and tips to make the process a breeze.
Why Regripping is Important
Before diving into the tools and techniques, let’s discuss why regripping is essential:
- Improved Control: Fresh grips enhance your feel and control, allowing for better swings.
- Increased Comfort: Old grips can be uncomfortable, leading to strain.
- Cost-Effective: Regripping is much cheaper than purchasing new clubs.
Recommended Timeline for Regripping
- Every 40 rounds: For regular players
- At least once a year: For seasonal players
- When noticeable wear occurs: Check for signs like smoothness or tears
Tools You Need for Regripping Golf Clubs
Essential Tools
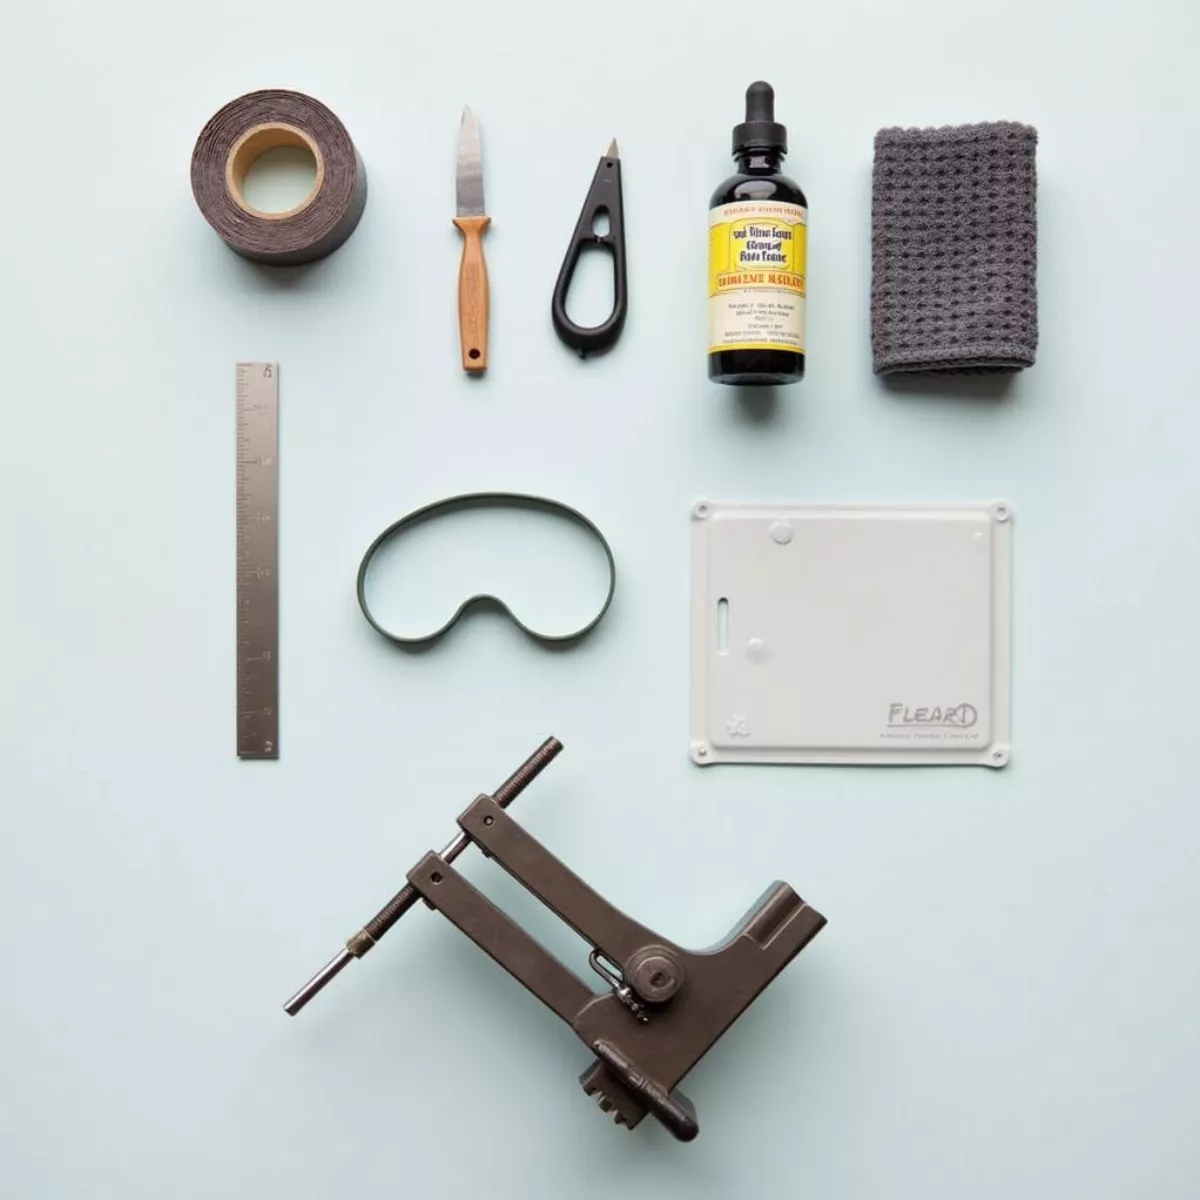
Here’s a checklist of tools to have on hand while regripping your golf clubs:
| Tool | Purpose |
|---|---|
| Grip Tape | To adhere the new grip to the club |
| Utility Knife | For removing old grips and cutting tape |
| Grip Solvent | To help slide on the new grips easily |
| Rubber Band (optional) | Wrap the shaft to prevent slipping while applying grip |
| Measurement Ruler | For accurate size measurements |
| Towel | Keep clean during the process |
| Vice (optional) | Holds the club steady while working |
Additional Tools
For those looking for a more professional setup, consider the following:
- Retractable Hook: Useful for removing tightly fitted grips.
- Grip Vise: Provides extra stability when working on multiple clubs.
 Essential Regripping Tools
Step-by-Step Guide to Regripping Golf Clubs
Regripping your clubs is straightforward! Follow these steps to make the process efficient and effective:
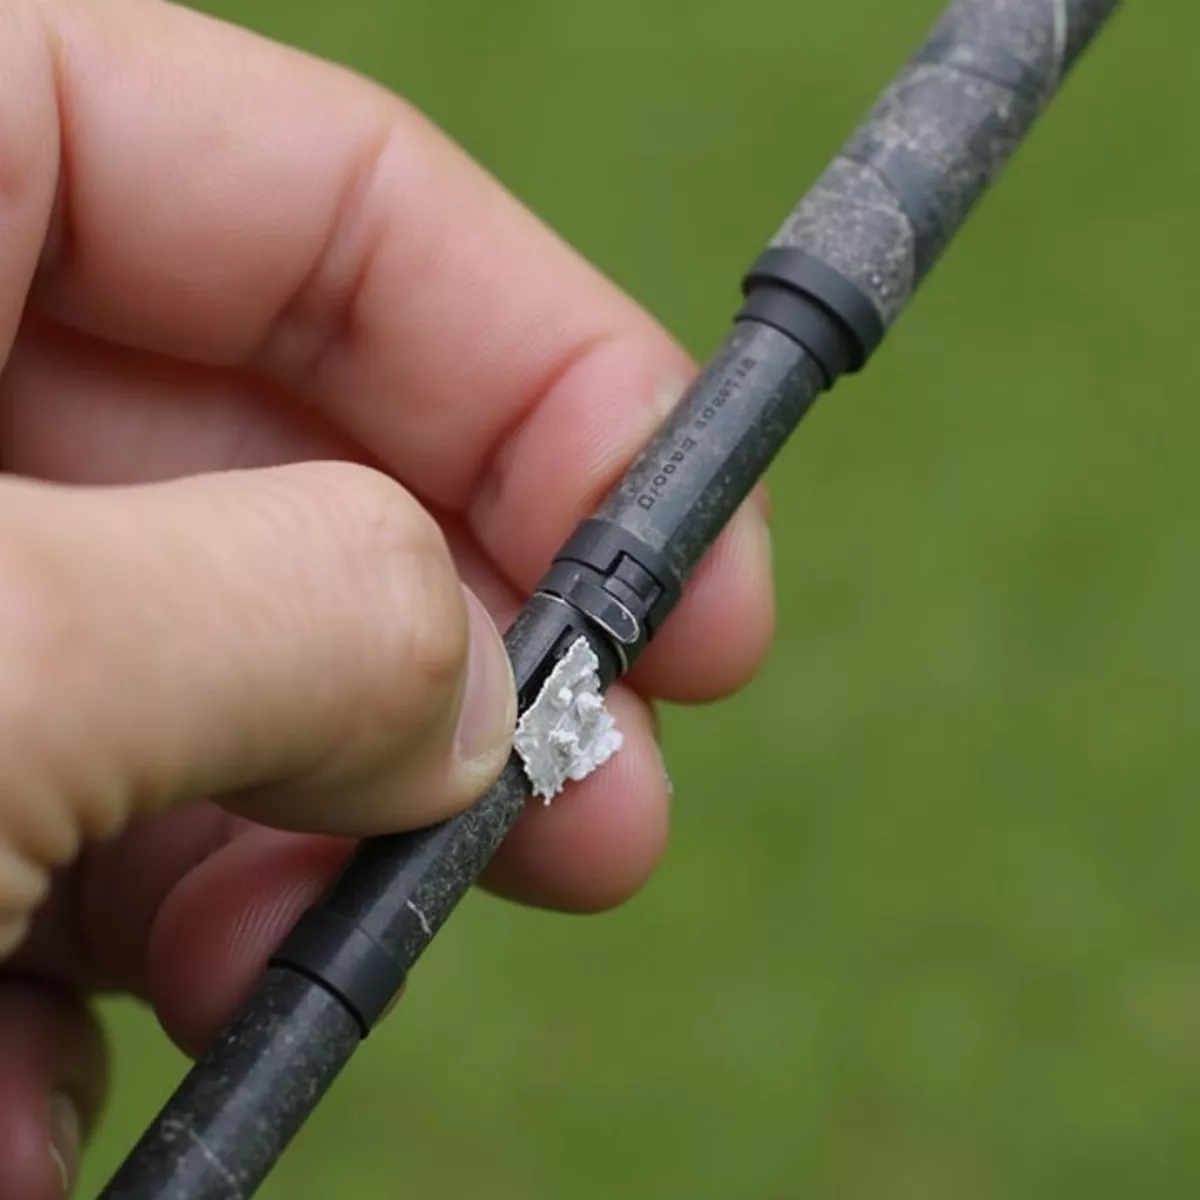
Step 1: Remove the Old Grip
- Locate the End Cap: Check the grip end for a screw; remove it.
- Cut the Grip: Use a utility knife to slice along the length of the grip, being cautious of the shaft.
- Peel it Off: Carefully remove the old grip from the shaft. If it resists, apply some twisting force.
Step 2: Clean the Shaft
- Remove Old Tape: Use a utility knife to scrape off old grip tape residues.
- Wipe the Shaft: Clean the shaft with a towel and solvent to remove any adhesive residue.
 Removing Old Grip from Golf Club
Step 3: Apply New Grip Tape
- Cut the Tape: Measure and cut the correct amount (2–3 inches longer than the grip).
- Wrap: Start from the bottom of the shaft and wrap the tape upward, overlapping slightly.
- Smooth Out: Ensure no air bubbles remain; adhere firmly.
Step 4: Add Grip Solvent
- Soak a Cloth: Use a towel to saturate it with grip solvent.
- Apply Solvent: Generously apply it to the grip interior and exterior as well as the tape.
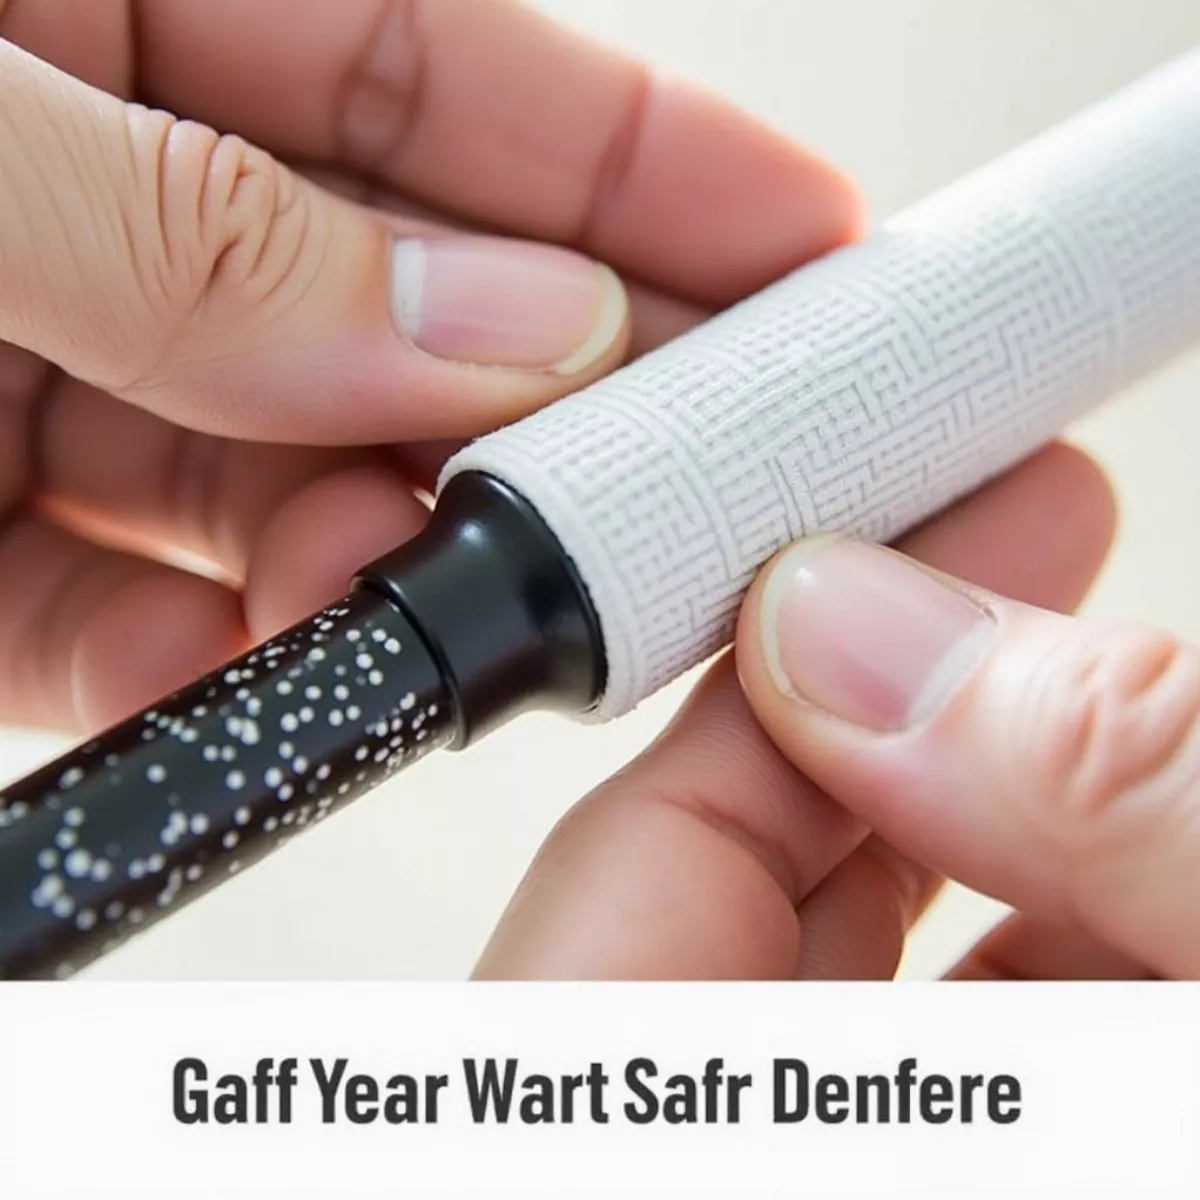
Step 5: Install New Grip
- Align: Make sure to align the logo or manufacturer mark on the grip with the clubface.
- Slide On: Quickly slide the grip onto the shaft while holding it vertically.
Step 6: Finalize
- Adjust: Make any necessary adjustments to position.
- Let It Dry: Allow 24 hours for the grip to cure properly before using the club.
 Installing a New Golf Grip
Pro Tip
“Using too much solvent can weaken your grip’s adhesion, while too little makes it hard to slide on. Aim for the sweet spot!”
Best Practices for Maintaining Your Golf Grips
Now that you’ve regripped, here are some best practices to keep your grips looking and performing their best:
- Clean Regularly: Use warm water and mild soap to clean grips every couple of weeks.
- Dry Well: Always let grips air dry after cleaning.
- Store Properly: Avoid extreme temperatures or direct sunlight when storing clubs.
Selecting the Right Grips
Choosing grips isn’t just about aesthetics; performance matters! Here’s what to consider:
| Grip Type | Features | Best For |
|---|---|---|
| Rubber Grips | Comfortable, good for all-weather | Casual or recreational golfers |
| Corded Grips | Extra traction for humid conditions | Advanced players in humid climates |
| Oversize Grips | Thick for larger hands or grip issues | Players with arthritis or injuries |
| Standard Grips | Traditional thickness for most golf swings | General use for average hand sizes |
Key Takeaways
- Regripping is necessary regularly for optimal club performance.
- Essential tools include grip tape, utility knife, and grip solvent.
- A step-by-step approach simplifies the regripping process.
- Clean and maintain your grips to prolong their lifespan.
- Choose the right grip type based on your playing style and conditions.
Frequently Asked Questions (FAQs)
1. How often should I regrip my golf clubs?
Answer: Typically, every 40 rounds or once a year for seasonal players.
2. What is the best way to clean golf grips?
Answer: Use warm soapy water and a soft towel; let them air dry completely.
3. Can I use regular tape to regrip my clubs?
Answer: No, specific golf grip tape is designed to provide proper adhesion.
4. How do I know when it’s time to regrip?
Answer: Signs of wear include smoothness, cracks, or if your hands slip during swings.
5. Is it better to do it myself or have a professional do it?
Answer: Both options work; professional fits may provide better customization, but DIY is cost-effective.
6. Can I reuse old tape?
Answer: It’s not advisable as it may not adhere well. Always use new grip tape.
7. What happens if I use too much solvent?
Answer: Too much solvent can weaken grip adhesion, making it slip during use.
8. What grip size should I choose?
Answer: Grip size should correlate with your hand size and comfort; test different sizes before settling.
9. Can I change my grip type for different clubs?
Answer: Yes, using different grips can enhance performance based on club use.
10. Where can I buy regripping supplies?
Answer: Golf shops, online retailers, or sporting goods stores typically carry regripping supplies.
By understanding how to properly regrip your golf clubs, you ensure that you maximize your performance on the course while also saving costs in the long run. Follow this guide, and you’ll be swinging with confidence in no time!

