As golfers, we constantly seek ways to improve our game. One simple yet effective technique that you might not have considered is using lead tape on your putter. This guide will help you understand where to place lead tape for optimal performance and control, ultimately improving your short game.
Why Use Lead Tape on Your Putter?
Lead tape is a versatile tool that golfers use to alter the weight and balance of their clubs, particularly putters. By adding weight to specific areas of your putter, you can improve your stability and feel on the greens. Let’s dive into how and where to strategically place lead tape on your putter to maximize your performance.
Understanding Club Balance and Weight Distribution
Before we get into the specifics of placement, it’s crucial to understand the two primary concepts: club balance and weight distribution.
- Club Balance: Refers to the overall weight distribution of the putter. A balanced putter can enhance your control and consistency.
- Weight Distribution: Refers to how weight is spread throughout the putter, affecting its swing path and feel.
Lead tape provides a customizable solution for adjusting both balance and weight distribution, allowing for tailored fine-tuning of your putter’s performance.
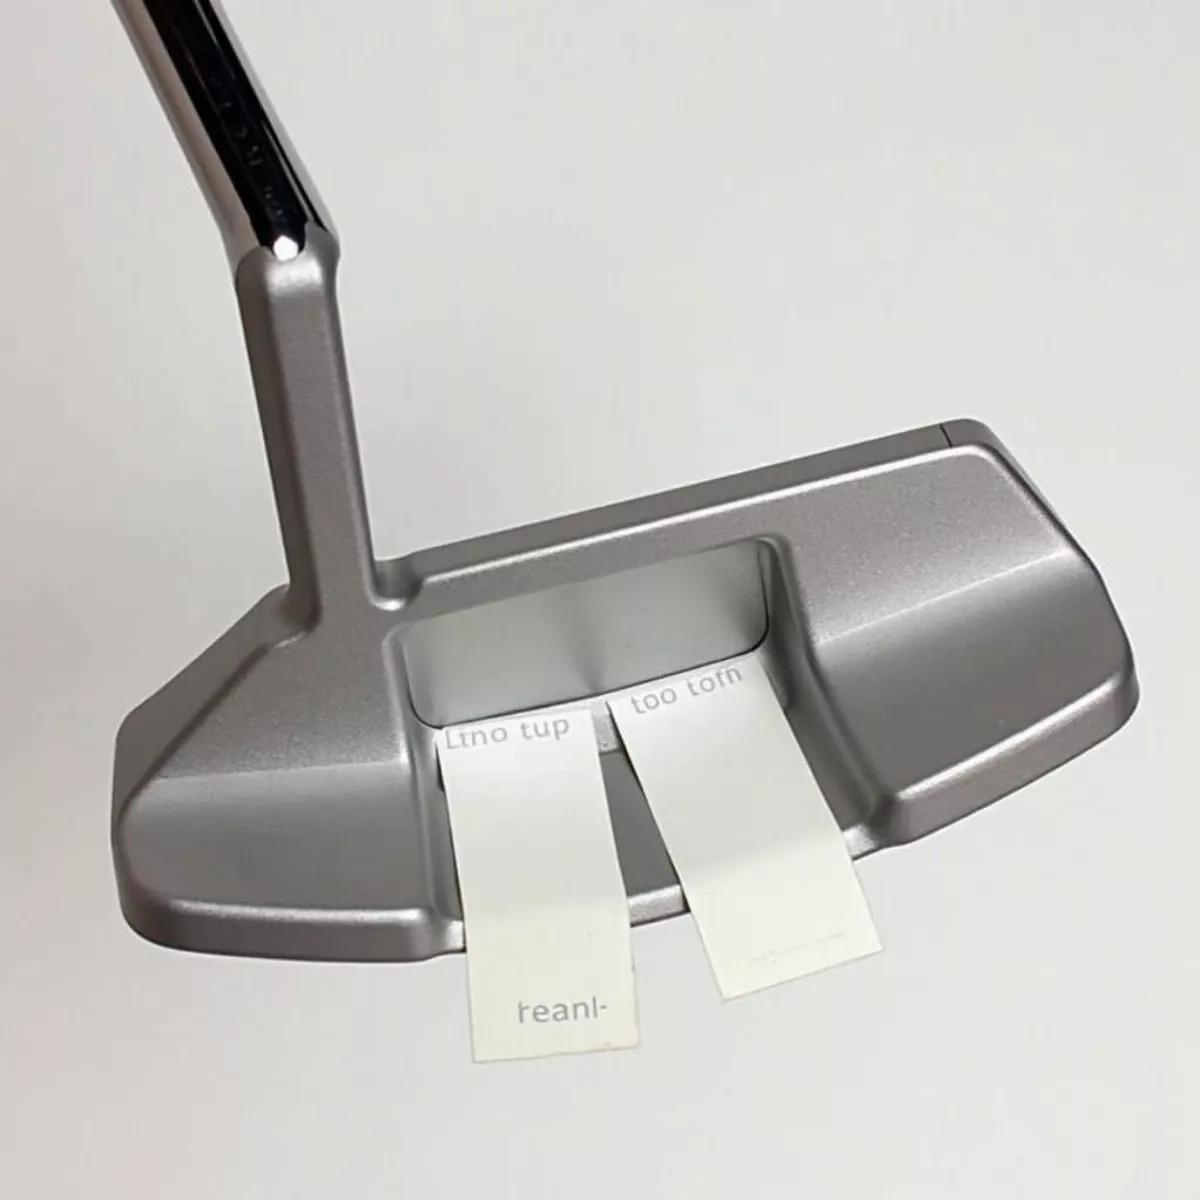
 Golf putter with lead tape for balance
Where to Put Lead Tape on Your Putter
1. On the Heel and Toe
You can increase the stability of your putter by adding lead tape to the heel and toe. This addition helps minimize twisting during your stroke, leading to straighter putts.
- Placement:
- Apply 1-2 strips of lead tape to the toe and heel of your putter head.
- Consider using more tape on the side that feels less stable.
2. On the Back of the Putter Head
Weight on the back of your putter can help in creating a smoother swing arc, particularly beneficial for players who struggle with hitting the ball solidly.
- Placement:
- Attach a strip of lead tape to the back of the putter head.
- This extra weight encourages a pendulum motion, improving your feel.
 Applying lead tape to the back of a putter
3. At the Shaft Connection
Adding lead tape where the shaft meets the head can modify the flex of the putter, helping to tune the feel.
- Placement:
- Wrap a small piece of lead tape around the shaft at its connection point to the head.
- This adds weight, allowing for a more controlled stroke.
4. On the Sole of the Putter
For golfers with a higher stance, placing lead tape on the sole can help by lowering the center of gravity.
- Placement:
- Apply the tape directly underneath the putter to add additional weight.
- This can aid in maintaining balance throughout your putt.
Tips for Applying Lead Tape
- Use a Scale: If you have a digital scale, consider weighing out the amount of tape you plan to use. This ensures consistency.
- Start Small: Too much weight can alter your feel negatively. Start with one or two strips and test before adding more.
- Experiment: Golf is about personalization. Don’t hesitate to try different placements and quantities to find what works best for you.
Getting the Right Lead Tape
When selecting a lead tape, keep the following considerations in mind:
| Consideration | Recommendation |
|---|---|
| Thickness | Look for strips 1/2 inch wide for easy application. |
| Adhesive Strength | Ensure it has strong adhesion to avoid peeling during use. |
| Weight | Standard lead tape usually weighs about 1-2 grams per inch. |
 Different lead tapes for golf clubs
How to Remove Lead Tape
If you find that a particular placement isn’t working for you, removing lead tape is straightforward:
- Peel: Gently peel off the tape from the area.
- Clean: Use rubbing alcohol to clean any adhesive residue left on the surface.
Key Takeaways
- Stability: Add lead tape to the heel and toe for a more stable putter.
- Control: Apply tape to the back of the putter for better swing arc and control.
- Flexibility: Weight at the shaft connection can modify the putter’s feel.
- Customization: Experiment with different placements and weights to find what feels right for you.
- Start Small: Always begin with small amounts of tape and adjust as needed.
FAQ Section
1. How much lead tape should I use?
Start with 1-2 strips of tape for each suggested area. This translates to roughly 1-2 grams. Adjust based on feel.
2. Will adding lead tape change my putting stroke?
Yes, it can change the feel and balance of your putter, potentially leading to improvements in your stroke’s consistency.
3. Can I add lead tape to other clubs?
Absolutely! Lead tape can be added to any club to modify its weight and balance.
4. How do I know where to place the tape?
Start with the heel and toe, as these areas are most commonly adjusted for stability. Experiment with other placements based on your preference.
5. Does lead tape affect my putting distance?
Yes, adjusting the weight can influence your swing speed and tempo, which may affect distance control.
6. Can I use lead tape on a mallet putter?
Yes, lead tape is effective on both blade and mallet putters for weight adjustments.
7. Is there a right or wrong way to apply lead tape?
While there’s no strict rule, ensure that you apply the tape evenly and securely to maximize its benefits.
8. How often should I adjust my lead tape?
As you improve or when your feedback changes, it’s worth re-evaluating your setup and making adjustments as necessary.
Final Thoughts
Lead tape is a fantastic tool for golfers of all skill levels looking to enhance their putting game. By understanding where to place lead tape on your putter, you can achieve the balance, feel, and control necessary for more consistent performance on the greens. Don’t hesitate to personalize your adjustments—every golfer is unique, and what works for one may not work for another. Happy putting!
For more tips on improving your golf game, check out our articles on putting techniques and equipment customization. If you have any additional questions, feel free to reach out in the comments below!

