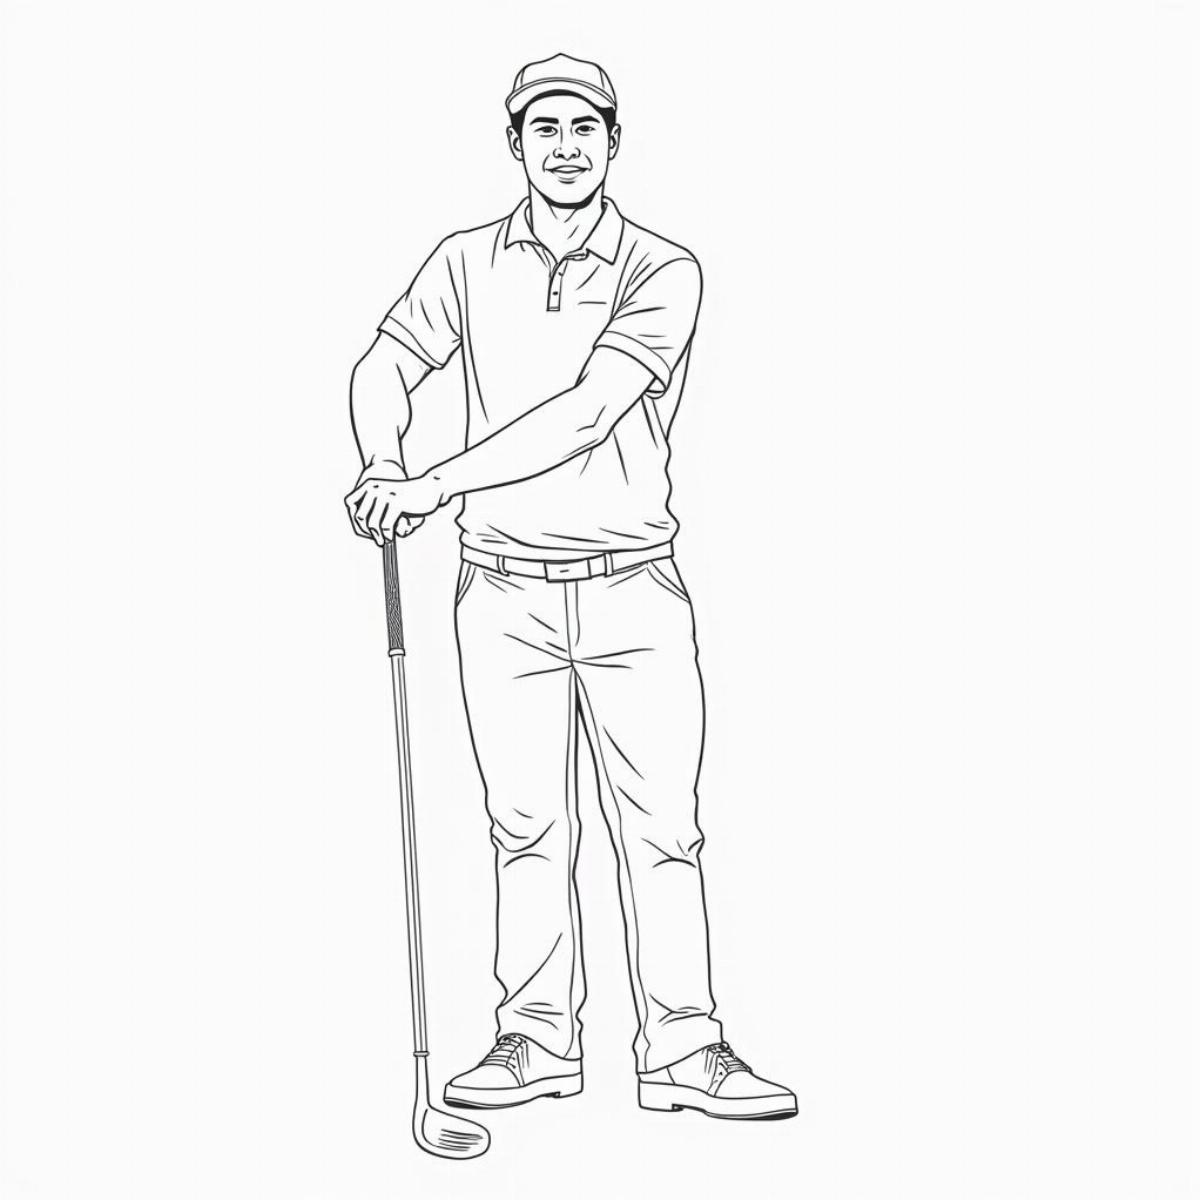
how to draw a golfer

Drawing a golfer can be a fun and rewarding creative endeavor, whether you’re an aspiring artist or just looking to pass the time. In this guide, we’ll explore the ins and outs of drawing a golfer in a friendly and engaging manner. We’ll cover everything from basic shapes and proportions to details that will bring your golfer to life. Let’s swing into action!
Why Draw a Golfer?
Golf is a sport celebrated for its precision, grace, and skill. Drawing a golfer allows you to express these qualities visually. Whether you’re an enthusiast trying to capture a favorite player in action or a casual artist exploring a new subject, learning to draw a golfer can enhance your artistic abilities and deepen your appreciation for the sport.
Materials You’ll Need
Before we start, gather the following materials:
- Pencils (preferably HB and 2B for shading)
- Eraser
- Drawing paper
- Colored pencils or markers (optional)
- Reference images of golfers (print or digital)
Step 1: Understanding the Basics
To become proficient in drawing a golfer, start with understanding basic shapes. Break the golfer’s figure down into simple geometric forms, such as:
- Head: Oval shape
- Torso: Rectangle or trapezoid
- Arms and Legs: Cylindrical shapes
- Golf club: Long rectangle with a circle at one end
Example Structure
   Head
    O
   /|
  / |
 /  |
L    |   L
  Leg   Leg
Step 2: Sketching the Outline
-
Step 2.1: Draw the Head
Start by drawing an oval for the head. Ensure it’s proportional to the torso you will draw later.
-
Step 2.2: Torso and Limbs
Using rectangles and cylinders, sketch the body. Position the arms and legs according to the golfer’s action pose. For instance, if your golfer is in a swing, position one arm extended and the other bent.
-
Step 2.3: Add the Club
Position the golf club in one of the hands. Remember that the grip is thicker than the shaft, so make adjustments accordingly.
Step 3: Refining the Figure
Now, let’s refine your golfer by adding more details.
Facial Features:
- Eyes: Two small ovals
- Nose: A small curve or line
- Mouth: A simple line or slight smile
Clothing:
- Draw short sleeves or a polo shirt, adding wrinkles to depict the fabric.
- For pants or shorts, create straight lines from the hips and remember to include some folds near the knees.
Golf Club Details:
- Add texture to the golf club by drawing small lines along the shaft and detailing the club head.
Example of Refining the Body:
    O
   /|
  / |
 /  |
L    |    L
  Leg     Leg
Step 4: Shading and Texturing
Shading adds depth and realism to your drawing. Here’s how to do it:
- Identify Light Source: Determine where the light is coming from and shade opposite to that source.
- Use Different Pencil Grades: A 2B pencil can be used for darker areas, while an HB pencil can be used for lighter tones.
Tips for Shading:
- Light Pressure: Start with light pressure to build up to desired darkness.
- Blending: Use your finger or a blending stump to create smooth transitions.

Step 5: Final Touches
Once you’re satisfied with the shading, add final touches:
- Color (Optional): If you want to add color, use colored pencils or markers. Focus on realistic tones for the skin, clothing, and equipment.
- Background: Consider a simple background, like a patch of grass or a golf course, to frame your golfer.
Key Takeaways
- Start Simple: Begin with basic shapes and refine gradually.
- Consider Proportions: Keep body proportions in mind for a balanced figure.
- Shade Gradually: Use light pressure for shading and build up layers for depth.
- Add Details Last: Focus on details like facial features and clothing after the overall form is established.
FAQ Section
1. What should I do if I make a mistake while drawing?
Don’t worry! Use your eraser lightly to correct it, and consider making creative adjustments.
2. Can I draw a golfer from a photograph?
Yes! Using a photograph as a reference can help you capture details accurately.
3. What is the best way to hold a pencil for drawing?
Grip the pencil towards its end, allowing for better control and flow during your drawing.
4. Should I practice drawing hands separately?
Absolutely! Hands can be tricky, so practicing them separately can improve your overall drawing skills.
5. How do I find inspiration for poses?
Watch golf tournaments, browse through magazines, or search online for dynamic golfing images.
6. What if I’m not good at drawing people?
Start with drawing simple shapes; everyone improves with practice!
7. Are there special techniques for drawing sports figures?
Incorporate dynamic movements and muscle tone for more realistic sports figures. Capture the energy and motion of the sport.
8. Should I sketch lightly first?
Yes, light sketches allow you to make adjustments without damaging the paper.
9. How can I improve my shading technique?
Practice by shading different objects. Experiment with varied pressure and pencil grades.
10. How do I capture motion in my drawing?
Use lines to suggest movement and practice poses that imply action.
Conclusion
Drawing a golfer is not only an enjoyable art project, but it’s also a great way to connect with the sport and hone your artistic skills. By breaking down the process into manageable steps and incorporating practice, you can develop your own unique style.
Take your time and have fun with it! Remember, every artist was once a beginner. Now grab your pencils and get drawing!
For more drawing tips and tutorials, check out our related articles on this site to expand your artistic journey further. Happy drawing!